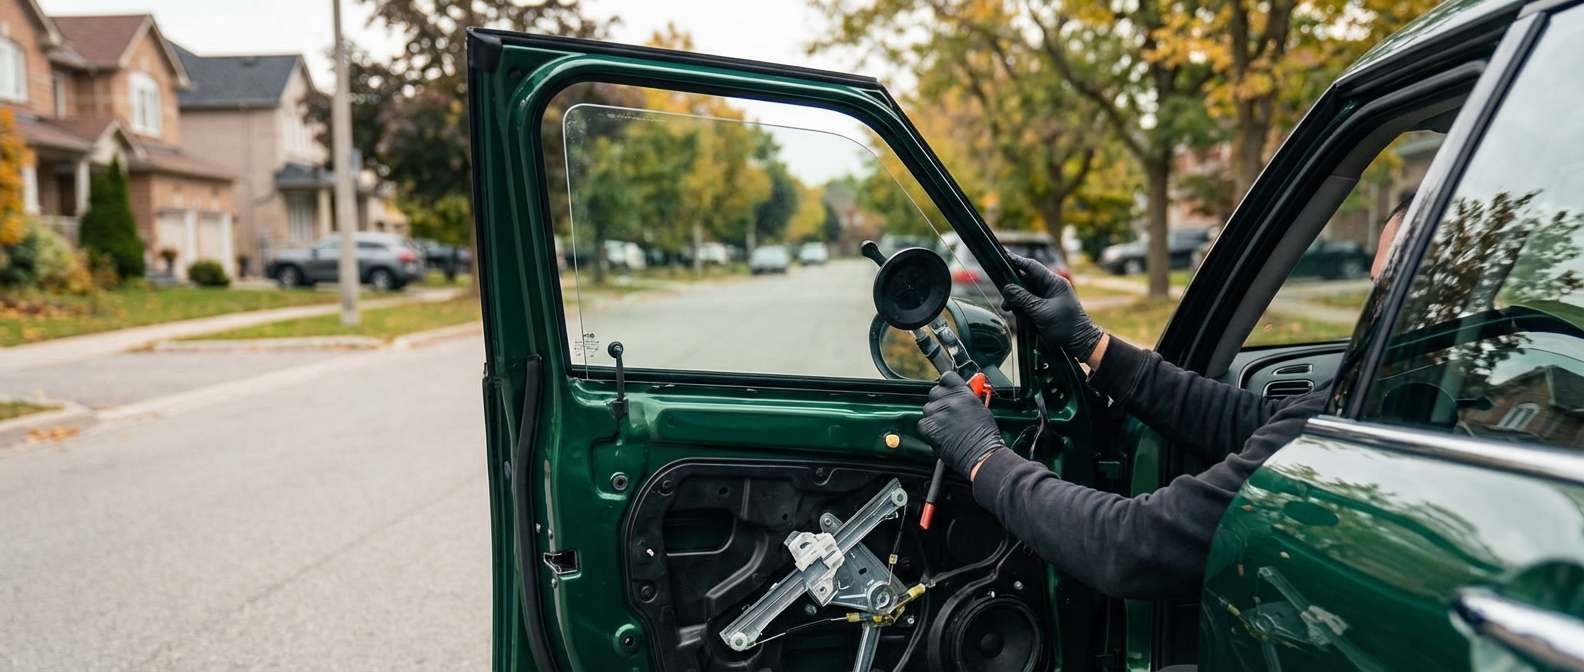
Precision Door Glass Replacement for the 2016-2024 MINI Clubman (F54)
The 2016-2024 MINI Clubman (F54) represents a sophisticated evolution in premium compact vehicles, seamlessly blending iconic British styling with an elongated, highly functional chassis. Known for its distinct split rear barn doors, expansive interior, and meticulously engineered acoustic cabin, the F54 is a masterclass in modern automotive design. However, when your side door glass shatters, it compromises far more than just the sleek aesthetics of your Clubman. A broken window exposes your premium interior to the elements, nullifies your vehicle’s security, and destroys the carefully tuned sound dampening that keeps harsh road noise at bay. At AlexWindshield, we do not just replace auto glass; we restore the structural and acoustic integrity of your MINI to its original factory standards.
As a senior Master Technician, I have seen firsthand the damage that improper glass installation can cause to the intricate internal components of European vehicles. The F54 Clubman requires a highly specialized approach, demanding precise tooling, an understanding of complex electrical door components, and exact material applications. Whether your vehicle has suffered from a break-in, a severe storm, or an unexpected collision with road debris, our comprehensive door glass replacement service guarantees a flawless restoration.
Mobile Auto Glass Excellence Across the Greater Toronto Area (GTA)
We understand that a shattered window is a stressful, disruptive event. Driving with a broken door glass is not only uncomfortable but highly unsafe. That is why AlexWindshield brings our state-of-the-art mobile glass shop directly to your location. We proudly offer comprehensive mobile coverage throughout the Greater Toronto Area (GTA), ensuring you never have to navigate busy highways with a compromised vehicle.
- Vaughan: Whether you are parked at a bustling corporate office or in your residential driveway, our technicians arrive fully equipped to handle your MINI Clubman door glass replacement on-site in Vaughan.
- Richmond Hill: We provide rapid, reliable mobile dispatch to all neighborhoods within Richmond Hill, ensuring your vehicle is secured and restored without you ever having to leave your home.
- Markham: From commercial plazas to quiet suburban streets, our mobile auto glass repair units in Markham are stocked with premium OEM-quality glass and high-grade adhesives to perform flawless installations wherever you are.
The A to Z Door Glass Replacement Process for the F54 MINI Clubman
Replacing the door glass on a 2016-2024 MINI Clubman is a highly technical procedure that goes far beyond simply dropping a new pane of glass into a slot. Our rigorous, step-by-step methodology ensures zero damage to your interior, perfect functionality, and a permanent, rattle-free fit.
Step 1: Vehicle Preparation and Interior Protection
The interior of the F54 features premium materials, intricate ambient lighting rings, and high-end upholstery that must be fiercely protected. Before any mechanical work begins, we lay down heavy-duty protective blankets over the seats, center console, and floorboards. We also apply automotive-grade protective tape around the exterior door frame to prevent any accidental scratches to your MINI’s clear coat during the procedure. Preparation is the cornerstone of our professional standard.
Step 2: Removal of Door Panels and Component Disconnection
To access the inner workings of the door, we begin the meticulous removal of door panels. The F54 Clubman utilizes a series of hidden Torx screws concealed behind decorative trim pieces, along with highly robust structural clips. Using specialized non-marring nylon pry tools, we carefully release the interior door card. Once detached, we cautiously unhook the Bowden cable connected to the interior door handle and disconnect the complex wiring harnesses responsible for the power windows, side mirrors, speakers, and ambient lighting modules. The utmost care is taken to preserve the delicate factory clips.
Step 3: Vacuuming All Broken Glass Shards
When tempered door glass breaks, it explodes into thousands of tiny, sharp cubes that infiltrate every crevice of your vehicle. A critical phase of our service is vacuuming all broken glass shards from the vehicle's interior. We utilize high-powered, industrial shop vacuums with specialized micro-crevice attachments to extract glass from the carpets, under the seats, and inside the center console. More importantly, we vacuum deep inside the internal cavity of the door shell itself. Leaving even a single shard inside the door cavity will result in an infuriating rattle every time you close the door or drive over a bump. We guarantee a completely glass-free environment.
Step 4: Removal of the Old Glass and Surface Cleaning
With the inner door cavity exposed and cleaned of loose debris, we proceed to the removal of the old glass remnants still attached to the window regulator mechanism. We lower the regulator carrier brackets to the service position and carefully extract the shattered glass chunks from the lifting clamps. Next, we perform an exhaustive surface cleaning of the rubber window run channels and weather-stripping. Using an alcohol-based, residue-free cleaner, we meticulously scrub the channels to ensure no microscopic glass dust or old lubricants remain, which could scratch the new glass or cause the window motor to struggle.
Step 5: Primer Application and High-Quality Adhesive Integration
While some standard vehicles rely solely on friction clamps, guaranteeing a permanent, vibration-free fit for premium replacement glass often requires superior chemical bonding at the regulator mounting points. We start by prepping the mounting base of the new OEM-quality glass. This involves a precise primer application to the glass bonding area, which acts as a chemical bridge. Once the primer flashes (dries), we proceed with the installation of the new glass using high-quality adhesive. We apply a bead of premium, rapid-curing automotive urethane adhesive into the lower regulator mounting brackets. This ensures that once the glass is seated, it is structurally bonded to the lifting mechanism, preventing any future shifting, rattling, or detachment—a crucial step for enduring the extreme temperature fluctuations of the Canadian climate.
Step 6: Precision Glass Installation and Alignment
With the adhesive prepped in the carrier brackets, the new door glass is carefully angled and fed through the upper window slot. We meticulously guide the glass into the vertical run channels, ensuring it seats perfectly within the rubber seals. The glass is then lowered into the regulator brackets, pressing firmly into the high-quality adhesive and mechanically bolted into place. We verify the pitch and angle of the glass to ensure it perfectly matches the contours of the MINI Clubman's aerodynamic frame.
Step 7: Vapor Barrier Resealing and Panel Reassembly
Behind the door panel lies the vapor barrier—a crucial moisture shield sealed with butyl tape. During panel removal, this barrier is often carefully peeled back. Failing to reseal this barrier perfectly will result in water leaking directly into your MINI’s cabin during the next heavy rainstorm. We use fresh automotive butyl to flawlessly reseal the vapor barrier, ensuring a watertight cabin. Afterward, we reconnect all electrical harnesses, reattach the Bowden cable, and securely snap the interior door panel back into its factory position, fastening all hidden Torx screws.
Step 8: System Initialization, Testing, and Final Cleanup
Modern MINIs are equipped with an "anti-trap" safety feature that must be recalibrated whenever a window is replaced or a motor is disconnected. We perform a specialized window initialization sequence, programming the exact upper and lower limits of the new glass into the vehicle's computer module. This ensures the one-touch auto-up and auto-down functions operate flawlessly. We run the window through several cycles to test for smooth, silent operation. Finally, we clean the new glass with ammonia-free automotive glass cleaner and perform a secondary sweep of the interior to ensure absolute perfection.
Why the F54 Clubman Demands Expert Technicians
The electrical and mechanical architecture of the 2016-2024 MINI Clubman is deeply integrated. A simple glass replacement, if done by an untrained hand, can trigger airbag warning lights (due to door crash sensors), disrupt the ambient lighting loops, or burn out the window regulator motor due to misaligned run channels. As a Master Technician, I ensure every specific torque spec, chemical cure time, and digital recalibration is executed with uncompromising precision. We do not cut corners; we follow the stringent guidelines set forth by the manufacturer to protect your investment.
Choose AlexWindshield for Unmatched Quality and Peace of Mind
When disaster strikes your vehicle's side windows, you need a partner who combines technical mastery with unparalleled convenience. AlexWindshield is recognized as the premier destination for trusted, professional mobile auto glass services in the GTA. We pride ourselves on eliminating the hassle of auto glass repair by bringing our expertise directly to your doorstep, whether you reside in Vaughan, Markham, or Richmond Hill.
Your MINI Clubman deserves the highest standard of care, and your safety is our ultimate priority. That is why every single door glass, back glass, and windshield replacement we perform is backed by our comprehensive Lifetime Warranty. This warranty covers all workmanship, ensuring that you will never have to worry about water leaks, wind noise, or loose glass. Trust the local experts who treat your vehicle like their own. Contact AlexWindshield today to schedule your mobile F54 MINI Clubman door glass replacement and experience true automotive excellence.




