Restoring the Look and Safety of Your 3rd Generation Luxury SUV: Acura MDX 2014-2020 Back Glass Replacement
The third-generation Acura MDX (2014-2020) is a masterclass in combining family functionality with executive luxury. From its Jewel Eye™ LED headlights to its aggressive yet refined stance, every line matters. However, nothing disrupts the sleek aesthetic of your MDX—or your peace of mind—quite like a shattered rear windshield. Unlike the front windshield, the back glass is typically made of tempered safety glass. When it breaks, it doesn't just crack; it explodes into thousands of granular pebble-like pieces, compromising the security of your vehicle’s cabin, exposing your interior to the harsh Canadian weather, and rendering your rearview visibility useless.
At AlexWindshield, we understand that your Acura MDX is more than just a vehicle; it is a significant investment. As a Senior SEO Specialist and Master Technician, I have overseen countless replacements on this specific platform. This guide details our specialized approach to back glass replacement for the Acura MDX 2014-2020, ensuring that when we are finished, your SUV looks and functions exactly as it did leaving the showroom floor.
The Critical Nature of Rear Glass Replacement
Driving with a broken rear window in the Greater Toronto Area (GTA) is not just an inconvenience; it is a safety hazard. The back glass of your Acura MDX plays several vital roles beyond just keeping the wind out.
- Structural Integrity: In modern SUVs, the glass contributes to the overall rigidity of the rear liftgate.
- Defrosting Capability: The 2014-2020 MDX utilizes a complex rear defroster grid. A proper replacement must ensure high-conductivity connections so your visibility remains clear during our freezing winters.
- Theft Prevention: A taped-up rear window is a beacon for thieves. Immediate replacement secures your cargo area and personal belongings.
- Interior Protection: Rain and snow entering through a broken window can ruin the leather upholstery and damage the sophisticated electronics housed in the rear cargo area.
Service Availability: Serving the Entire Greater Toronto Area
We know that when your back glass shatters, driving the vehicle to a shop is often dangerous or impossible due to loose glass falling out. That is why AlexWindshield brings the repair shop to you. We offer premium mobile auto glass service across the GTA.
Whether you are parked in the driveway of your home in Vaughan, at your office in Markham, or shopping in Richmond Hill, our mobile units are fully equipped to handle this complex replacement on-site. We carry our own power sources, high-end vacuum systems, and climate-controlled urethane storage to ensure a factory-grade install regardless of your location.
Step-by-Step Technical Process: A Master Technician’s Approach
Replacing the back glass on an Acura MDX is significantly more labor-intensive than a standard windshield replacement due to the cleanup required and the electronics involved. Below is the A-to-Z process we strictly adhere to at AlexWindshield.
Phase 1: Site Preparation and Vehicle Protection
Before we touch a single shard of glass, we prepare the vehicle to prevent any collateral damage.
- Exterior Protection: We apply protective fender covers and tape off the painted surfaces surrounding the rear liftgate. This prevents scratches from tools or glass debris during the removal process.
- Interior Shielding: The Acura MDX features premium leather and soft-touch materials. We cover the rear seats and cargo floor with heavy-duty blankets to catch falling glass and prevent dust from settling into the upholstery pores.
- Wiper Assembly Removal: On the 2014-2020 MDX, we carefully remove the rear wiper arm and the motor assembly cover if necessary to access the bottom edge of the glass.
Phase 2: The Intensive Cleanup (The "De-Shattering")
This is the step that separates a generic glass shop from a specialist like AlexWindshield. When tempered glass breaks, it gets everywhere.
- Bulk Glass Removal: We carefully remove the larger chunks of glass remaining in the frame using safety gloves and suction tools.
- High-Power Vacuuming: We vacuum the cargo area, the rear seats, and the floor mats. We also vacuum the exterior crevices around the bumper and license plate area where glass often collects.
- Interior Panel Removal: This is crucial for the MDX. We must remove the interior liftgate trim panels. When the glass explodes, shards fall inside the hollow metal structure of the rear hatch. If these are not removed, your car will sound like a maraca every time you open the trunk or drive over a bump.
- Internal Cavity Cleaning: Once the panel is off, we use flexible vacuum attachments to snake into the bottom of the liftgate door to extract every hidden piece of glass.
Phase 3: Frame Preparation and Old Adhesive Removal
Once the vehicle is clean, we prepare the bonding surface.
- Pinch Weld Trimming: Using the "Full Cut" method, we trim the old urethane adhesive down to approximately 1-2mm. This leaves a clean base for the new adhesive to bond to.
- Corrosion Inspection: We inspect the metal frame (pinch weld) for any scratches or rust. If any bare metal was exposed during the glass breakage or removal, we treat it with a rust-inhibiting primer.
- Chemical Cleaning: We scrub the pinch weld with a specialized contaminant remover to eliminate road grease, dirt, and silicone residues that could compromise the bond.
Phase 4: Primer Application and Glass Preparation
While the vehicle prep dries, we prepare the new glass unit.
- Glass Selection: We use only OEE (Original Equipment Equivalent) or OEM glass for the Acura MDX 2014-2020. This ensures the privacy tint matches the factory specification and the heating elements have the correct resistance.
- Activator and Primer: We apply a glass activator to the frit band (the black ceramic edge) of the new glass, followed by a high-grade automotive primer. This chemical step is mandatory to ensure the urethane adhesive sticks permanently to the glass.
- Hardware Transfer: We transfer any molding, clips, or brackets from the old glass setup to the new one if they do not come pre-installed.
Phase 5: Urethane Application and Installation
This is the critical bonding phase.
- High-Viscosity Urethane: We apply a fresh bead of premium, fast-curing urethane adhesive directly to the pinch weld or the glass (depending on the specific variation of the MDX model year). We use a "V-bead" profile which ensures maximum surface area contact and eliminates potential air leaks.
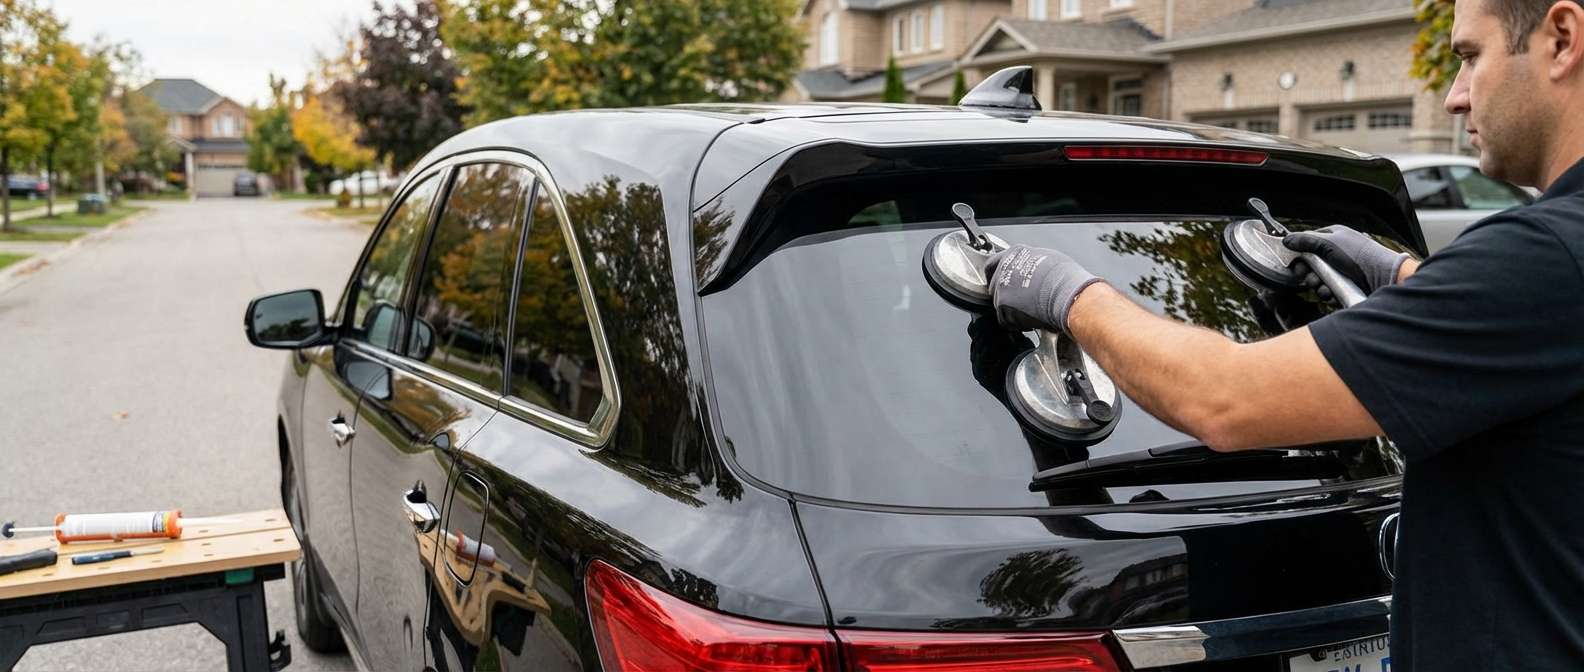
- Setting the Glass: Using specialized suction cups, two technicians carefully lift and position the new back glass into the opening. Accuracy is paramount here to ensure equal gaps on the left, right, and top sides.
- Decking the Glass: We gently press the glass into the urethane to establish the bond. We check the flushness against the roofline and pillars to ensure wind noise is eliminated.
Phase 6: Reassembly and Connectivity
The glass is in, but the job isn't done.
- Defroster Connection: We reconnect the electrical tabs for the rear defroster grid. We test the conductivity to ensure the heating element is functioning correctly.
- Panel Reinstallation: We reinstall the interior liftgate trim panels, ensuring all clips snap back into place securely.
- Wiper Reinstallation: The rear wiper arm is reattached and aligned perfectly so it sweeps the correct area of the glass.
- Final Clean & Inspection: We clean the new glass inside and out with streak-free cleaner and do a final vacuum sweep of the area to ensure no rogue glass shards remain.
Why the Acura MDX Requires Specialized Attention
The 2014-2020 Acura MDX features a power liftgate system. The added weight of the glass and the constant opening and closing of the hatch put significant stress on the adhesive bond. Improper installation or using low-quality glue can lead to the glass shifting over time, causing water leaks or even detachment.
Furthermore, the Acura MDX often comes with integrated antennas embedded in the rear glass for radio and GPS signals. Using a cheaper, generic aftermarket glass can interfere with your navigation system and radio reception. At AlexWindshield, we source glass that meets all Acura technical specifications for electrical conductivity and signal clarity.
The AlexWindshield Guarantee: Quality You Can Trust
When you choose AlexWindshield for your Acura MDX back glass replacement, you are choosing unparalleled expertise in the GTA.
Lifetime Warranty
We stand behind our craftsmanship. We offer a Lifetime Warranty on our installation services. This covers you against wind noise, water leaks, and loose moldings for as long as you own the vehicle. If the seal fails, we fix it—no questions asked.
Mobile Convenience
Don't waste your day sitting in a waiting room. Whether you are in Vaughan, Richmond Hill, Markham, or anywhere in the surrounding areas, we come to you. Our mobile vans are essentially workshops on wheels, capable of performing factory-quality replacements in your driveway.
Book Your Replacement Today
A shattered back glass compromises the safety, security, and luxury of your Acura MDX. Don't settle for quick fixes or inexperienced technicians who might leave broken glass rattling inside your tailgate. Trust the Master Technicians at AlexWindshield to restore your vehicle to its original glory.
Contact AlexWindshield today to schedule your mobile appointment. We offer competitive pricing, handle insurance claims efficiently, and guarantee a safe, debris-free result.




