Expert Vent Glass Replacement for the 2009-2013 Subaru Forester
The 2009-2013 Subaru Forester (widely celebrated by enthusiasts as the SH generation) marked a pivotal evolution for the brand, breaking away from its traditional station wagon roots to embrace a true, commanding crossover SUV stance. One of the defining characteristics of this generation is its expansive, boxy greenhouse design, which provides drivers with unparalleled panoramic outward visibility. However, this vast expanse of automotive glass also means that the smaller, yet structurally vital, vent glass panels are frequently exposed to hazards. Whether targeted by opportunistic thieves or shattered by rogue road debris on the highway, a broken vent glass compromises both the security and the aesthetic integrity of your crossover. Restoring this specific glass requires far more than a simple patch job; it demands the precision, technical expertise, and meticulous care of a Master Technician.
At AlexWindshield, we specialize in precise, OEM-standard vent glass replacement tailored specifically for the 2009-2013 Subaru Forester. We understand the unique architectural nuances of this vehicle's doors and quarter panels. Our comprehensive replacement protocol ensures that every shard of shattered glass is removed, the vehicle's interior is fully protected, and the new glass is installed with flawless structural integrity.
Why the 2009-2013 Subaru Forester Vent Glass Requires Specialist Attention
The vent glass on the Subaru Forester is often integrated tightly into the rear door assembly or the rear quarter section, separated from the primary moving window by a rigid division bar and complex weatherstripping. Because this glass is stationary and tightly bonded or bolted into the frame, replacing it is a highly technical procedure. Attempting a DIY fix or relying on inexperienced technicians can lead to severe water leaks, excessive wind noise, and even internal door rust.
As a senior SEO specialist and Master Technician, I have engineered our replacement process to address these specific challenges. We proudly provide top-tier auto glass solutions across the Greater Toronto Area (GTA), ensuring that whether you are commuting from Vaughan, residing in Richmond Hill, or working in Markham, you have access to industry-leading mobile auto glass expertise.
Comprehensive Step-by-Step Vent Glass Replacement Process
At AlexWindshield, our replacement methodology goes far beyond simply swapping out a piece of glass. We follow a strict, A-to-Z technical protocol designed to restore your Subaru Forester to its original factory condition. Here is our detailed, step-by-step master technician process for a flawless vent glass replacement.
Step 1: Vehicle Pre-Inspection and Thorough Interior Preparation
Before any tools are lifted, we conduct a comprehensive inspection of the damage. Because vent glass is typically made of tempered glass, an impact will cause it to explode into thousands of tiny, granular pieces. To prevent these sharp fragments from damaging your vehicle's upholstery or causing injury, our preparation phase is rigorous.
- Protective Drapery: We drape high-grade protective covers over the Forester’s seats, center console, and floor mats.
- Exterior Masking: Automotive-grade masking tape is applied to the exterior paint surrounding the vent glass frame to prevent any accidental scratches during the extraction process.
- Damage Assessment: We inspect the window division bar, the surrounding rubber run-channel weatherstripping, and the window regulator to ensure no ancillary components were damaged during the break-in or impact.
Step 2: Safe Removal of Door Panels and Interior Trim
To properly access the mounting points and the deep channels where the vent glass sits, we must dismantle the interior door components. This is a delicate process that requires specialized trim removal tools to avoid breaking the plastic retaining clips common in the 2009-2013 Forester models.
- Hardware Extraction: We carefully remove the hidden screws located behind the interior door handle and the armrest control panel.
- Panel Detachment: Using non-marring nylon pry tools, we detach the interior door panel, disconnecting the power window switches and door lock cables.
- Vapor Barrier Peel: We carefully peel back the factory plastic vapor barrier, preserving the butyl adhesive so it can be securely resealed later, preventing future water leaks into the cabin.
Step 3: Complete Broken Glass Evacuation and Vacuuming
This is one of the most critical steps in our service protocol. When side or vent glass shatters, the fragments do not just fall on the seats; they drop deep into the internal cavity of the door. If left uncleaned, these fragments will rattle endlessly every time you close the door or drive over a bump, and they can even jam the main window's moving mechanisms.
- Deep Cavity Vacuuming: We use high-powered, industrial shop vacuums with flexible, narrow crevice tools to reach the very bottom of the internal door shell, vacuuming all broken glass shards completely.
- Interior Sweep: We meticulously vacuum the vehicle's interior carpets, the seams of the seats, and the floorboards to guarantee no hidden glass dust or fragments remain to endanger passengers.
- Track Clearing: The rubber window tracks and weatherstripping are blown out with compressed air and brushed clean to ensure the new glass sits perfectly flush.
Step 4: Extraction of the Old Glass Frame and Urethane
Depending on the specific configuration of your Forester's vent glass (encapsulated or bolted/bonded), the remnants of the old frame and adhesive must be surgically removed.
- Division Bar Removal: We unbolt and gently lower the metal division bar that separates the roll-down window from the stationary vent glass.
- Urethane Cutting: If the glass is bonded, we use specialized cold knives and auto glass wire-cutting systems to slice through the original factory urethane bead without damaging the metal pinch weld.
- Frame Clearing: Any remaining chunks of shattered glass still glued into the frame are safely extracted and discarded.
Step 5: Meticulous Surface Cleaning and Primer Application
A new piece of glass is only as secure as the surface it is bonded to. Proper chemical preparation is the secret to a leak-proof, factory-grade seal.
- Pinch Weld Trimming: We trim the old urethane down to a thin, uniform base layer of about 1-2 millimeters, which provides the best bonding surface for the new adhesive.
- Decontamination: The metal frame and pinch weld are thoroughly cleaned using an alcohol-based, lint-free auto glass cleaner to remove dirt, grease, and microscopic debris.
- Primer Application: We apply a specialized, fast-drying auto glass primer to any exposed bare metal on the pinch weld. This step is absolutely mandatory; it prevents future rust formation and acts as a chemical bridge, ensuring maximum adhesion between the metal, the old urethane base, and the new adhesive.
Step 6: High-Quality Adhesive Application and Glass Installation
With the framework prepped and primed, we are ready to install the brand-new, OEM-equivalent vent glass.
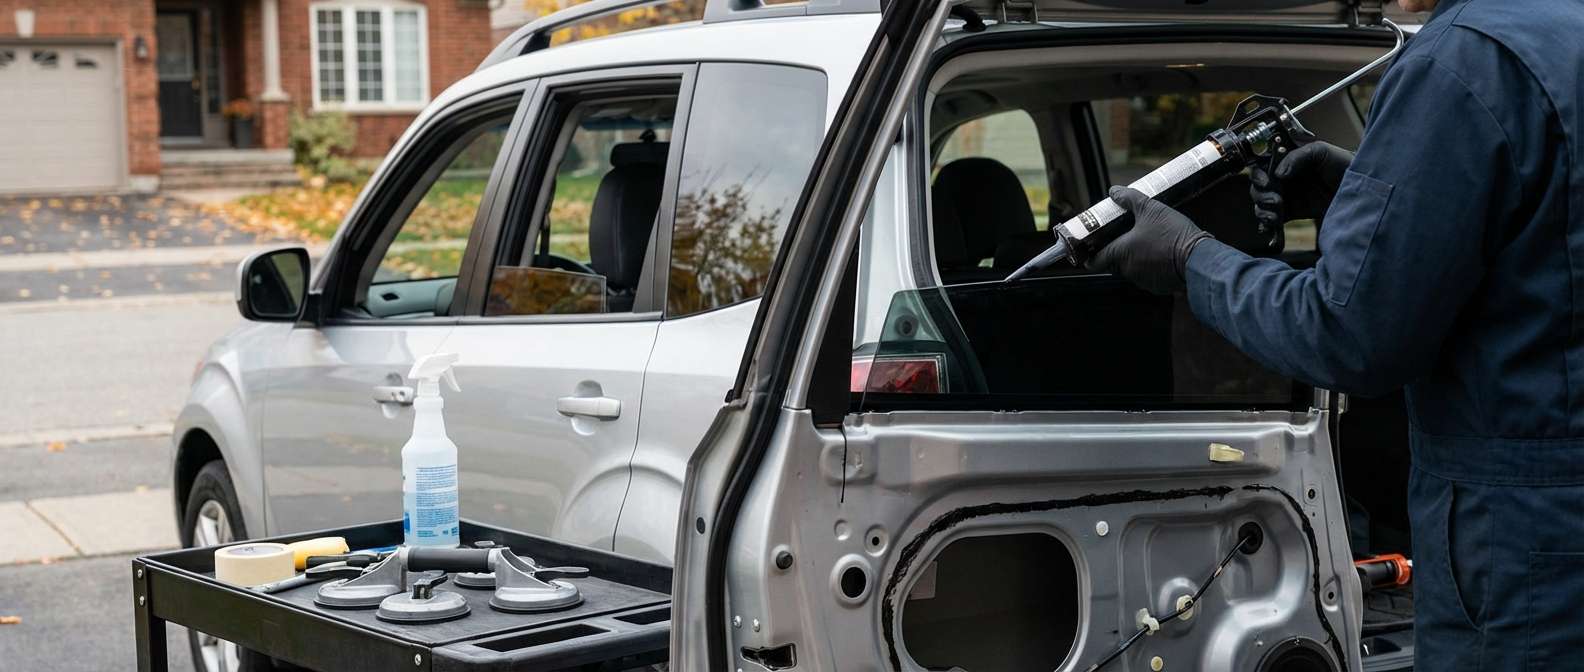
- Adhesive Extrusion: Using a professional-grade caulking gun, we extrude a continuous, perfectly uniform V-bead of high-quality, fast-curing automotive polyurethane adhesive around the perimeter of the frame.
- Precision Setting: The new vent glass is carefully aligned and pressed into the fresh urethane bed. We apply controlled pressure to ensure the glass makes full contact with the adhesive, creating an airtight and watertight seal.
- Re-securing the Division Bar: The metal division bar is guided back into place, firmly bolted down, and the rubber weatherstripping is seated smoothly around the new glass to prevent wind drag and noise.
Step 7: Reassembly, Curing, and Final Quality Assurance
The final phase involves restoring your Subaru Forester to its pre-damage glory and ensuring everything functions flawlessly.
- Interior Reassembly: The vapor barrier is resealed, door lock cables and window switches are reconnected, and the interior door panel is snapped back into place and secured with its original hardware.
- Functional Testing: We roll the primary door window up and down multiple times to ensure the newly secured division bar and vent glass do not impede its movement.
- Safe Drive-Away Time (SDAT): We allow the high-quality adhesive to cure. Thanks to the advanced urethane we use, your vehicle will meet stringent safety standards and be ready to drive in a matter of hours.
- Final Polish: The new vent glass, along with the surrounding windows, is treated with a streak-free glass cleaner, leaving your Forester looking pristine.
The Critical Importance of Immediate Vent Glass Repair
Ignoring a shattered vent glass on your 2009-2013 Subaru Forester is a risk you cannot afford to take. While the panel may be small, its absence leaves your vehicle highly vulnerable. Rain, snow, and moisture can easily bypass the broken barrier, soaking into your door panels and destroying the complex electrical wiring, power window motors, and interior upholstery. Furthermore, an open vent glass acts as an open invitation to thieves, compromising the security of your personal belongings and the vehicle itself. By relying on our Master Technicians, you ensure your crossover is immediately secured, weatherproofed, and structurally sound, maintaining the safety standards Subaru is known for.
Premium Mobile Auto Glass Services Across the Greater Toronto Area (GTA)
We know that dealing with broken auto glass is a massive inconvenience. Driving a vehicle with a shattered window to a repair shop is not only uncomfortable due to the wind and noise, but it can also be dangerous. That is why AlexWindshield brings the auto glass shop directly to your driveway, workplace, or parking lot.
Our fleet of fully equipped, state-of-the-art mobile service vans operates extensively throughout the Greater Toronto Area (GTA). Whether you need an emergency repair while shopping in Vaughan, while working at your corporate office in Richmond Hill, or from the comfort of your home in Markham, our Master Technicians arrive fully prepared. We carry all the necessary high-grade adhesives, replacement glass panels, heavy-duty vacuums, and specialized tools required to perform a flawless vent glass replacement on-site, regardless of your location.
Book Your Subaru Forester Vent Glass Replacement with AlexWindshield Today
When the unexpected happens and your 2009-2013 Subaru Forester suffers vent glass damage, do not settle for subpar repairs that leave glass shards in your doors or result in frustrating water leaks. Trust the deep technical expertise and meticulous care of a true Master Technician.
AlexWindshield stands as the premier, trusted expert for mobile auto glass services across the GTA. We back every single installation with our comprehensive Lifetime Warranty against leaks, wind noise, and manufacturer defects, giving you ultimate peace of mind on the road. Do not let a broken window compromise your safety or your vehicle's interior. Contact AlexWindshield today to schedule your mobile vent glass replacement in Vaughan, Richmond Hill, Markham, or anywhere in the Greater Toronto Area, and experience the gold standard in automotive glass repair.




