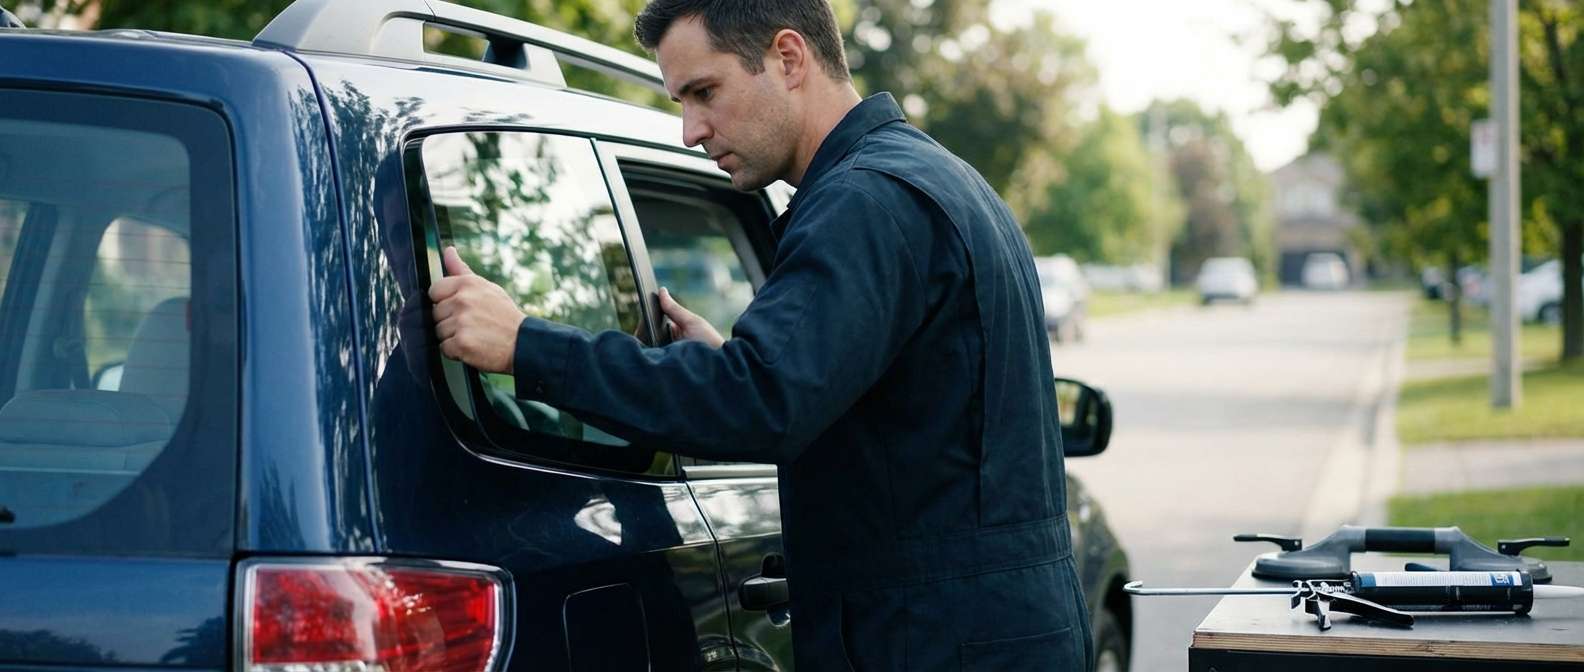
Subaru Forester 2009-2013 Quarter Glass Replacement: Precision Service by AlexWindshield
The 2009-2013 Subaru Forester, affectionately known by enthusiasts as the SH generation, marked a pivotal shift in the legendary model’s lineage, transforming it from a rugged wagon into a versatile, high-riding compact SUV. One of the defining characteristics of this generation is its expansive "greenhouse"—the generous glass area that prioritizes exceptional driver visibility. The rear quarter glass plays a critical role in this design, practically eliminating rear blind spots while completing the vehicle's iconic boxy profile. However, when this specialized encapsulated panel shatters due to an unexpected break-in, road debris, or a severe impact, you lose much more than a window. You compromise the structural integrity, security, and weatherproofing of your cherished Subaru. As a Master Technician at AlexWindshield, I am going to walk you through the exacting, specialized process we utilize to restore your Forester to factory-perfect condition.
Dedicated Mobile Auto Glass Service Across the Greater Toronto Area (GTA)
A shattered quarter glass leaves your vehicle highly vulnerable to the unpredictable Canadian elements and potential theft, making it unsafe to drive to a traditional repair shop. That is why AlexWindshield brings our state-of-the-art auto glass shop directly to your driveway or workplace. We provide comprehensive, rapid-response mobile auto glass replacement across the Greater Toronto Area (GTA).
Whether you are navigating the busy industrial sectors of Vaughan, parked at a corporate office in Markham, or residing in the quiet suburban neighborhoods of Richmond Hill, our fully equipped mobile service vans arrive on-site with all the premium materials required. We understand that GTA drivers demand efficiency without sacrificing quality, which is why our mobile service is designed to deliver a flawless, dealership-level installation wherever you are located.
The Master Technician Approach: Step-by-Step Quarter Glass Replacement
Replacing the rear quarter glass on a 2009-2013 Subaru Forester is not a simple "pop-out and pop-in" job. This specific glass panel is securely bonded to the vehicle's body using heavy-duty urethane adhesive and features an integrated factory molding (encapsulation). Because quarter glass is made of tempered safety glass, it is designed to explode into thousands of tiny, pebble-like shards upon impact. Here is the meticulous, A-to-Z process we follow at AlexWindshield to ensure a safe, clean, and permanent replacement.
Step 1: Comprehensive Vehicle Assessment and Interior Protection
Before any tools touch your Subaru, we perform a thorough inspection of the damage and the surrounding bodywork. The safety and cleanliness of your vehicle's interior are our top priorities. We begin by applying heavy-duty automotive masking tape around the exterior window frame to protect your Forester’s paint from accidental tool scratches. Inside, we drape thick, protective drop cloths over the rear 60/40 split-folding seats, the cargo floor, and the surrounding side panels. This vital preparation ensures that no adhesive or debris damages your upholstery during the procedure.
Step 2: Meticulous Vacuuming and Glass Shard Removal
Unlike a laminated windshield that cracks but stays intact, a compromised quarter glass shatters entirely. These dangerous glass fragments find their way into every crevice of your cargo area. At AlexWindshield, we consider deep cleaning an essential part of the replacement process. We fold down the rear seats, remove the retractable cargo cover, and lift the trunk floorboard to access the spare tire well. Using high-powered industrial shop vacuums, we extract every single shard of broken glass from the carpet, seat tracks, and interior weatherstripping, ensuring your Subaru is safe for your family and pets.
Step 3: Removing Interior Trim Panels
To safely access the inner frame and cleanly remove the remaining urethane, the interior trim must be partially dismantled. The 2009-2013 Forester utilizes specialized plastic retaining clips holding the C-pillar and D-pillar interior garnish panels. Using specialized non-marring nylon pry tools, we carefully detach these interior trim pieces. This step is crucial; attempting to cut the old glass out without removing the interior trim often results in permanently scarred interior plastics. By moving the trim out of the way, we gain a clear, unobstructed view of the pinch weld from the inside.
Step 4: Cutting Out the Old Encapsulation and Urethane
With the workspace prepped, we must cut through the original, hardened urethane adhesive that held the old glass in place. For the SH Forester, we utilize advanced cold knife tools and specialized braided cutting wire. The cutting wire is fed through the adhesive barrier from the inside out. We then carefully pull the wire around the perimeter of the quarter glass frame, slicing through the tough urethane bead without damaging the metal frame. Once the adhesive is fully separated, we extract the old encapsulated molding and any remaining large chunks of glass.
Step 5: Pinch Weld Preparation and Cleaning
The foundation of a safe auto glass installation is the condition of the vehicle's pinch weld (the metal frame where the glass sits). We cannot simply apply new glue over a messy, uneven surface. Using a sharp, specialized precision scraper, we expertly trim the existing factory urethane down to a thin, uniform base layer of approximately 1 to 2 millimeters. This thin layer of old urethane actually provides the best chemical bonding surface for the new adhesive. After trimming, we thoroughly brush away all dust, dirt, and microscopic glass dust, wiping the entire perimeter down with an alcohol-based, lint-free automotive glass cleaner.
Step 6: Specialized Primer Application
During the scraping process, if the cutting tools expose any microscopic scratches down to the bare metal of your Forester, those areas become highly susceptible to future rust—especially given the harsh road salt used during GTA winters. To prevent this, we apply a specialized, fast-curing automotive black primer to any bare metal spots on the pinch weld. We also apply an adhesion-promoting glass primer to the ceramic frit band (the black painted border) of your new quarter glass. This dual-priming process guarantees an unbreakable chemical bond between the metal, the urethane, and the glass.
Step 7: Applying High-Quality Urethane Adhesive
We strictly utilize premium, OEM-grade, fast-curing urethane adhesive. Using a high-ratio professional caulking gun, we apply a continuous, perfectly uniform "V-bead" of urethane directly onto the prepared pinch weld. The V-shape is a Master Technician standard; as the glass is pressed into place, the peak of the V collapses, spreading the adhesive evenly and eliminating the risk of air pockets or water leaks. For the 2009-2013 Forester, matching the exact height of the factory bead is critical so the integrated molding sits perfectly flush with the vehicle's body lines.
Step 8: Precision Glass Installation and Curing
With the urethane applied, time is of the essence. We carefully align the new, OEM-quality quarter glass—complete with the correct factory-matching privacy tint—over the frame. Using specialized suction cups, we precisely set the glass into the fresh urethane bed. We apply firm, even pressure around the edges to ensure the encapsulated molding snaps snugly against the bodywork. Retention tape is then applied to hold the glass firmly in place while the chemical curing process begins. Finally, we reinstall all interior C-pillar and D-pillar trim pieces, ensuring every clip is securely fastened.
Why the Details Matter for Your Subaru Forester
When you own an all-wheel-drive vehicle designed for adventure like the Subaru Forester, you rely on its cabin to be whisper-quiet and completely weatherproof. An improper quarter glass installation can result in:
- Annoying Wind Noise: A poorly applied urethane bead will create whistling sounds at highway speeds.
- Water Leaks: Gaps in the adhesive will allow rain and snowmelt to seep into the cargo area, leading to mold and electrical issues.
- Rust Degradation: Skipping the essential primer step will inevitably cause the metal pinch weld to rot from the inside out.
- Mismatched Aesthetics: Using low-quality aftermarket glass can result in mismatched privacy tint or warped external moldings that ruin the look of your SUV.
Trust AlexWindshield for Your Auto Glass Needs in the GTA
Your 2009-2013 Subaru Forester deserves the highest standard of care, and at AlexWindshield, we treat every vehicle as if it were our own. Our elite team of Master Technicians possesses the specific knowledge required to handle the unique structural components of Subaru vehicles. We don't cut corners, we don't rush the process, and we never compromise on safety.
Whether you require mobile service at your home in Vaughan, an emergency cleanup and replacement at your workplace in Markham, or a scheduled appointment in Richmond Hill, we bring unmatched expertise straight to your door. We are so confident in the precision of our craftsmanship and the durability of our premium materials that every single installation is backed by our comprehensive Lifetime Warranty against leaks, wind noise, and workmanship defects.
Don't let a shattered quarter glass disrupt your peace of mind or put your interior at risk. Experience the seamless, professional, and stress-free service that has made AlexWindshield the most trusted name in mobile auto glass replacement across the Greater Toronto Area. Contact us today to schedule your Subaru Forester quarter glass replacement and get back on the road with crystal-clear confidence.




