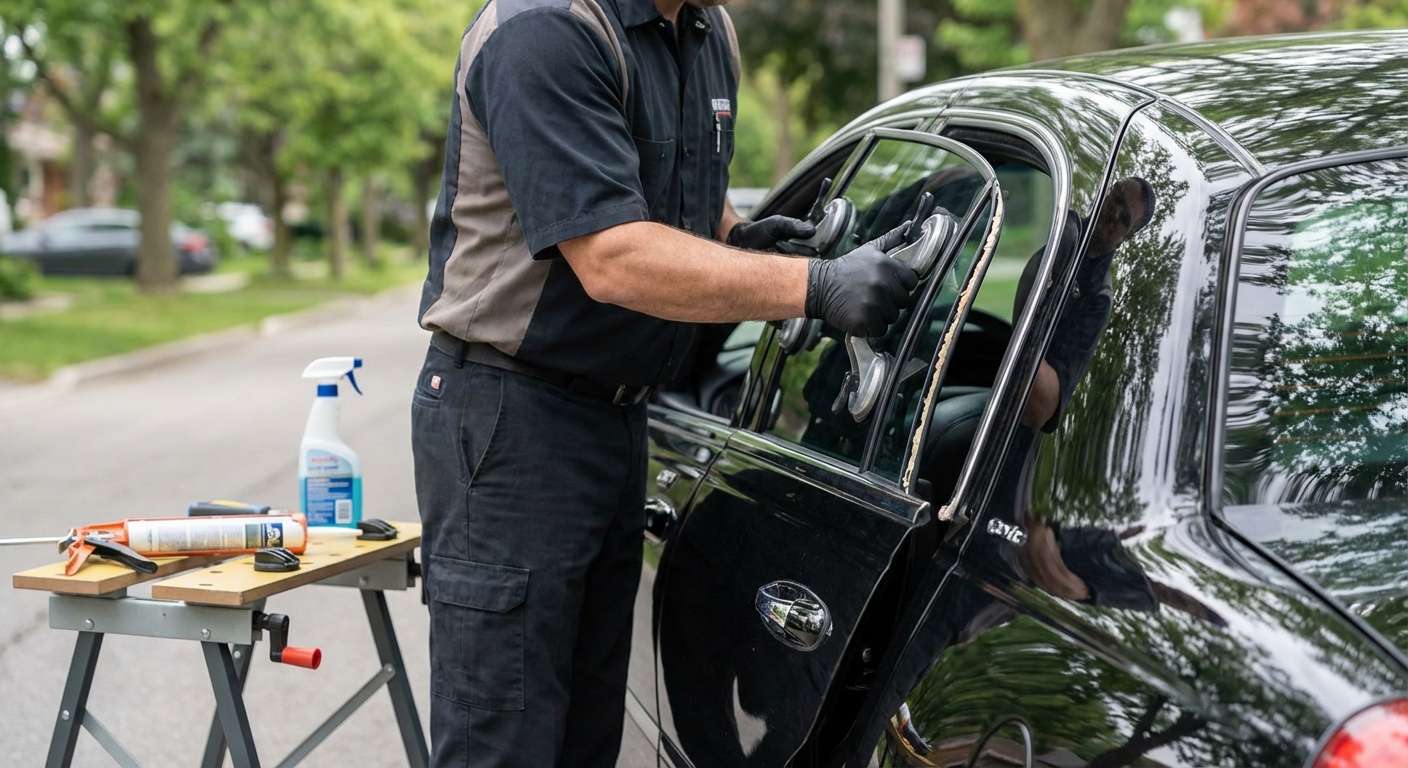
The Pinnacle of Panther Platform Luxury: Restoring Your Lincoln Town Car
The 1998-2011 Lincoln Town Car represents the undisputed zenith of the traditional American luxury sedan. Built on Ford’s legendary Panther platform, this vehicle is celebrated globally for its cavernous cabin, floating-on-air ride quality, and a whisper-quiet interior that rivaled even the most expensive European imports of its era. However, that meticulously engineered acoustic tranquility is instantly shattered when your vehicle suffers a broken vent glass. Whether it is the result of a rogue highway projectile, severe weather, or an unfortunate break-in attempt, a compromised vent window exposes your pristine leather interior to harsh elements and unbearable wind noise.
As a Senior SEO Specialist and Master Technician at AlexWindshield, I have spent years servicing these iconic luxury sedans. Replacing the vent glass on a 1998-2011 Lincoln Town Car requires much more than simply forcing a new piece of glass into a rubber gasket. It demands a deep understanding of the vehicle’s complex door architecture, the division bar assembly, and the specific acoustic seals that make the Town Car so unique. We are proud to bring our specialized, mobile auto glass expertise directly to your driveway anywhere across the Greater Toronto Area (GTA), ensuring your Lincoln is restored to its factory-original glory.
Why the Lincoln Town Car Vent Glass Requires Expert Attention
The vent glass—often located on the rear doors of the Town Car, separated from the main roll-up window by a metal division bar—plays a crucial structural and aesthetic role. Because the 1998-2011 generation features refined aerodynamics and advanced weatherstripping, any slight misalignment during replacement will result in persistent water leaks and annoying highway whistling. At AlexWindshield, we do not believe in shortcuts. We utilize high-quality adhesive, OEM-equivalent glass, and advanced surface preparation techniques to ensure that your Lincoln’s cabin remains the silent sanctuary it was designed to be.
Master Technician's A-to-Z Vent Glass Replacement Process
To guarantee a flawless repair that withstands the test of time and the harsh Canadian climate, our certified technicians follow a strict, multi-point protocol. Here is the detailed, step-by-step process we execute for every Lincoln Town Car vent glass replacement.
Step 1: Comprehensive Vehicle Assessment and Interior Protection
Before any tools are lifted, we begin with a thorough assessment of the damage. We inspect the window frame, the division bar, and the surrounding paintwork for any secondary damage caused by the impact. Because the Lincoln Town Car is renowned for its premium interior materials—including plush carpeting, rich leather seating, and woodgrain accents—protecting your cabin is our immediate priority. We drape heavy-duty, scratch-resistant protective covers over the seats, door panels, and center console. We also apply automotive-grade protective tape to the exterior door frame to ensure our tools do not mar your vehicle's pristine clear coat during the extraction process.
Step 2: Meticulous Broken Glass Vacuuming and Debris Removal
When a tempered vent glass shatters, it explodes into thousands of tiny, granular pieces that infiltrate every conceivable crevice of your vehicle. Leaving even a single shard behind is unacceptable. We begin by deploying a high-powered, HEPA-filtered industrial vacuum to extract all visible glass from the seats, floor mats, and interior trim. However, our job does not stop there. Since the vent glass is integrated into the door assembly, hundreds of glass fragments inevitably fall down into the internal cavity of the door shell. We guarantee the removal of all broken glass shards from both the vehicle's interior and the hidden mechanical spaces, preventing future rattling noises when you drive or close your doors.
Step 3: Door Panel and Hardware Removal
To properly access the vent glass mounting points and clean the internal door cavity, the interior door panel must be carefully extracted. The 1998-2011 Lincoln Town Car features hidden fasteners concealed behind switch panels, door handle bezels, and decorative trim pieces. Using specialized non-marring nylon pry tools, our Master Technicians carefully disengage the retaining clips without snapping the aging plastic. We disconnect the intricate wiring harnesses for the power windows, door locks, and courtesy lights. Once the panel is safely removed and stored, we carefully peel back the vapor barrier (water shield) to expose the inner workings of the door. It is at this stage that we vacuum the bottom of the door shell, removing the final remnants of the shattered glass and any accumulated dirt.
Step 4: Division Bar Unbolting and Old Glass Extraction
The vent glass is held in place by a vertical division bar (the run channel for the main roll-up window) and weatherstripping. We lower the main door glass to gain clearance, then locate and remove the hidden 10mm bolts securing the division bar at the top and bottom of the door shell. By carefully manipulating the weatherstripping and pulling the division bar slightly forward, we can extract the remnants of the broken vent glass and its encapsulated rubber or urethane base. We ensure that the entire track is completely free of old adhesive, rubber debris, and glass dust.
Step 5: Surface Cleaning and Primer Application
A superior bond requires an immaculately clean surface. We scrub the exposed metal pinchweld and the mounting channels using specialized, alcohol-based auto glass cleaners that strip away decades of grease, dirt, and old sealant. Once the metal is completely bare and sterilized, we move to a critical step that many budget installers skip: the primer application. We apply a premium, rust-inhibiting urethane primer to any areas where the factory paint was scratched during the break-in or the removal process. This primer serves a dual purpose: it creates an impenetrable barrier against rust and moisture, and it alters the chemical composition of the metal surface to promote maximum adhesion with the new urethane.
Step 6: Precision Installation with High-Quality Adhesive
With the surface prepped and the primer flashed (cured), it is time to install the fresh vent glass. We prepare the new OEM-equivalent glass by cleaning its bonding edges and applying a specialized glass-prep agent. Next, we run a precise, consistent bead of high-quality adhesive (automotive-grade urethane) along the designated mounting points or encapsulation track, depending on the exact trim spec of your Town Car. The new vent glass is then carefully maneuvered into the door frame. We realign the division bar, ensuring the rubber weatherstripping perfectly overlaps the glass edges to create a watertight, windproof seal. The division bar bolts are torqued back to factory specifications, permanently locking the glass into its rigid, silent position.
Step 7: Reassembly, Final Detailing, and Quality Control
While the high-quality adhesive cures, we begin the reassembly phase. The internal door cavity is given a final inspection before the vapor barrier is resealed using fresh butyl tape, ensuring moisture stays outside where it belongs. The interior door panel is meticulously snapped back into place, and all electrical connections are tested to guarantee your window switches and door locks function flawlessly. Finally, we perform a streak-free cleaning of the newly installed vent glass and the surrounding windows. Our Master Technicians conduct a rigorous quality control check, inspecting the seal uniformity and ensuring your Lincoln Town Car is completely free of any residual glass or installation debris.
Mobile Auto Glass Excellence Across the Greater Toronto Area
Dealing with a shattered window is stressful enough without having to navigate traffic with an open, drafty car. That is why AlexWindshield brings the auto glass shop directly to you. We are proud to offer comprehensive, fully equipped mobile service across the Greater Toronto Area (GTA). Whether you are at your home in the quiet subdivisions of Vaughan, parked at your office complex in Richmond Hill, or running errands at a shopping center in Markham, our technicians arrive on-site with all the premium tools, glass, and adhesives necessary to complete the job right then and there.
- Vaughan: Rapid mobile dispatch for emergency glass replacements, ensuring your vehicle is secured quickly.
- Richmond Hill: Precision installations performed right in your driveway, saving you time and towing fees.
- Markham: Expert handling of classic and luxury sedans, preserving the integrity of your Town Car's specialized components.
Trust AlexWindshield for Your Lincoln Town Car Needs
Your 1998-2011 Lincoln Town Car was built to deliver an uncompromising standard of comfort and luxury. Do not let a poorly installed vent glass compromise the legacy of the Panther platform. By choosing AlexWindshield, you are partnering with specialized Master Technicians who treat your vehicle with the reverence it deserves. We strictly utilize OEM-quality glass, advanced rust-preventative primers, and industry-leading adhesives to ensure your cabin remains silent, dry, and secure.
Above all, we stand firmly behind the quality of our craftsmanship. Every auto glass replacement performed by our team comes backed by our comprehensive Lifetime Warranty, covering any highly unlikely instances of air leaks, water leaks, or manufacturer defects for as long as you own the vehicle. If you are located anywhere in the Greater Toronto Area (GTA) and need an immediate, professional vent glass replacement for your Lincoln Town Car, contact AlexWindshield today. Experience the ultimate in automotive glass restoration and get back on the road in total comfort and luxury.




