The Ultimate Family Cruiser Deserves Flawless Glass: Honda Odyssey 2018-2027 Vent Glass Replacement
The 2018-2027 Honda Odyssey is more than just a minivan; it is a meticulously engineered mobile command center designed for the modern family. While the massive panoramic windshield and sweeping side windows often steal the spotlight, the small, triangular vent glass plays an unsung but vital role in the vehicle's structural integrity, acoustic balance, and climate control. When this specialized piece of glass shatters—whether due to an unfortunate break-in, a rogue piece of highway debris, or severe weather—it compromises the sealed environment of your cabin. Wind noise infiltrates the Active Noise Cancellation system, moisture threatens the interior electronics, and the safety of your passengers is put at risk.
Replacing the vent glass on a 5th-generation Honda Odyssey is not a simple plug-and-play operation. It requires an intimate understanding of Honda’s exact engineering tolerances, specialized tools to navigate tight interior trims, and a masterful touch with automotive urethanes. As a Master Technician at AlexWindshield, I have executed countless precision glass replacements on this specific platform. Below, I will take you behind the scenes of our industry-leading process for restoring your Honda Odyssey's vent glass to its original, factory-grade perfection.
Understanding the 2018-2027 Honda Odyssey Vent Glass Architecture
For the 2018-2027 model years, Honda redesigned the Odyssey to maximize interior space and driver visibility. The front vent glass, situated between the A-pillar and the main front door glass, is designed to eliminate blind spots. Because of its location, it is tightly integrated into the door frame and sealed with high-tensile strength automotive urethane. It is not held in by simple rubber gaskets like older vehicles; it is a bonded structural component. This necessitates a precise, multi-step extraction and bonding process to ensure wind noise and water leaks are permanently kept at bay.
The Master Technician's Blueprint: Step-by-Step Vent Glass Replacement
At AlexWindshield, we do not cut corners. Our replacement process for the Honda Odyssey 2018-2027 vent glass adheres strictly to OEM (Original Equipment Manufacturer) guidelines. Here is exactly how we perform the replacement from A to Z.
Step 1: Comprehensive Interior Protection and Damage Assessment
Before any tools are lifted, we secure the perimeter. A shattered vent glass means thousands of tiny, razor-sharp tempered glass fragments are scattered throughout your Odyssey's interior. We begin by applying heavy-duty protective covers over your leather or cloth seats, center console, and dashboard. We tape off the exterior painted surfaces surrounding the vent glass housing with low-tack automotive tape to prevent any accidental scratches during the extraction process.
Step 2: Interior Trim and Door Panel Removal
To access the lower mounting points and the urethane track of the vent glass, the interior door panel and adjacent A-pillar trims must be carefully detached. Using specialized non-marring nylon pry tools, our technicians carefully unclip the Honda Odyssey interior door panels, ensuring that delicate plastic retaining clips are preserved. We disconnect the wiring harnesses for the window switches and door locks, setting the panel safely aside. This exposes the inner cavity of the door, which is essential for the next critical step.
Step 3: Meticulous Vacuuming of Broken Glass Shards
When tempered vent glass breaks, it explodes inwards. The pieces inevitably fall down into the deep crevices of the door frame. Leaving these pieces inside will result in a maddening rattling sound every time you hit a bump or close the door. We use high-powered, industrial HEPA vacuums equipped with flexible micro-attachments to extract every single glass shard from the door cavity, the window regulator tracks, the seats, the floor mats, and the air vents. Vacuuming all broken glass shards from the vehicle's interior is a non-negotiable step in our quality control process.
Step 4: Extracting the Damaged Vent Glass Frame and Old Adhesive
With the area clean and prepped, we move to the extraction. Using a specialized cold knife or an advanced wire-cutting system, we carefully slice through the original factory urethane holding the remaining vent glass frame in place. Once the broken frame is removed, we use sharp scraping chisels to pare down the old urethane bead on the vehicle's pinch weld to a thickness of about 1-2 millimeters. This remaining thin layer serves as the perfect base for the new adhesive to bond to.
Step 5: Surface Cleaning and Pinch Weld Preparation
Contamination is the enemy of a safe auto glass installation. We thoroughly clean the freshly trimmed pinch weld and the surrounding frame with an alcohol-based, lint-free glass cleaner. Any dust, grease, or microscopic glass dust must be completely eradicated. If any bare metal was exposed during the removal of the old adhesive, we treat it with a specialized anti-corrosion primer to prevent future rust from compromising the vehicle's frame.
Step 6: Professional Primer Application
Chemical bonding requires perfect preparation. We apply an advanced, fast-flashing auto glass primer to the clean pinch weld, as well as to the frit band (the black painted edge) of the brand-new OEM-equivalent vent glass. This black primer acts as a chemical bridge, ensuring the urethane adhesive creates a molecular bond between the vehicle frame and the new glass. We allow the primer to flash (dry) for the exact manufacturer-specified time, usually around 10 to 15 minutes, depending on the ambient temperature and humidity.
Step 7: High-Quality Adhesive Application
The core of a safe installation is the adhesive. At AlexWindshield, we exclusively use premium, fast-curing automotive urethane adhesive. Using a battery-powered caulking gun, we apply a consistent, V-shaped bead of urethane along the perimeter of the pinch weld. The V-shape ensures that when the glass is pressed into place, the adhesive collapses perfectly, eliminating any trapped air bubbles and creating a watertight, airtight seal.
Step 8: Precision Installation of the New Vent Glass
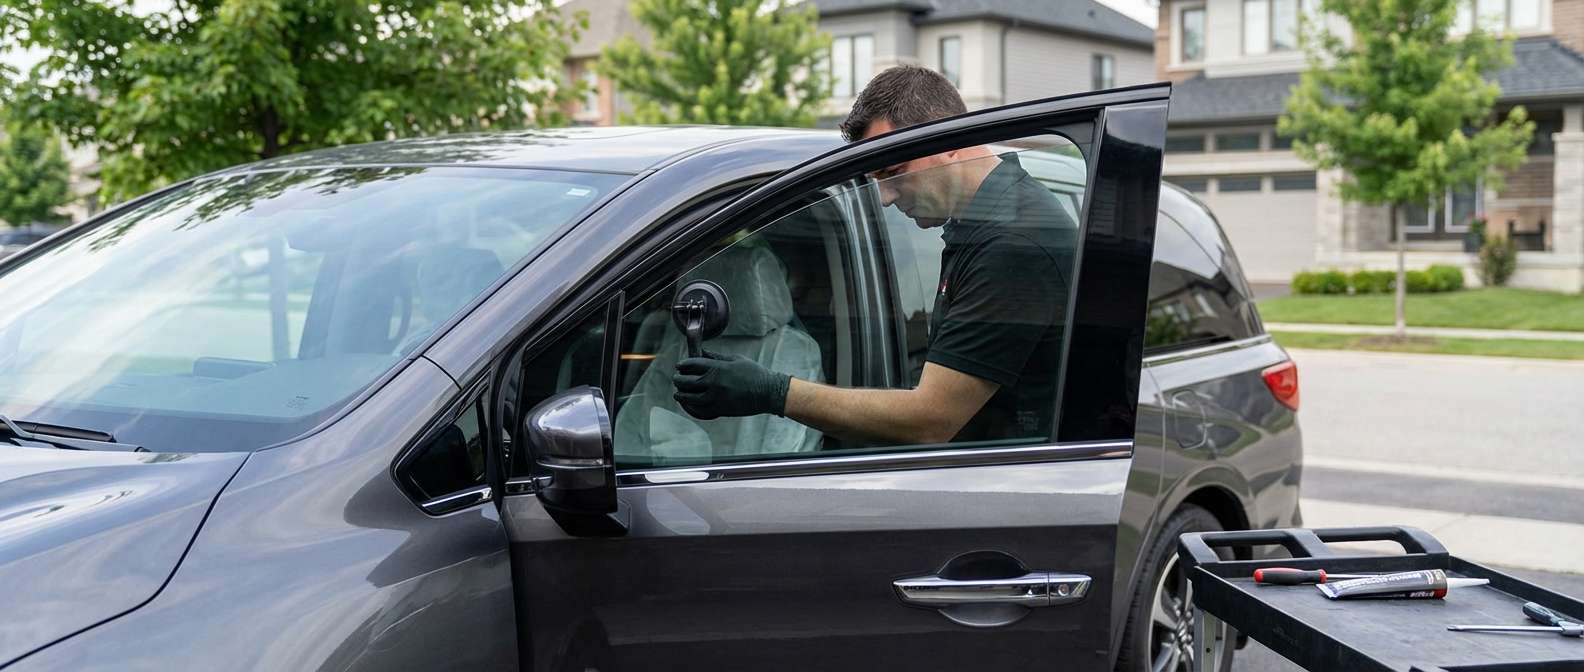
Handling the new vent glass with specialized suction cups, our technicians align the glass precisely into the frame of the Honda Odyssey. Because the 2018-2027 models have tight aerodynamic tolerances, the glass must be seated perfectly flush with the adjacent trim. Once pressed firmly into the urethane, we secure the glass with specialized retention tape to prevent any shifting or sagging while the adhesive cures.
Step 9: Reassembly and Final Inspection
While the high-quality adhesive is curing, we reassemble the vehicle. We carefully reattach the interior door panels, reconnect all electronic wiring harnesses, and secure the A-pillar trims. We then perform a final, comprehensive clean of the vehicle's interior and a thorough wash of the new vent glass. Before handing the keys back, we conduct a final quality assurance check, testing the door mechanisms and ensuring the glass sits flawlessly in its housing.
Mobile Service Excellence Across the Greater Toronto Area (GTA)
We know that a broken window disrupts your busy family life. Coordinating a trip to a repair shop with a compromised vehicle is stressful and unsafe. That is why AlexWindshield brings our master-level service directly to your driveway or workplace.
Our fleet of fully equipped mobile service vans operates seamlessly across the Greater Toronto Area (GTA). Whether you need a rapid response auto glass repair in Vaughan, an emergency vent glass replacement at your office in Richmond Hill, or a scheduled appointment in the heart of Markham, our technicians arrive with everything needed to complete the job perfectly on-site. We bring the auto glass shop to you, ensuring that residents throughout Vaughan, Richmond Hill, Markham, and the surrounding GTA never have to compromise on safety or convenience.
Trust AlexWindshield with Your Honda Odyssey – Backed by Our Lifetime Warranty
When it comes to your 2018-2027 Honda Odyssey, do not settle for subpar glass or rushed installations. The safety of your family and the comfort of your ride depend on meticulous craftsmanship and premium materials.
As the premier auto glass experts in the GTA, AlexWindshield is committed to delivering unparalleled quality. We stand firmly behind every piece of glass we install and every bead of urethane we lay down. That is why every single vent glass replacement we perform comes with an industry-leading Lifetime Warranty. This warranty covers all workmanship, ensuring that you will never have to worry about wind noise, water leaks, or manufacturer defects for as long as you own your vehicle.
If your Honda Odyssey has suffered glass damage, choose the professionals who treat your vehicle like their own. Contact AlexWindshield today to schedule your mobile auto glass replacement in Vaughan, Richmond Hill, Markham, or anywhere across the GTA, and let our Master Technicians restore your peace of mind on the road.




