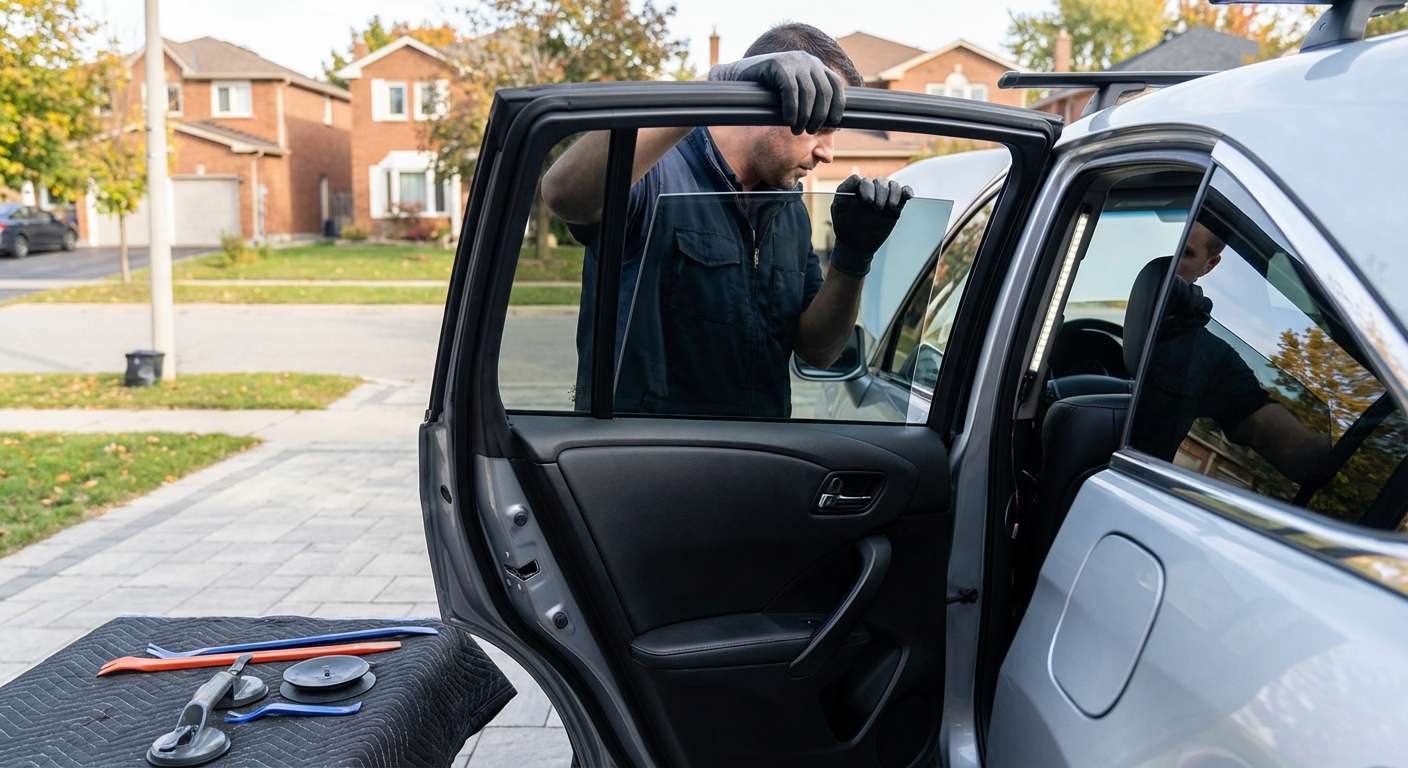
Precision Vent Glass Replacement for Acura RDX (2013-2018): Restoring Security and Silence
There is a common misconception among vehicle owners that the smallest piece of glass on a car is the cheapest or easiest to replace. Owners of the Second Generation Acura RDX (2013-2018) often discover this is not the case the hard way. The rear vent glass—that triangular stationary piece located on the rear doors—is frequently targeted by thieves who mistakenly believe breaking it will provide easy access to the door lock without triggering the alarm. The result is not just a shattered window, but a compromised vehicle interior exposed to the elements. At AlexWindshield, we understand that this specific component plays a critical role in the aerodynamic seal and cabin quietness that Acura owners expect. Replacing it requires far more than just "popping in" a new piece; it requires a surgical dismantling of the rear door assembly to ensure a factory-perfect fit.
As the leading experts in auto glass replacement in the Greater Toronto Area (GTA), we specialize in the intricacies of luxury Japanese SUVs. Whether you are driving the base model RDX or the Technology Package trim, our Master Technicians treat your vehicle with the precision it demands.
The Technical Complexity of the Acura RDX Vent Glass
The Acura RDX 2013-2018 utilizes a sophisticated door architecture. The vent glass (often referred to as quarter glass within the door frame) is not merely glued to the exterior. It is integrated into the door's run channel system and separated from the main operational window by a vertical division bar. Because this glass is tempered, a break results in thousands of granular shards that migrate deep into the door shell, the window regulator mechanism, and the door lock actuator.
Failure to perform a professional replacement can lead to:
- Persistent Rattling: Caused by glass shards left inside the door panel.
- Water Leaks: Resulting from improper seating of the weatherstripping or division bar.
- Wind Noise: A whistling sound at highway speeds due to poor alignment of the glass channel.
- Regulator Failure: Debris jamming the cables or motor of your main power window.
Master Technician Protocol: Step-by-Step Replacement Process
At AlexWindshield, we do not cut corners. Our mobile service brings the workshop to your driveway, whether you are in Vaughan, Richmond Hill, or Markham. Below is the detailed, standard operating procedure (SOP) our technicians follow for the 2013-2018 Acura RDX rear door vent glass replacement.
Phase 1: Vehicle Preparation and Inspection
Before touching the glass, we secure the perimeter. We apply high-grade fender covers and protective tape around the window frame to prevent accidental scratches to your Acura’s paintwork. We inspect the extent of the damage, documenting any pre-existing issues with the door leather or switchgear.
Phase 2: Interior Disassembly and Door Panel Removal
Unlike a windshield replacement, vent glass replacement is an internal operation. To access the mounting points, the interior door card must be removed. This is a delicate process on the RDX due to hidden fasteners and premium materials.
- Fastener Removal: We carefully locate and remove the hidden screws behind the interior door handle release and the grab handle/armrest cup.
- Switch Pack Disconnection: Using non-marring pry tools, we lift the power window switch bezel and disconnect the wiring harness without damaging the locking tabs.
- Panel Separation: We pop the perimeter clips holding the door panel to the metal door frame. These clips are prone to breaking if forced; we use specialized leverage tools to release them safely.
- Cable Release: Once the panel is loose, we disconnect the Bowden cables for the door latch and lock mechanism.
Phase 3: Debris Management and Vapor Barrier Access
This is arguably the most critical step for owner satisfaction. When tempered glass breaks, it explodes inward.
- Vapor Barrier Peeling: We carefully peel back the plastic moisture barrier (vapor shield) sealed with butyl rubber. It is vital to preserve this barrier to prevent future water intrusion into the cabin.
- High-Suction Vacuuming: We insert a high-powered industrial vacuum nozzle into the bottom of the door shell. We blindly sweep the entire bottom cavity to extract every shard of broken glass.
- Speaker Removal (If Necessary): On models equipped with the ELS Studio Premium Audio System, we may remove the door speaker to gain better access to the bottom of the door for thorough cleaning.
- Run Channel Cleaning: We use compressed air and picks to clear glass fragments from the rubber run channels where the main window slides.
Phase 4: Structural Disassembly (The Division Bar)
You cannot install the new vent glass on a 2013-2018 RDX without manipulating the division bar (the metal pillar separating the small glass from the main window).
- We lower the main power window to the bottom position.
- We remove the top bolt securing the division bar to the door frame upper.
- We locate and remove the bottom bolt securing the division bar inside the door shell.
- We carefully slide the division bar forward or remove it entirely to create the necessary clearance for the new OEM-quality vent glass.
Phase 5: Priming and Installation
If the vent glass is an encapsulated unit requiring urethane bonding (common on specific aftermarket variations or if the factory moulding is damaged), we follow a strict chemical bonding process.
- Surface Cleaning: We clean the bonding surface on the vehicle frame with a specialized glass cleaner to remove road grime and silicone.
- Abrasive Prep: We lightly scuff the pinch weld if there is old adhesive to ensure a fresh bond.
- Primer Application: We apply a high-quality black primer to any exposed metal scratches to prevent rust and ensure the urethane adheres chemically.
- Adhesive Application: We apply a bead of high-modulus, non-conductive urethane adhesive. This ensures the glass remains structurally sound and leak-proof.
- Insertion: The new vent glass is slid into the rear run channel and then pivoted into position. The division bar is then slid back into place, locking the vent glass into the weatherstripping.
Phase 6: Reassembly and Function Testing
Once the glass is seated, we re-torque the division bar bolts to factory specifications. We then verify the operation of the main window to ensure it slides freely without binding or scratching against the new assembly. The vapor barrier is resealed, the door cables reconnected, and the door panel snapped back into place. Finally, we clean the new glass to a streak-free shine.
Mobile Service Across the GTA: We Come to You
A broken side window leaves your vehicle vulnerable to theft, rain, and raccoons. You should not have to drive a vehicle with a shattered window across town. AlexWindshield offers a premium mobile service that covers the entire Greater Toronto Area. We have specific dispatch units focused on:
- Vaughan & Woodbridge: Rapid response times for residential and commercial areas near Hwy 400 and Major Mackenzie.
- Richmond Hill: servicing neighborhoods from Oak Ridges to Hwy 7.
- Markham & Unionville: providing on-site glass replacement at your home or office parking lot.
- North York & Scarborough: Full coverage for all metro areas.
Our mobile units are fully equipped workshops. We carry generators, vacuums, lighting, and all necessary tools to perform a dealership-level installation in your driveway.
Why Choose AlexWindshield for Your Acura RDX?
Your Acura RDX is a precision-engineered machine. Trusting it to a generalist or a budget auto glass shop can lead to damaged door clips, water leaks that cause mold, and wind noise that ruins your driving experience. Here is why AlexWindshield is the preferred choice for Acura RDX auto glass replacement:
- Specific Expertise: We know the 2013-2018 RDX door anatomy inside and out. We know exactly where the pressure points are on the door panels.
- Debris Removal Guarantee: We don't just replace the glass; we clean the mess. We guarantee to remove the broken shards from inside your door.
- High-Quality Glass: We use OEE (Original Equipment Equivalent) or OEM glass that matches the tint, thickness, and curvature of your original Acura glass.
- Lifetime Warranty: We stand behind our workmanship. Our installations come with a Lifetime Warranty against leaks, air noise, and manufacturer defects for as long as you own the vehicle.
Book Your Vent Glass Replacement Today
Don't let a broken vent glass compromise the safety and comfort of your Acura RDX. Secure your vehicle immediately with the help of the GTA's most trusted auto glass experts. Whether you are in Vaughan, Richmond Hill, or Markham, our Master Technicians are ready to restore your vehicle to its factory condition.
Contact AlexWindshield today to schedule your mobile appointment. Drive with clarity, drive with confidence.




