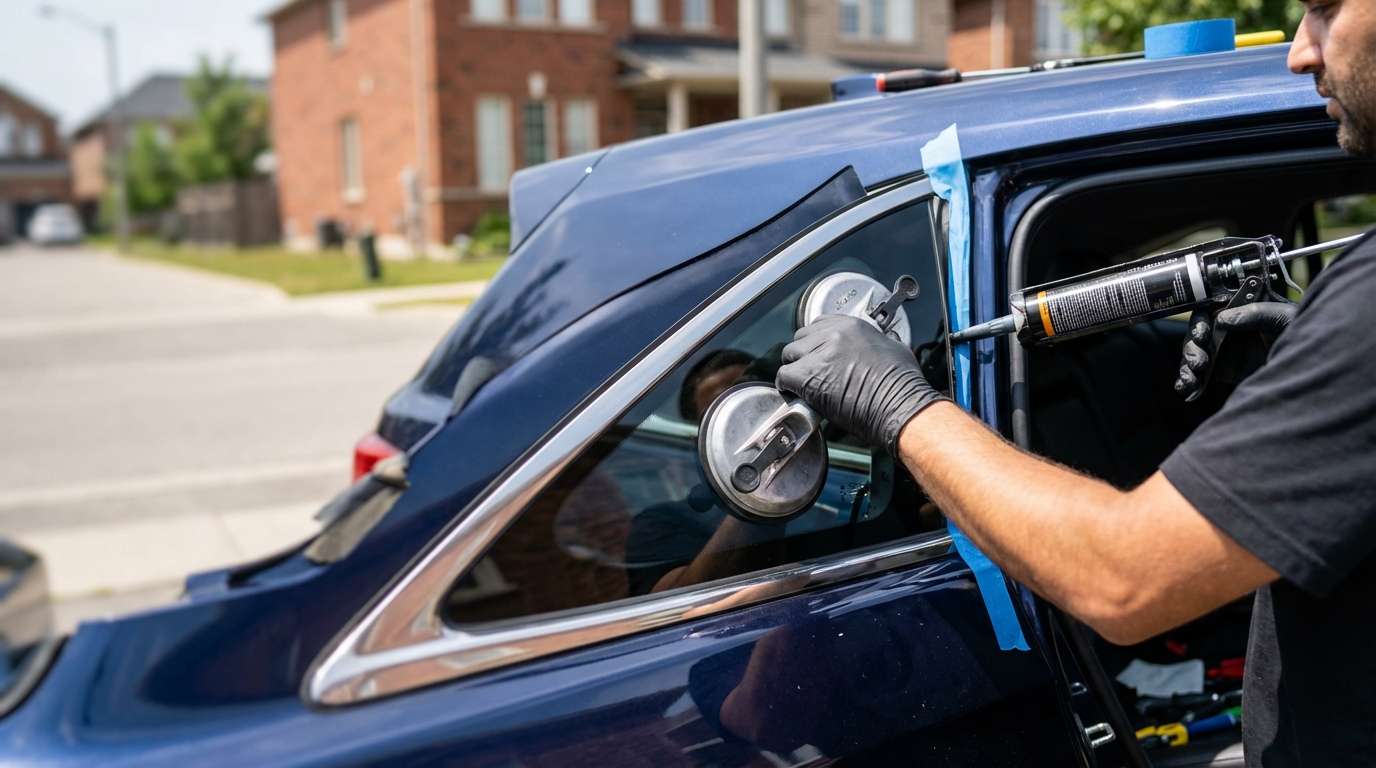
Quarter Glass Replacement for Acura RDX 2013-2018: Restoring Security and Aesthetics
The second-generation Acura RDX (2013-2018) is defined by its sophisticated aerodynamic lines and a cabin designed for silence and comfort. However, when the quarter glass—that specific piece of stationary glass located in the rear cargo area or the rear door frame—is shattered, it disrupts both the structural integrity and the serene driving experience of this luxury crossover. Unlike a windshield, the quarter glass is often tempered; when it breaks, it doesn't crack; it explodes into thousands of granular shards. This presents a unique challenge that requires more than just a glass swap; it requires a Master Technician’s touch to ensure safety, weatherproofing, and a pristine interior.
At AlexWindshield, we understand that a broken quarter glass on your Acura RDX is more than an inconvenience—it is a security risk and a safety hazard. Whether the damage was caused by road debris, an accident, or an act of vandalism, our approach to Quarter Glass Replacement involves surgical precision, OEM-quality materials, and a commitment to restoring your vehicle to its factory condition.
Why Acura RDX Quarter Glass Replacement Requires Expert Hands
The 2013-2018 Acura RDX utilizes a bonded quarter glass system for the rear body panels. This means the glass is not held in by a rubber gasket but is chemically bonded to the vehicle's frame using high-strength automotive urethane. This glass contributes to the vehicle's roof strength and rollover safety. A specialized replacement is mandatory to prevent water leaks, wind noise, and rust formation on the pinch weld.
Furthermore, because this glass is tempered, a break results in glass migrating throughout the vehicle's interior. A generic repair shop might swap the glass but leave shards rattling inside your liftgate or under your rear seats. At AlexWindshield, our protocol includes a comprehensive decontamination of the vehicle interior.
Comprehensive Step-by-Step Replacement Process
As a Master Technician at AlexWindshield, I follow a rigorous, A-to-Z protocol for every Acura RDX quarter glass replacement. We do not skip steps. We do not rush the cure time. Here is exactly how we handle your vehicle:
Step 1: Initial Inspection and Site Preparation
Before touching a single tool, we perform a 360-degree inspection of the damage. We document the extent of the breakage and check for any collateral damage to the paint or interior trim surrounding the window frame. To protect your Acura’s luxury interior and exterior finish, we apply:
- Protective Tape: Applied around the exterior window frame to prevent scratches to the clear coat during glass removal.
- Interior Covers: Heavy-duty covers are placed over the rear seats, cargo area, and floor mats to catch any falling glass during the removal process.
- Fender Covers: Magnetic covers are used if we need to lean against the vehicle body.
Step 2: Massive Debris Removal and Vacuuming
This is the most time-consuming yet critical part of the process for tempered glass replacement. Broken quarter glass shards can hide anywhere.
- We utilize a high-powered industrial vacuum to remove all visible glass from the cargo area, rear seats, and floor.
- We remove the spare tire cover and lining to vacuum the wheel well, as glass often migrates downward.
- If the quarter glass is located within the rear door, we carefully remove the inner door panel. This allows us to access the bottom of the door shell and vacuum out shards that could rattle or jam the window regulator mechanism later.
Step 3: Interior Trim and Molding Removal
To access the urethane bead that holds the glass to the body of your RDX, we must remove specific interior obstructions. For the 2013-2018 model years, this typically involves:
- Carefully popping off the C-pillar and D-pillar plastic trims using non-marring pry tools to expose the pinch weld from the inside.
- Disconnecting any defrost or antenna connectors if the quarter glass is equipped with embedded electronics.
- Removing exterior moldings if they are not encapsulated (pre-attached) to the new glass unit.
Step 4: Cutting Out the Old Glass
Using a specialized cold knife or an oscillating reciprocating tool, we cut through the existing urethane adhesive. This requires a steady hand to ensure the blade rides against the glass and not the metal body of the car.
- We slice the adhesive as close to the glass as possible to leave a thin, level layer of the original urethane on the body. This "bed" serves as the best surface for the new adhesive to bond to.
- Great care is taken to avoid scratching the pinch weld (the metal frame). Scratches here can lead to rust, which will eventually cause the glass to leak or detach.
Step 5: Pinch Weld Preparation and Primer Application
Once the old glass and excess rubber are removed, we prepare the surface for the new installation. This is the chemical foundation of the repair.
- Cleaning: We scrub the bonding surface with a specialized degreasing agent to remove road grime, dirt, and oils.
- Abrading: If there are any scratches on the metal from the removal process, they are sanded down to bare metal.
- Priming: We apply a high-grade automotive metal primer to any exposed metal scratches to prevent corrosion. Additionally, we apply a glass activator/primer to the frit band (the black ceramic edge) of the new glass to ensure the adhesive bonds molecularly to the glass surface.
Step 6: Urethane Application
We use only Sika or DuPont OEM-grade high-modulus urethane. This adhesive is designed to meet or exceed the Acura factory standards for structural rigidity.
- Using a high-ratio caulking gun, we apply a triangular V-bead of urethane directly onto the existing urethane path on the vehicle body or the glass (depending on the specific mounting style of the RDX quarter panel).
- The V-bead shape is crucial; it ensures that when the glass is pressed into place, the glue does not trap air bubbles, preventing potential water leaks.
Step 7: Installation and Setting
With the adhesive applied, precision is key. The new quarter glass is carefully lifted (using suction cups) and aligned with the body markings.
- We press the glass firmly into the urethane to ensure full contact around the entire perimeter.
- We check the "deck height" (how flush the glass sits compared to the adjacent body panels) to ensure the RDX retains its aerodynamic profile.
- Retention Tape: We apply special non-residue retention tape to hold the glass in position while the adhesive begins its initial cure.
Step 8: Reassembly and Final Clean
Once the glass is set, we reinstall the interior C-pillar and D-pillar trims, pop the door panels back on (if applicable), and reconnect any electronics. We perform a final white-glove cleaning of the new glass and a secondary vacuum of the interior to ensure no stray shards were missed.
Mobile Service Across the Greater Toronto Area
We know that driving a vehicle with a shattered quarter glass is dangerous and uncomfortable, especially in the Canadian climate. That is why AlexWindshield brings the repair shop to you. Our fully equipped mobile units operate across the entire Greater Toronto Area (GTA).
Serving Vaughan, Richmond Hill, and Markham
Whether you are parked in a driveway in Vaughan, at your office in Markham, or stranded in a parking lot in Richmond Hill, our mobile technicians are ready to deploy. We carry all necessary power generators, vacuums, and lighting equipment to perform a factory-quality installation remotely.
Local residents in these areas trust us because we understand the local conditions. We know that the salt and moisture on GTA roads require perfect priming and rust prevention during glass replacement. Our mobile service saves you the hassle of towing your Acura or driving it with an open window exposed to the elements.
The AlexWindshield Guarantee: Quality You Can Trust
Choosing AlexWindshield for your Acura RDX 2013-2018 quarter glass replacement means choosing peace of mind. We differentiate ourselves through:
- OEM Quality Glass: We use glass that matches the tint, thickness, and contour of your original Acura manufacturing specifications.
- Lifetime Warranty: We stand behind our workmanship. Our installation comes with a Lifetime Warranty against water leaks, air noises, and manufacturer defects for as long as you own the vehicle.
- Certified Technicians: Our team is trained in the latest adhesive technologies and safety protocols.
- Same-Day Service: In many cases, we can get you back on the road the very same day you call.
Ready to Restore Your Acura RDX?
Don't let a broken quarter glass compromise the look or safety of your Acura RDX. Trust the Master Technicians at AlexWindshield to perform a meticulous, safe, and durable replacement.
Contact AlexWindshield today to get a free quote or schedule your mobile service in Vaughan, Richmond Hill, Markham, or anywhere in the GTA. Experience the difference of true automotive glass expertise.




