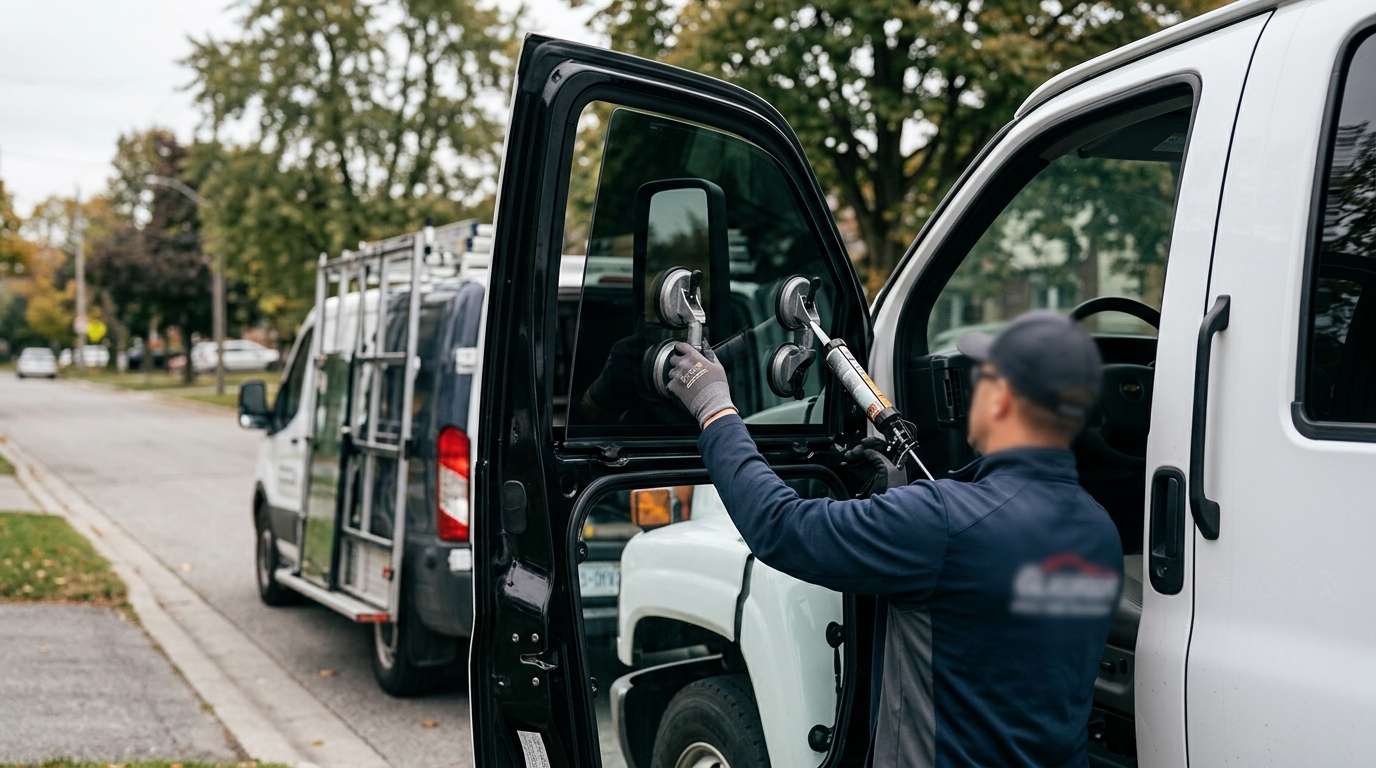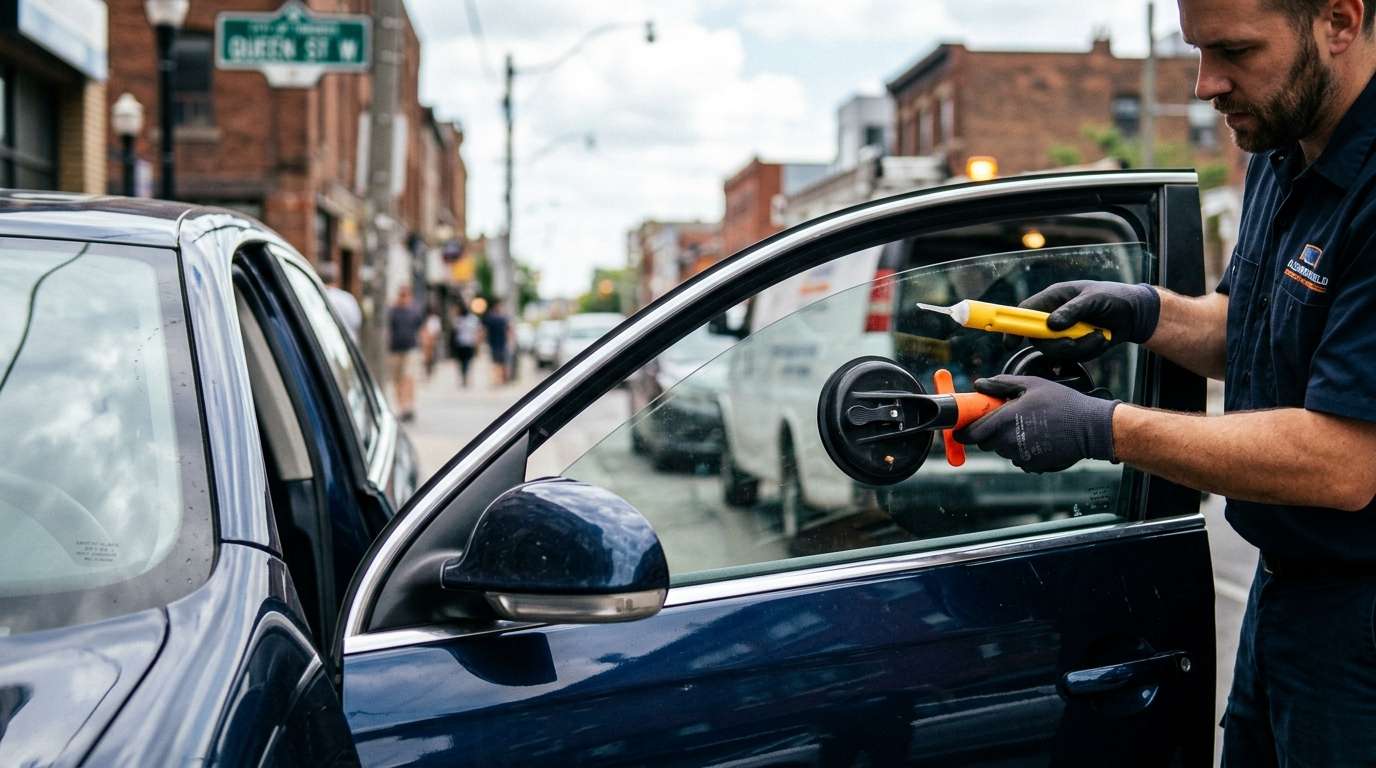
Removable Exterior Door Skins and Front Window Glass Mounting
Working on the side windows of this car departs from conventional vehicle design because of Volkswagen's bolt-on exterior steel door skin. Instead of peeling back an interior card and vapor barrier to reach the window regulator assembly, the outer skin must come off completely. Held by a perimeter of Torx T30 fasteners and interlocked with the exterior handle housing, removing this outer sheet metal reveals the inner structure and the full-perimeter window run channel. The movable front door glass slides vertically inside felt-lined rubber guides integrated directly into the upper window frame.
The front glass panes are designated under NAGS numbers FD22543 for the front left driver position and FD22542 for the front right passenger side. Both variants are tempered safety glass with curved surfaces, produced primarily with standard green solar tint (GTN) or an optional factory blue tint (BTN). These movable panes do not integrate antennas, defroster lines, or electrical hardware. Once the outer door skin is detached, the glass base is anchored inside the cable-driven regulator carrier using two dedicated mechanical clamp brackets tightened down with Torx bolts. Because of the exterior skin design, reinstalling and aligning the steel panel evenly is critical; any skew can pinch the rubber run channels and cause wind rush or water seeping past the outer scraper seals.
Rear Glass Architecture: Drop Glass, Spreading Pins, and Fixed Vents
The rear door glass arrangement splits into two separate glass components separated by a rigid vertical division bar. NAGS FD22545 identifies the rear left drop glass and FD22544 identifies the rear right drop glass, while the triangular fixed quarter vents carry NAGS numbers FV22547 (left) and FV22546 (right). Unlike the front doors, the movable rear glass does not clamp into place with threaded bolts. Instead, it utilizes an expanding plastic dowel collar and spreading pin driven through a precision hole near the bottom edge of the glass pane to lock it into the regulator lifter.
| Position | NAGS Number | Glass Type & Mount Style |
|---|---|---|
| Front Driver (Left) | FD22543 | Tempered, dual Torx clamp brackets |
| Front Passenger (Right) | FD22542 | Tempered, dual Torx clamp brackets |
| Rear Left Drop Glass | FD22545 | Tempered, expanding plastic dowel pin |
| Rear Right Drop Glass | FD22544 | Tempered, expanding plastic dowel pin |
| Rear Vent Left / Right | FV22547 / FV22546 | Tempered fixed quarter, division bar channel |
When swapping broken glass on this platform, I supply aftermarket glass manufactured by proven brands like Pilkington, FYG, PGW, or XYG, ensuring the curvature and thickness match factory glass so the pane travels smoothly inside the vertical division bar without binding.
Post-Replacement Inspection Checklist
After a new side glass pane is fitted and the door skin is reassembled, several physical points require verification to ensure proper fitment and travel:
- Confirm the front or rear drop glass travels straight inside the felt-lined rubber run channel without tilting forward or shuddering against the vertical guide seals.
- Inspect the exterior door skin gaps along the B-pillar and fender lines to ensure the sheet metal is seated square, preventing drag on the outer glass scraper.
- Examine the vertical division bar on the rear doors to verify the rubber bead is fully seated and the fixed vent glass retains a watertight joint.
- Check that the lower horizontal window waist seals lay flat against the outer glass face with no pinched edges or gaps.
- Test the full upward travel of the pane into the upper door frame header to confirm a complete airtight seal when the door closes.