Inspecting Pop-Out Vent Hardware and Pre-Drilled Mounts
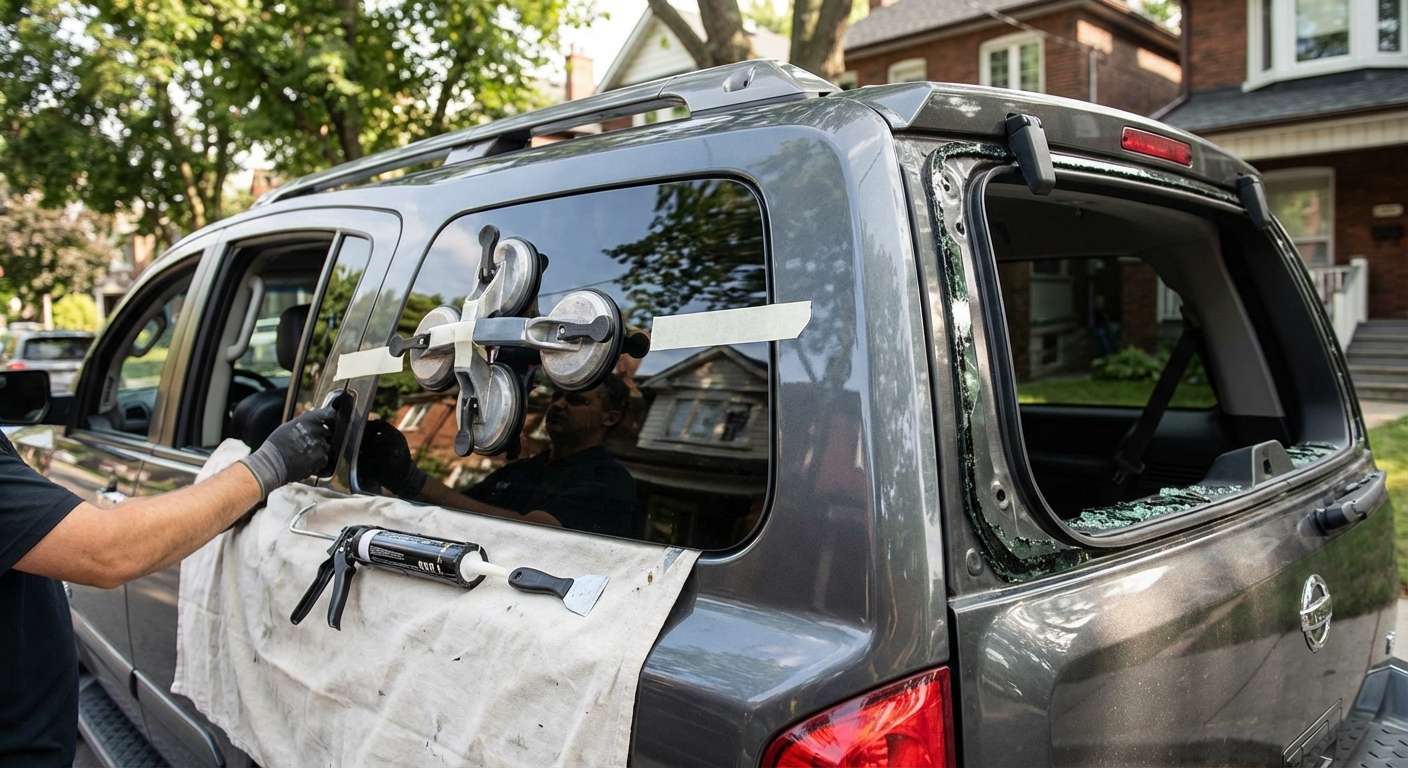
Replacing the third-row side vent glass on this full-size SUV requires paying close attention to the mechanical mounting points rather than dealing with a glued perimeter bead. The factory glass—referenced in Nissan parts diagrams under base system codes 83300 for the passenger side and 83301 for the driver side—is a movable vent rather than a bonded fixed pane. Before unboxing and setting up the replacement panel, I examine the pre-drilled holes in the tempered glass where the forward pivot hinges and the rear linkage attach. If those factory-drilled pass-through holes have minute chips along the raw edges or uneven chamfers, the glass will fracture the moment the hinge bolts are torqued down. I also verify that the dark privacy solar tint matches the deep factory level found across SE, LE, SV, SL, Titanium, and Platinum trims, ensuring the rear third row retains its original look alongside the rear door drop glass.
I confirm the operating style of the rear mechanism before starting on the trim disassembly. Armada models utilize either a manual over-center toggle latch anchored to the pillar or a motorized pop-out actuator tucked beneath the rear interior luggage area side mouldings. When someone calls to schedule a replacement, I generally pull up to the driveway roughly an hour after booking to inspect the vehicle and get the right setup sorted out on-site. The rubber isolation grommets that slide into the pre-drilled glass holes must match the actuator pin diameter exactly. Reusing hard, cracked grommets or installing mismatched hardware transfers the push-pull shock of the power vent motor directly into the bare glass, leading to stress cracks every time the dash or overhead switch is pressed.
Checking Weatherstrip Sealing and Actuator Alignment
Once the replacement glass is hung on the forward pivot hinges at the C-pillar, the real test is how the tempered panel mates against the continuous rubber bulb seal on the body pinch-weld. Over years of highway driving on the WA60 platform, that original body weatherstrip flattens out, especially near the rear edge adjacent to the exterior D-pillar trim. When the vent swings shut, the perimeter seal must compress evenly along the top, bottom, and back edge. If the linkage pulls the glass too tight against the metal, the glass binds and risks shattering; if it sits too loose, the vehicle suffers from high-speed highway buffeting and cabin water intrusion.
On vehicles equipped with power vents—a setup identical to the first-generation Infiniti QX56—I inspect the interior electric motor drive linkage before securing the rear mounting bolt. These power actuators frequently strip their internal plastic drive gears, causing the motor to spin while leaving the glass slightly loose or unlatched. I cycle the power switch multiple times while observing the bracket movement against the pane, checking that the motor pulls the glass fully flush against the pinch-weld seal without continuous clicking. Manual toggle latches require an equally firm over-center snap to guarantee that wind pressure cannot catch the leading edge of the glass and pull it outward at highway speeds.




