Rear Vent Glass Break-Ins and C117 Door Architecture
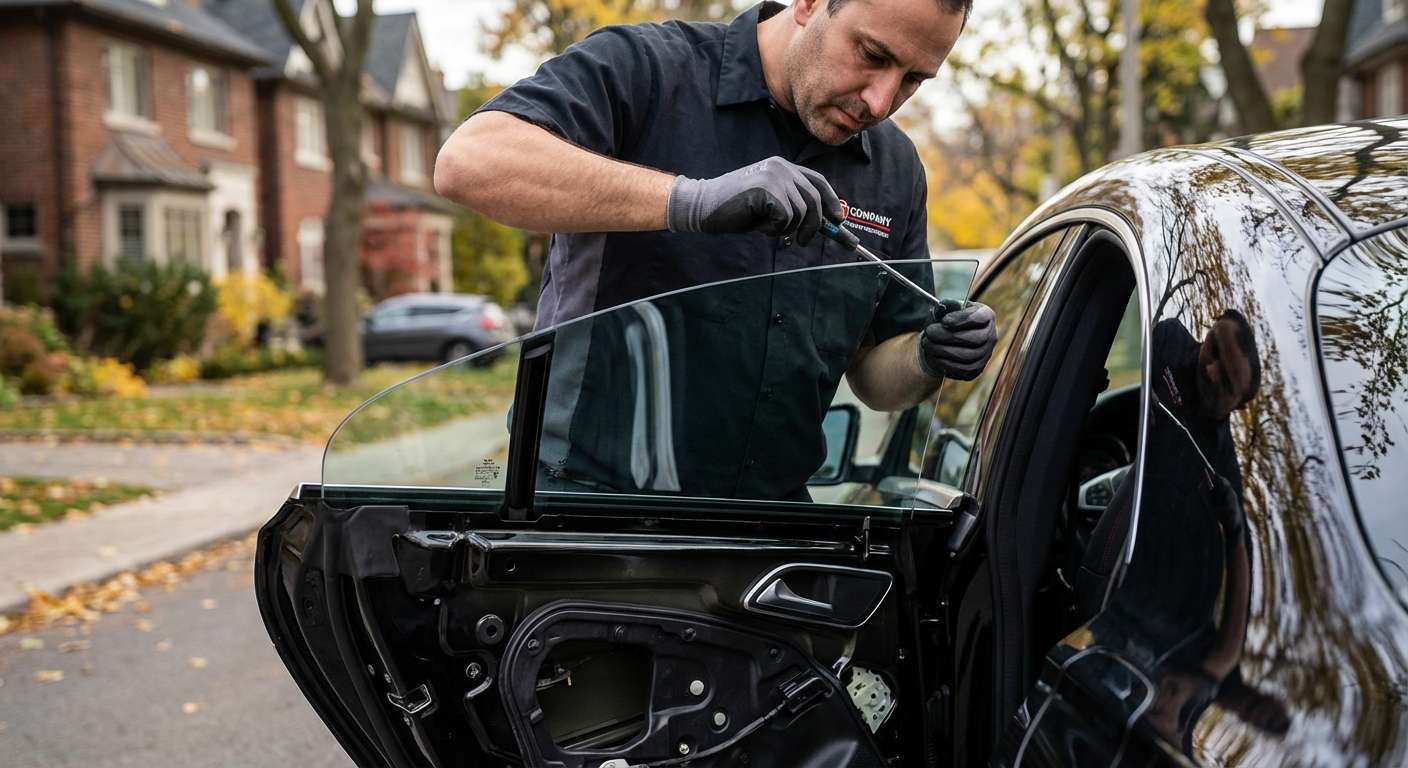
Thieves frequently target the small rear door vent glass on this vehicle hoping to reach inside for the lock switches without immediately triggering the interior motion sensors. Unlike most traditional sedans where quarter glass is glued into the fixed body pillars, this unit rides directly inside the rear door shell behind the vertical division bar channel. Because the C117 four-door coupe uses completely frameless door glass, this stationary pane does not seat into an upper steel sash. It forms its primary weather barrier by compressing against the upper body aperture seal and C-pillar rubber each time the rear door closes.
Because the pane is mechanical rather than bonded with urethane, it relies on bonded perimeter moulding and integrated mounting studs that secure to the inner door metal. The coupe vent glass differs completely from the European X117 Shooting Brake profile, making vehicle shape verification essential before matching parts. Factory glass came either in clear green solar tint, cataloged under driver-side base number A1177300118 and passenger-side A1177300218, or with the dark privacy tint standard on Night Package trims under A1177300318 and A1177300418. While these are single-pane tempered panels without internal electronics, defroster grids, or antenna loops, the bonded outer rubber encapsulation must be entirely free from defects right out of the box.
Pre-Installation Checks on Aftermarket Replacement Panes
Before any replacement pane is fitted into the door, I inspect the perimeter edge moulding for uniform thickness and flexibility. Any distortion or unevenness in the rubber will prevent the glass from seating flat against the vehicle body opening seals, guaranteeing high-pitched whistling at highway speeds. I also check the structural integrity of the factory-bonded threaded studs and locator tabs molded directly onto the encapsulation. These tabs must accept the 10mm nuts and Torx fasteners cleanly, without any play between the glass surface and the bracket bonding.
Checking the vertical channel lip that interfaces with the rear rollup window division bar is just as critical. This edge must be straight and free of molding flash so the movable glass can glide up and down without binding or catching. When I replace this glass on a CLA 250 or CLA 45 AMG, my workmanship is covered for as long as you keep the car, and the replacement pane itself carries a full one-year defect guarantee. I always verify that the tint level of the replacement pane matches the front door glass and the opposite side of the vehicle, ensuring privacy levels look identical from the exterior.
Post-Installation Fitment and Seal Contact Verification
Once the panel is fastened to the internal door framing, the real work lies in verifying how it aligns with the surrounding components before reassembling the interior trim panel. The vertical division bar channel separating the vent pane from the rollup glass must sit perfectly plumb. If that guide channel is nudged even a fraction of a millimeter forward or back while securing the T25 and T30 Torx fasteners, the main door window will drag, squeak, or fail to seal cleanly against its travel stops.
The final confirmation happens with the rear door completely latched. Because the frameless glass meets the exterior roofline and C-pillar gaskets under direct pressure, I inspect the outer edge to confirm that the perimeter rubber compresses evenly along the body aperture. The glass must sit dead flush with the movable front glass pane to prevent aerodynamic turbulence. I run water along the rear division channel and inspect the interior door cavity to confirm that drainage channels route correctly and that no moisture pushes past the outer weatherstripping.




