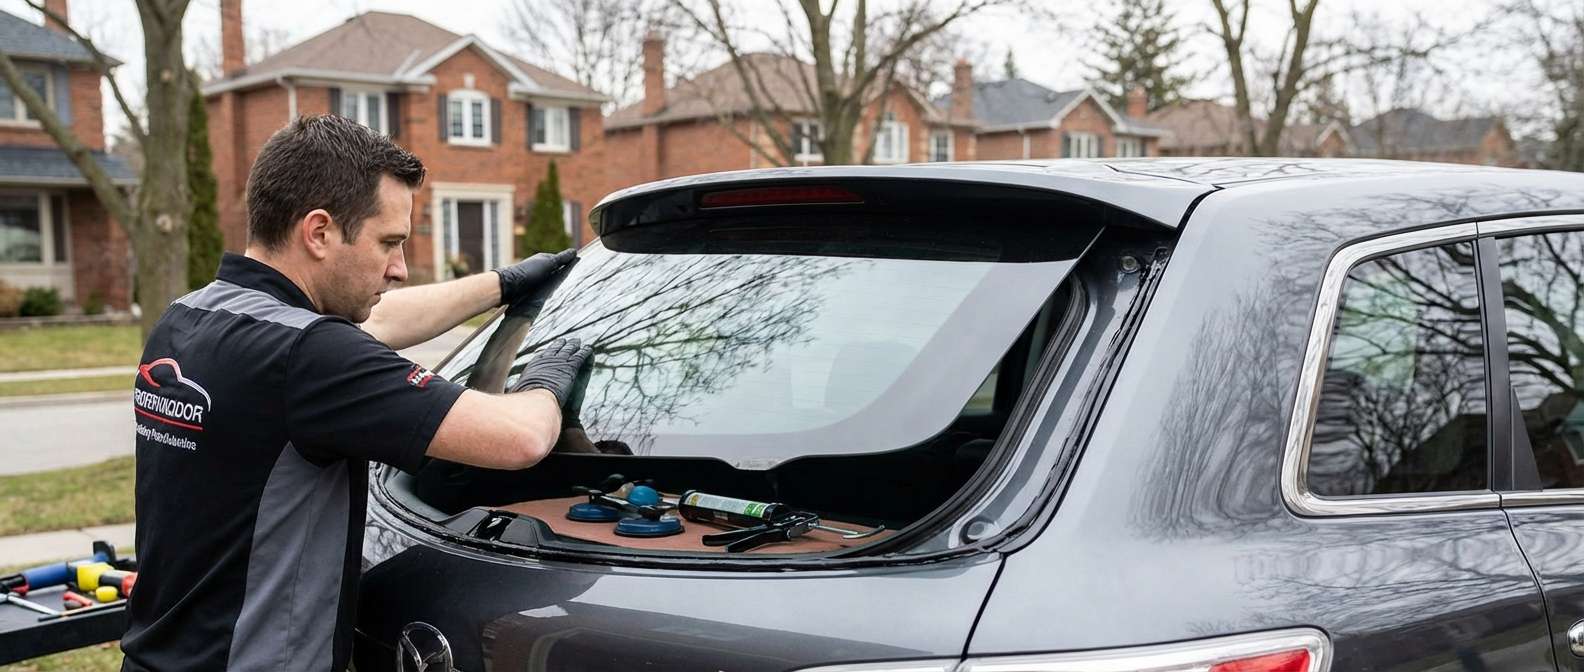
The Ultimate Guide to Mazda CX-9 2007-2015 Back Glass Replacement
The first-generation Mazda CX-9 (2007-2015) revolutionized the family SUV market with its sporty, sweeping roofline and an expansive rear liftgate designed for maximum cargo accessibility. However, that prominent, beautifully curved rear hatch glass is essentially the frontline defender of your vehicle's interior. When struck by flying highway debris, compromised by severe temperature fluctuations, or targeted by vandalism, this large pane of tempered glass does not just crack—it shatters explosively. Instantly, your family's security, your vehicle's climate control, and your interior cargo are exposed to the elements. As a Master Technician at AlexWindshield, I have replaced countless rear windows on this specific Mazda generation, and I can assure you that restoring the structural integrity of your CX-9 requires far more than just gluing on a new piece of glass.
Why the 2007-2015 Mazda CX-9 Liftgate Glass Requires Specialized Expertise
Unlike a standard windshield, the rear glass of the 2007-2015 Mazda CX-9 is manufactured from specialized tempered safety glass. It is engineered to withstand immense pressure, but once the surface tension is broken, the entire pane disintegrates into thousands of granular pieces. Furthermore, the back glass on this specific Mazda model is highly integrated with several critical vehicle electronics.
The glass houses a complex rear defroster grid essential for Canadian winters, and it accommodates the mounting points for the rear wiper motor assembly. Replacing this glass means navigating intricate wiring harnesses, safely dismantling the interior liftgate trim, and ensuring the new glass aligns perfectly with the CX-9's distinct aerodynamic rear spoiler. A generic, rushed installation can lead to water leaks, a malfunctioning defroster, or annoying wind noise. At AlexWindshield, we follow a rigorous, manufacturer-approved replacement protocol to ensure your vehicle is returned to its factory-original condition.
Our Master Technician A-to-Z Replacement Process
Replacing the back glass on a 2007-2015 Mazda CX-9 is a meticulous, multi-step procedure. As senior auto glass technicians, we execute the following comprehensive process to guarantee a flawless installation.
Step 1: Comprehensive Damage Assessment and Interior Protection
The moment our mobile unit arrives, the first priority is protecting the interior of your CX-9. Because tempered glass shatters completely, thousands of tiny, sharp glass cubes are inevitably scattered across your third-row seating and cargo area. We begin by laying down heavy-duty protective tarps over the seats, cargo floor, and exterior bumper. We apply specialized collision wrap to the exterior of the tailgate to protect the Mazda's paint from any stray glass shards or tool scratches during the extraction process.
Step 2: Removal of Interior Door Panels and Hardware
To properly install the new glass and clean out the debris, we must gain access to the inner workings of the rear hatch. We carefully unclip and remove the interior plastic tailgate trim panels. On the 2007-2015 CX-9, these plastic retaining clips can become brittle with age, so we use specialized automotive trim removal tools to prevent any damage to the interior plastics. Once the panels are removed, we disconnect the wiring harnesses for the rear defroster and the rear wiper motor, and carefully unbolt the wiper assembly so it does not interfere with the glass seating area.
Step 3: Deep Vacuuming and Glass Shard Eradication
This is arguably the most critical step in a back glass replacement. When the rear window shatters, glass fragments fall down into the hollow cavity of the metal liftgate. If left inside, these shards will rattle every time you drive or close the trunk, and they can even jam the rear liftgate locking mechanism. We use high-powered industrial shop vacuums with specialized crevice attachments to extract every single piece of broken glass from inside the tailgate frame, the latch assemblies, the weatherstripping, and the entire interior cargo carpet. We do not proceed until the vehicle is 100% free of broken glass.
Step 4: Pinch Weld Preparation and Old Urethane Removal
With the debris cleared, we turn our attention to the vehicle's frame, known as the pinch weld. The shattered remnants of the old glass are still glued to the frame by the factory polyurethane. Using a specialized cold knife and power extractors, we carefully cut away the old glass rim. We then trim down the existing urethane bead to a flat, even layer of about 1 to 2 millimeters. This thin base layer is essential, as the new urethane adhesive bonds best to cleanly cut old urethane. During this step, we meticulously clean the pinch weld with chemical solvents to remove any dirt, dust, or moisture that could compromise the final seal.
Step 5: High-Performance Primer Application
Any areas where the original paint was scratched during the removal process down to the bare metal are immediately treated with a specialized, rust-inhibiting black glass primer. We also apply an adhesion-promoting primer to the black ceramic frit band on the inside edge of the new OEM-quality tempered back glass. This primer serves a dual purpose: it creates a chemical bridge that forces the urethane to bond permanently to the glass, and it blocks harmful UV rays from degrading the adhesive over time.
Step 6: Precision Installation Using Premium Urethane Adhesive
Once the primer has flashed (dried), we load a heavy-duty caulking gun with premium, high-viscosity automotive urethane adhesive. We apply a precise, continuous "V-bead" of urethane directly onto the pinch weld. The V-shape is crucial—it ensures that when the glass is pressed into place, the adhesive spreads evenly without leaving any microscopic air gaps that could cause water leaks. Our technicians then carefully lift the new Mazda CX-9 back glass, align it perfectly with the roofline and tailgate contours, and set it firmly into the wet urethane.
Step 7: Reassembly, Testing, and Curing Time
With the new glass locked in place, we begin the reassembly phase. We reconnect the rear defroster tabs and strictly test the electrical current to ensure the heating grid functions flawlessly. We reinstall the rear wiper motor, the wiper arm, and carefully snap the interior tailgate trim panels back into their factory positions. Finally, we inform the client about the Safe Drive Away Time (SDAT). Our advanced, fast-curing urethane typically requires only 30 to 60 minutes to harden sufficiently before the Mazda CX-9 is safe to drive.
Premium Mobile Auto Glass Services Across the Greater Toronto Area (GTA)
Driving a family SUV with a shattered rear window is not just uncomfortable; it is highly dangerous and leaves your vehicle completely vulnerable to theft and harsh Canadian weather. At AlexWindshield, we eliminate the stress of driving a damaged vehicle by bringing our master-level repair shop directly to your driveway, office, or parking lot.
We are proud to offer rapid, fully equipped mobile auto glass services across the entire Greater Toronto Area (GTA), with dedicated, specialized dispatch zones in the following key locations:
- Vaughan: Whether you are parked near Vaughan Mills or commuting down the 400, our mobile technicians can arrive swiftly to secure your CX-9, clean out the dangerous glass shards, and install your new back window on-site.
- Richmond Hill: We understand the fast-paced lifestyle of Richmond Hill residents. Our mobile service allows you to continue working from home or spending time with your family while we perform a seamless, factory-grade rear glass replacement right in your driveway.
- Markham: From the historic Main Street to the bustling tech sector, our mobile auto glass units cover every corner of Markham, ensuring that a shattered liftgate glass never keeps you off the road for long.
Why Choose AlexWindshield for Your Mazda CX-9?
When it comes to the safety of your family and the integrity of your Mazda CX-9, you cannot afford to cut corners. Here is why drivers across the GTA trust AlexWindshield for their auto glass needs:
- Master Technicians: Our technicians are extensively trained in the specific structural architectures of Mazda vehicles, ensuring perfect alignment and factory-grade seals every single time.
- OEM-Quality Glass: We source only the highest quality tempered safety glass that meets or exceeds original equipment manufacturer specifications, ensuring perfect defroster functionality and optimal optical clarity.
- Impeccable Cleanup: We treat your vehicle as if it were our own. Our deep-vacuuming process guarantees that your interior and cargo areas are completely safe and free of hazardous glass shards.
- Lifetime Warranty: We stand behind our craftsmanship. Every back glass replacement comes backed by our comprehensive Lifetime Warranty covering any air leaks, water leaks, or manufacturer defects for as long as you own the vehicle.
Schedule Your Mazda CX-9 Back Glass Replacement Today
Do not let a shattered rear window disrupt your life or compromise the safety of your 2007-2015 Mazda CX-9. Trust the leading auto glass experts in the GTA to restore your vehicle with precision, speed, and care. Contact AlexWindshield today to book your mobile back glass replacement. Our friendly dispatchers are ready to schedule your appointment in Vaughan, Richmond Hill, Markham, or anywhere else in the Greater Toronto Area. Experience the ultimate convenience of expert mobile service backed by a Lifetime Warranty—because your peace of mind is our top priority.




