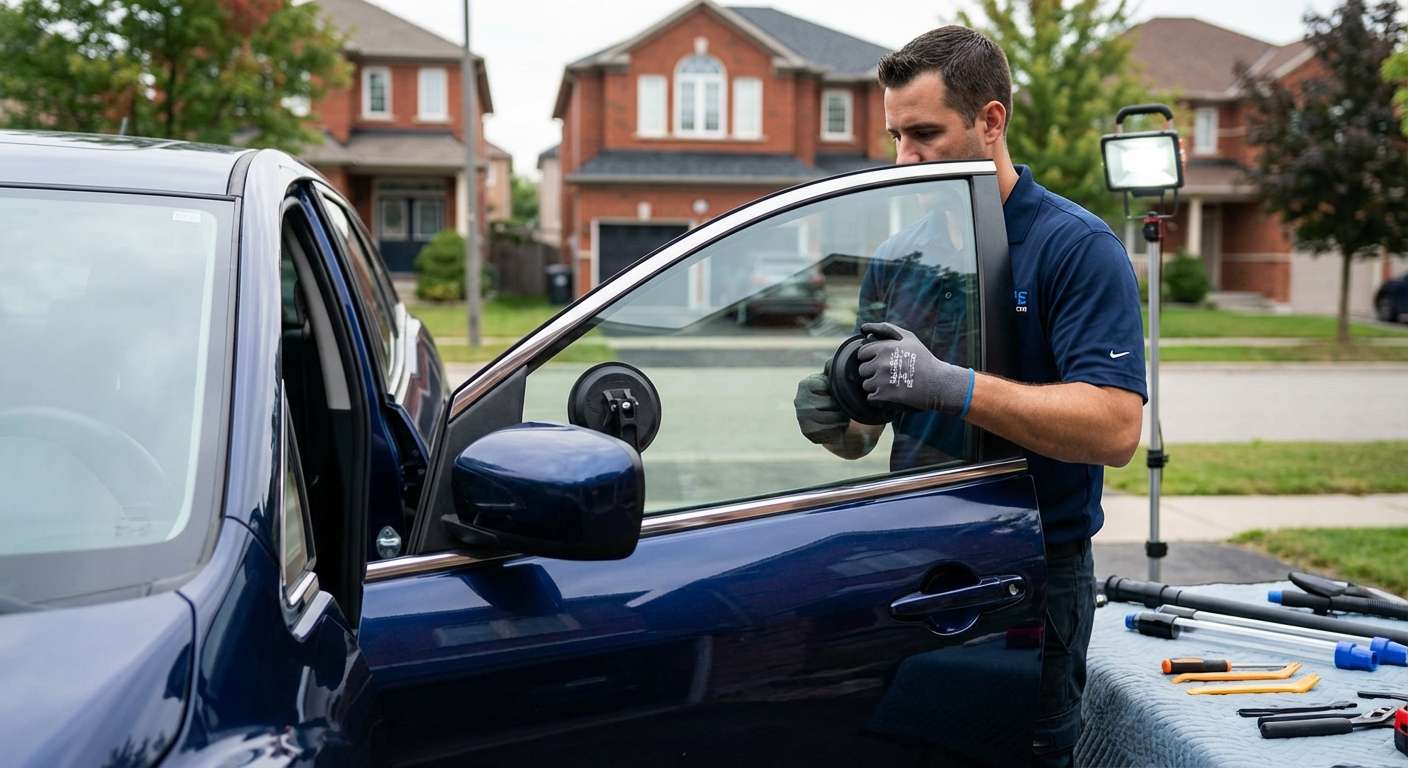
Restoring the Sleek Dynamics of Your Mazda CX-7: Expert Door Glass Replacement
The Mazda CX-7, produced between 2007 and 2012, was a vehicle ahead of its time. It successfully bridged the gap between the turbocharged performance of a sports sedan and the highly versatile, commanding presence of a mid-size SUV. Its distinctive, sweeping beltline, heavily raked side profile, and aggressive front fascia gave it a strikingly aerodynamic appearance. However, this beautiful curvature means its side door glass features highly unique dimensions and precise structural tolerances. When your CX-7 suffers a shattered side window—whether resulting from a sudden break-in, rogue road debris, or an unfortunate collision—you need much more than a generic, temporary fix. You require the exacting precision of a Master Technician who deeply understands the intricate inner workings of Mazda's specialized door assemblies.
Why Specialized Care Matters for Your 2007-2012 Mazda CX-7
The internal door structures of the Mazda CX-7 are complex ecosystems. They house highly sensitive electronics, intricate power lock actuators, side-impact crash sensors, window motor regulators, and, in many trim levels, premium Bose audio system acoustic components. A shattered door window does not merely leave your vehicle's cabin exposed to rain, wind, and theft; it forcefully introduces thousands of razor-sharp, fragmented glass shards into this delicate mechanical and electrical environment. At AlexWindshield, our approach goes far beyond simply swapping out a pane of glass. We meticulously restore the structural integrity, electrical safety, and acoustic insulation of your vehicle's cabin back to factory specifications.
The Importance of Premium Glass Quality
When it comes to replacing the door glass on a performance-oriented SUV like the Mazda CX-7, material quality is paramount. Inferior aftermarket glass can suffer from visual distortion, improper curvatures, and substandard acoustic dampening, leading to excessive wind noise at highway speeds. We exclusively utilize premium-grade glass that meets or exceeds Original Equipment Manufacturer (OEM) standards. This guarantees that your new window will perfectly match the factory tint, fit seamlessly into the complex rubber weatherstripping, and provide the exact level of UV protection and thermal insulation that Mazda originally engineered for your vehicle.
Technical Guide: Mazda CX-7 Door Glass Replacement Process
To ensure a completely flawless repair that stands the test of time, our Master Technicians follow a rigorous, manufacturer-approved protocol. Below is the comprehensive, step-by-step process we execute for every Mazda CX-7 door glass replacement to guarantee perfection from A to Z.
Step 1: Comprehensive Vehicle Preparation and Safety Measures
Before any mechanical tools are utilized, we take extensive measures to safeguard your vehicle's pristine interior and exterior.
- Interior Masking: We lay down heavy-duty, clean protective drop cloths over your leather or cloth seating, center console, and carpeted floor mats to shield them from dust and debris.
- Exterior Paint Protection: High-grade automotive masking tape and specialized protective foam shields are applied to the exterior door frame. This prevents any accidental scratches or scuffs to your Mazda's paintwork during the installation process.
- Technician Safety Gear: Our technicians equip themselves with cut-resistant Kevlar sleeves, heavy-duty safety gloves, and impact-resistant safety glasses to handle the shattered, tempered glass safely.
Step 2: Precision Removal of the Interior Door Panel
Accessing the damaged window regulator mechanism requires the careful and methodical dismantling of the CX-7's interior door trim.
- Screw Extraction: We carefully locate and remove the hidden retaining screws, which are typically concealed behind the inner door handle cover and deep beneath the armrest grip plate.
- Clip Disengagement: Using specialized nylon trim-removal pry tools, we gently disengage the perimeter retaining clips. This ensures we do not snap or stress the fragile plastic mounts that hold the panel flush against the door frame.
- Disconnecting Electronics: We delicately unplug the sophisticated wiring harnesses that power the window switches, power mirror controls, and lower door courtesy illumination lights.
- Vapor Barrier Removal: The essential weather-sealing vapor barrier (moisture shield) is delicately peeled back. We ensure the sticky butyl rubber adhesive remains fully intact so the barrier can be perfectly resealed later, preventing any future water leaks or drafts into the passenger cabin.
Step 3: Meticulous Vacuuming and Glass Shard Extraction
Unlike a windshield which cracks, tempered side door glass is designed to explode into thousands of small, pebble-like pieces upon impact. These shards instantly fall deep into the inner cavity of the door shell.
- Deep Cavity Extraction: We utilize high-powered, industrial-grade shop vacuums equipped with specialized, elongated micro-crevice tools to reach the very bottom of the internal sheet metal door shell.
- Component Clearing: We meticulously vacuum inside the intricate window tracks, around the delicate speaker housing, and near the sensitive door lock actuators. Leaving even a single shard behind can cause infuriating rattles or mechanical binding in the future.
- Comprehensive Cabin Sweep: The entire passenger cabin, including the crevices of the seats, the floor carpets, and even the air conditioning vents, is thoroughly vacuumed to guarantee a perfectly safe environment for you and your family.
Step 4: Removing the Old Glass Mounts and Regulator Inspection
With the debris cleared, we turn our attention to the window lifting mechanism.
- Regulator Alignment: We temporarily reconnect the master power window switch to safely lower or raise the window regulator mechanism into the optimal service position for extraction.
- Bracket Detachment: We carefully loosen the mounting bolts holding the shattered remnants of the old glass inside the heavy-duty regulator clamps.
- System Inspection: The metal regulator tracks, lifting cables, and plastic pulleys are closely inspected for any signs of stretching, fraying, or stress damage that may have been caused by the initial breaking impact.
Step 5: Glass Preparation, Surface Cleaning, and Primer Application
While most door glass is primarily bolted or clipped into place, specific mounting guide brackets and lower weatherstripping channels on modern vehicles require precise structural bonding to operate without vibration.
- Glass Decontamination: The new, premium-grade door glass is thoroughly scrubbed using a specialized, ammonia-free automotive glass cleaner. This removes any manufacturing residues, shipping oils, or fingerprints that could interfere with bonding.
- Surface Preparation: The specific mounting points on the new glass and the bonding areas of the lifting brackets are abraded slightly and cleaned with a high-purity chemical solvent for optimal adhesion.
- Primer Application: We apply a specialized automotive glass primer to the designated bonding surfaces. This primer acts as a vital chemical bridge, promoting maximum adhesion for the urethane and preventing long-term corrosion within the door frame.
Step 6: Installation of the New Glass Using High-Quality Adhesive
The installation phase requires a steady hand and an eye for absolute precision.
- Adhesive Bonding: In accordance with specific advanced repair requirements, a bead of high-quality polyurethane adhesive is applied to bond the glass securely to the lower regulator guide brackets. This high-grade adhesive ensures absolute structural stability, eliminating the risk of high-speed wind vibrations or rattling.
- Guiding the Glass: The new door glass is carefully maneuvered down through the tight window weatherstripping slot. This requires precise angling and manipulation to avoid catching or folding the internal felt door seals.
- Securing the Mounts: Once the glass is seated perfectly level within the regulator channel, the mounting bolts are torqued down to Mazda's exact factory specifications.
Step 7: System Initialization, Door Panel Reassembly, and Final Testing
We never hand back the keys until we are completely satisfied with the operational integrity of your new window.
- Functional Testing: Before reassembling the door trim, we operate the window multiple times. We are checking for smooth, frictionless movement up and down the track, verifying that there is no mechanical binding or abnormal motor strain noise.
- Pinch-Protection Calibration: We initialize the auto-up/auto-down feature and rigorously test the pinch-protection safety sensors. This ensures the window immediately reverses course if an obstruction (like a child's hand) is detected during operation.
- Panel Reassembly: The plastic vapor barrier is meticulously resealed against the butyl tape. The interior door panel is carefully aligned, the plastic retaining clips are snapped firmly back into place, wiring harnesses are reconnected to the switches, and all structural retaining screws are fastened tightly.
- Final Polish: The newly installed glass is polished to a brilliant, streak-free shine, leaving your Mazda CX-7 looking completely pristine and ready for the road.
Premier Mobile Auto Glass Services Across the Greater Toronto Area (GTA)
Dealing with a shattered vehicle window is inherently stressful and disruptive to your daily life. That is exactly why AlexWindshield brings the repair shop directly to your location. We offer comprehensive, fully mobile auto glass replacement services designed entirely around your busy schedule.
Whether you are shopping at a bustling retail plaza in Vaughan, parked securely in your residential driveway in Richmond Hill, or working a long shift at a corporate office lot in Markham, our fully equipped mobile service vans arrive promptly to assist you. We proudly serve the entire Greater Toronto Area (GTA), ensuring that you never have to risk driving an unsafe, unsecured, and weather-exposed vehicle across town. Navigating the busy stretches of Highway 400, Highway 404, or Highway 7 with a broken window is dangerous; let us come to you instead. Our modern mobile units are stocked with advanced extraction tools, high-capacity industrial vacuums, and climate-controlled adhesive storage to guarantee a perfect, factory-level installation regardless of your location or the outside temperature.
Book Your Mazda CX-7 Door Glass Replacement Today
When you choose AlexWindshield, you are actively choosing unparalleled technical expertise, uncompromising safety standards, and ultimate convenience. As a highly trusted leader in the auto glass industry across the GTA, we stand proudly behind the exceptional quality of our craftsmanship and the premium materials we use on every single job.
We understand that peace of mind is invaluable. That is why every door glass replacement we perform comes backed by our comprehensive Lifetime Warranty. This industry-leading guarantee covers any issues related to our installation, including irritating air leaks, mechanical track settling, or water penetration, for as long as you own your vehicle. Do not let a broken side window compromise the security of your valuables, the comfort of your passengers, or the striking aesthetic appeal of your Mazda CX-7.
Contact AlexWindshield today to schedule your mobile door glass replacement in Vaughan, Richmond Hill, Markham, or anywhere else across the GTA. Experience the profound difference of working with true auto glass Master Technicians, and get back on the road with total clarity, safety, and confidence.




