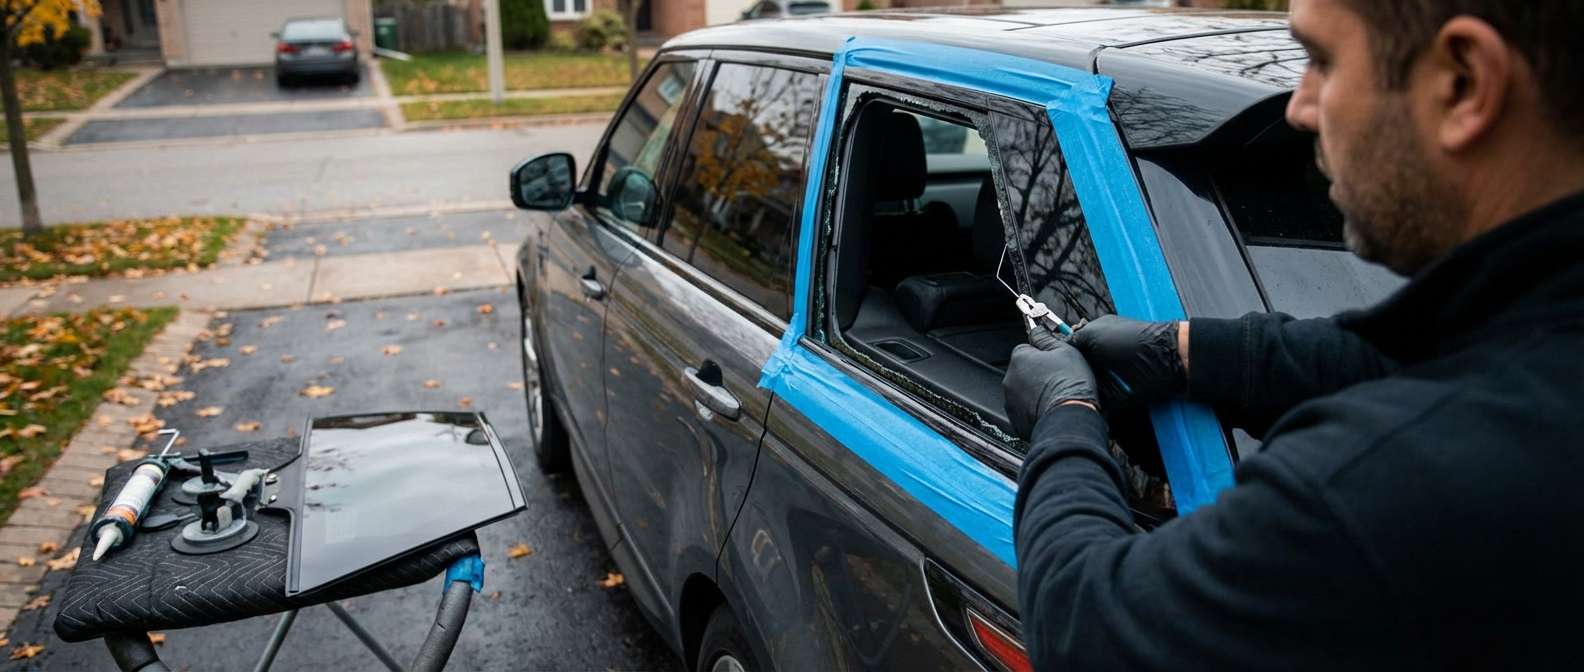
Matching Range Rover Sport Quarter Window Options Before Fitting
Before unboxing a replacement panel for this vehicle, I verify the specific glass configuration against the factory build. The L494 uses fixed, direct-glazed side quarter windows behind the C-pillar that vary significantly across production runs. Factory options range between standard green glass and deep privacy tint, with select vehicles featuring an infrared-reflective solar-attenuating interlayer. On the right-hand side alone, dealer reference numbers span parts like LR046766, LR062138, LR076560, LR077638, LR077629, and LR167883. For the left side, typical configurations align with numbers like LR046767, LR062148, LR076473, and LR077639.
I examine the embedded antenna elements in the new glass prior to any work in the rear cargo area. These side panes house integrated diversity antenna grids for radio and television reception, terminating in dedicated solder tabs and terminal connectors along the inner border. I source aftermarket units manufactured by trusted brands such as Pilkington, PGW, FYG, or XYG, and I check that the connector layout matches the factory wiring harness before setting the glass near the aperture. Because there are no power window regulators, division bars, defroster grids, or forward-facing sensors on these rear quarters, verifying the antenna terminal location and tint depth is the most critical pre-inspection step.
Surrounding Pillar Trims and Exterior Applique Checks
The floating-roof styling on the L494 relies on continuous gloss-black exterior surfaces that sit directly against the quarter glass perimeter. The cosmetic C-pillar and D-pillar applique covers, alongside the upper roof transition moulding, form a tight frame around the window opening. These high-gloss exterior trims are notorious for brittle mounting clips that snap during service, and the exterior plastic covers themselves frequently suffer from pre-existing clear coat failure, cracking, or edge peeling. I inspect the condition of these surrounding trims beforehand to ensure they can seat flat without rubbing against the fresh glass edge.
On the cabin side, accessing the inner antenna amplifier modules requires releasing the interior luggage compartment D-pillar trim and shifting the upper C-pillar panels near the headliner edge. I confirm that all interior retention brackets are intact so the loadspace panels reinstall flush against the inner window boundary. An improper fit of the inner trim will distort the look of the glass perimeter from inside the cargo bay and can interfere with the antenna lead routing.
Verifying Flush Alignment and Perimeter Seals
Once the quarter window is set in place, post-installation inspection focuses entirely on alignment with the vehicle unibody and roofline. The glass must sit completely flush with the gloss black D-pillar trim and the upper roof edge transition panel. If the pane sits too proud of the bodywork or sinks too deep into the aperture, wind turbulence catches the exposed glass edge at highway speeds, generating persistent cabin buffeting. I sight down the length of the rear quarter to confirm an uninterrupted, seamless transition from the passenger door window back through the D-pillar applique.
The final physical check involves inspecting the continuous perimeter seal from both inside the cargo hold and around the exterior frame. A gap or thin spot in the structural bond allows water to track behind the interior quarter panels, soaking hidden electronic modules and the rear carpet. I verify that the encapsulated edge mouldings sit square against the body aperture and that the inner antenna terminal leads remain free of strain once the interior luggage trim panels are secured back into their factory positions.




