Removable Door Architecture and the Recon Window Glass
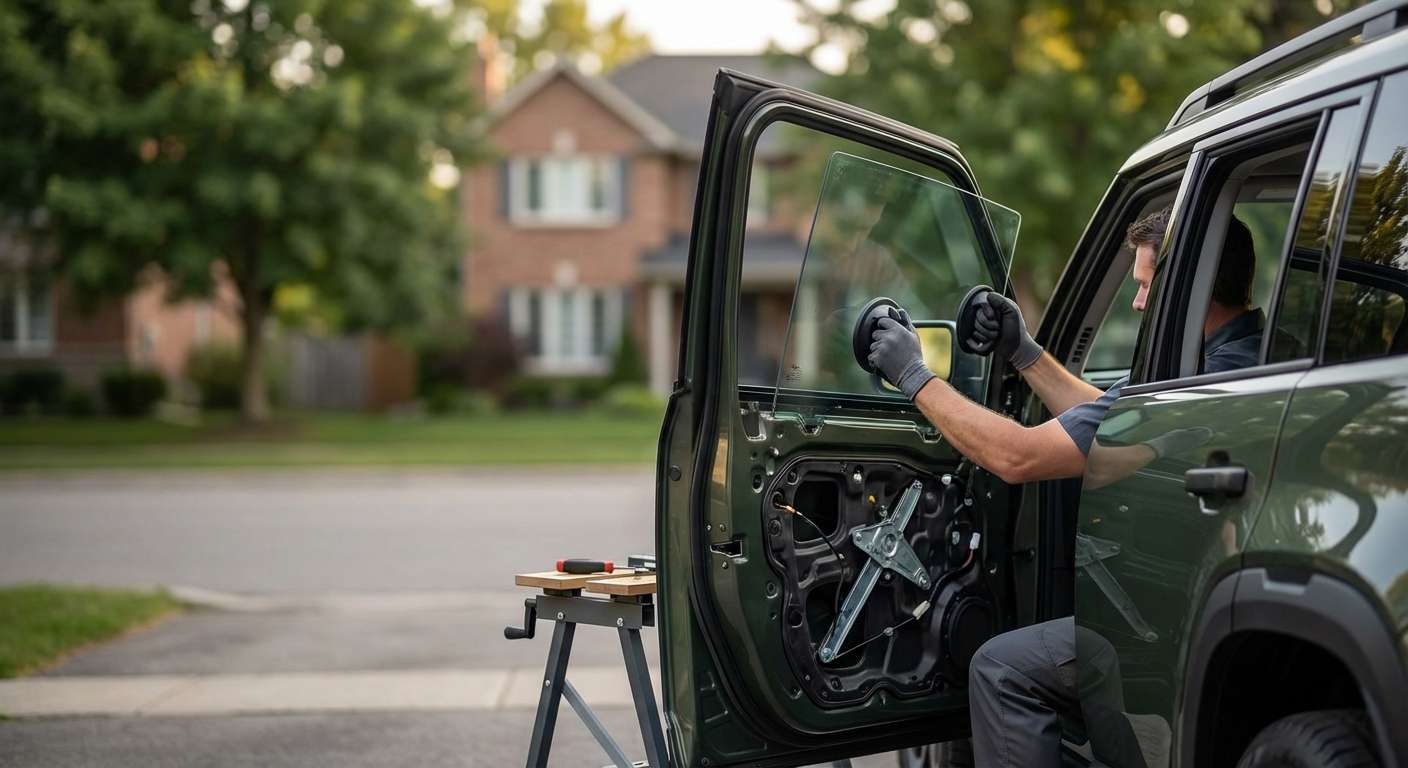
Servicing broken door glass on this electric off-roader requires handling a fully framed window assembly nested inside a lightweight, toolless removable door shell. Unlike traditional trucks where switchgear lives on the interior door card, window controls sit directly on the center console to streamline trail-door removal. That layout means the internal electric regulator communicates with the vehicle through a dedicated quick-disconnect wiring harness anchored beside the fabric door check strap. Before servicing any damaged pane, the electrical line must be tethered and powered to drop the regulator carrier downward into the lower cavity, avoiding uneven weight transfer and keeping the internal tracks clear of structural stress.
The side glass stays entirely captive within the removable perimeter frame, which differs sharply from the swing-gate glass or removable quarter windows that unlatch independently from the body. Because the STLA Large platform architecture yields an exceptionally stiff structural opening, off-road torsional flex is absorbed by the unibody rather than twisting the window frame. Even so, the perimeter run channels and integrated beltline mouldings on the removable door shell are tightly seated to silence wind intrusion against the silent EV powertrain. When I replace a window on this vehicle, I guarantee my installation workmanship for as long as you own it, backed by a one-year warranty on the replacement glass panel itself.
Critical Pre-Installation Checks on New Side Glass
Before any pane enters the door shell, specific physical characteristics must be verified on the bench. Front door glass requires acoustic laminate construction, identifiable by examining the polished edge profile for the dual-pane resin interlayer engineered to dampen high-frequency tire wash and electric drive motor whine. In contrast, rear door units utilize single-layer tempered safety glass finished with deep factory solar privacy tint. I inspect the bottom mounting tabs bonded to the glass base to ensure the fastener holes match the factory regulator clamp offsets precisely; if these guide tabs deviate by even a millimeter, the glass will cock sideways inside the captive aluminum sash.
Edge smoothness along the vertical borders demands thorough scrutiny. Because the glass slides within deep weatherstripping anchored directly to a frame that detaches from the vehicle body, any micro-burrs along the perimeter will chew through the flocking inside the guide channels. I also inspect the lower glass edge relief where it meets the internal bottom stops, ensuring the pane can drop flush inside the cavity so the vehicle's doors can still be removed without exposing top glass edges to impact hazards.
Post-Fitment Track Alignment and Run Channel Seating
Once the glass is set into the regulator scissor brackets, verifying the fit requires testing both electrical operation and mechanical clearance. With the quick-disconnect wiring plug temporarily engaged, I run the pane through multiple travel cycles using the console-mounted toggle switches. The upper edge must dock squarely into the header weatherstrip channel without deflecting the vertical sash seals outward. If the glass tilts forward during upward travel, it indicates uneven clamping torque on the regulator carrier blocks, which will cause excessive current draw on the lift motor and trigger the automatic pinch-protection safety reverse.
The exterior and interior beltline mouldings must be checked for consistent tension across the entire sweep of the glass. Because trail dust and fine gravel frequently collect along the door frames during outdoor use, the inner rubber squeegee wipe must exert uniform pressure from the front mirror sail area all the way to the rear pillar edge. Any puckering or gap along the lower belt strip invites water intrusion into the lower shell, threatening the inner harness terminals and door-latch solenoids housed beneath the glass travel zone.




