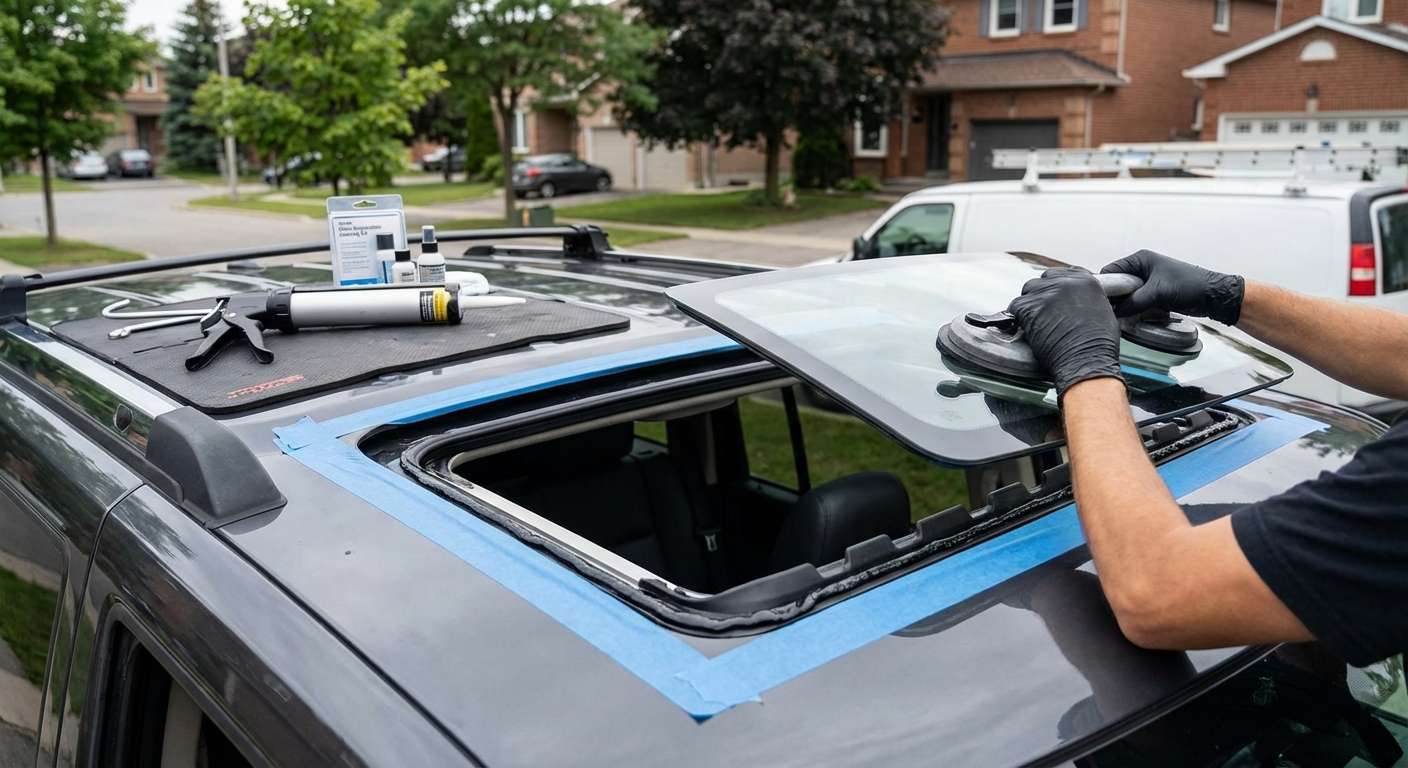
CommandView Glass Architecture on the Commander
If your front sunroof shattered or stopped sealing, understanding how Chrysler laid out the roof on this platform matters before ordering parts. The Commander featured an optional three-panel arrangement dubbed the CommandView roof system. Directly above the driver and front passenger sits an electric tilt-and-slide tempered glass panel. Behind it, built into the stepped, stadium-seating roofline over the second row, sit two stationary glass skylights. Those rear panels are fixed units bonded directly to the sheet metal with urethane and flanked by individual roller sunshades, while the front movable panel operates on a mechanical track assembly mounted above the headliner.
The front glass panel uses an encapsulated steel sub-frame that secures directly to the left and right lift arms using four Torx mounting machine screws (M5x0.80x7.30, reference 6508405AA). Covering those mechanical brackets are flexible accordion-style rubber side shields (reference 5174220AA) that clip to the glass frame and track to keep debris out of the guide shoes. There are no embedded antennas, rain sensors, or defroster lines on this front panel; it is a straightforward deep-tinted, solar-absorbing tempered glass piece, but getting the alignment right to the roof opening is essential to avoid wind noise.
| Roof Component | Mopar Part Reference | Mounting Type |
|---|---|---|
| Front Movable Sunroof Glass | 5179186AB (supersedes 5179186AA) | Screw-fastened to lift brackets |
| Perimeter Glass Edge Seal | 5179187AA | Channel-fit to glass frame |
| Side Accordion Track Boots | 5174220AA | Snap-in mechanical shields |
| Second-Row CommandView Skylights | Stationary quarter-roof panels | Direct-glazed urethane bond |
Water Infiltration, Drain Tubes, and Glass Alignment
A broken front panel is an immediate emergency, but water pouring out of the overhead console or pooling on the front carpets is just as common on the XK. The sunroof cassette relies on a catch tray with four drain tubes routed down the pillars. The front tubes run down behind the kick panels and drain through the firewall behind the wheel wells using rubber grommets with an "X"-shaped slit. These slit valves collect road grime, pine needles, and pollen, sticking shut and backing water up into the headliner, dome lights, and down into sensitive dash wiring harnesses.
When I replace a smashed or fractured front glass, I inspect the perimeter edge seal (5179187AA) and clear these drainage paths. If you call after an impact shatters the panel during a storm, I can generally be on-site roughly an hour after you book to get the cabin sealed from weather. If the glass sits too low in the stamped roof opening, excess runoff will simply overpower the internal drainage channels, which was the focus of extensive legal action against Chrysler regarding interior cabin flooding on these trucks.
Mechanical Track Binding and Sunshade Issues
Before putting replacement glass into the track, the drive mechanism must be tested. The cables running inside the cassette track are known to bind or strip their plastic guides over years of heat exposure. If the glass does not move parallel, forcing the motor will strip the cable teeth or snap the guide brackets. The manual sliding sunshade under the front panel must also move freely on its runners before the glass is torqued down. Unlike the second-row CommandView roller blinds—which frequently drop their internal spring retainers and sag down onto rear passengers—the front shade is a rigid board that slides into the headliner recess and cannot be serviced once the glass is bolted down without pulling the assembly apart again.
Setting the Panel Height
Replacing the front glass involves setting the panel flush to the exterior steel. The service manual specifies that the front edge of the glass should sit slightly below the roof skin (flush to 1.0 mm lower) to prevent wind catching the front lip at highway speeds, while the rear edge must sit flush to 1.0 mm above the roof line to direct airflow smoothly over the stepped CommandView rise. Loosening the four M5 Torx screws behind the accordion boots allows for this physical adjustment before the final torque is applied.




