Restoring the Elegance of Your 2009-2015 Jaguar XF: Expert Vent Glass Replacement
The 2009-2015 Jaguar XF, known by its internal designation X250, completely redefined modern British luxury. With its sweeping roofline, dramatic proportions, and whisper-quiet cabin, this mid-size luxury sedan is a masterpiece of automotive engineering. However, when a piece of that meticulously designed puzzle—such as your vent glass—is shattered, it abruptly compromises the vehicle's stunning aesthetics, acoustic insulation, and overall security. Often targeted by thieves looking for quick access to the cabin, a broken vent glass leaves your premium leather interior exposed to the elements. Restoring this specific glass component requires far more than a simple patch job; it demands the specialized knowledge of a Master Technician who understands the intricate door architecture and trim assemblies unique to Jaguar vehicles.
Why the Jaguar XF (2009-2015) Demands Specialized Glass Expertise
Unlike standard economy vehicles, the Jaguar XF 2009-2015 features highly complex door structures layered with premium acoustic dampening materials, delicate wood or aluminum veneers, and intricate electrical wiring harnesses. The vent glass, though small, plays a critical role in the vehicle's structural and aerodynamic profile. A generic installation can lead to wind noise, water leaks, and damage to the luxurious interior panels.
When replacing the vent glass on this specific luxury sedan, technicians must navigate several complex factors:
- Acoustic Integrity: The Jaguar XF cabin is engineered for silence. Using subpar glass or improper urethane sealing will result in highly noticeable wind whistling at highway speeds.
- Complex Trim Assemblies: Accessing the mounting points for the vent glass requires the careful removal of the interior door panels, dividing bars, and weather seals without breaking delicate retaining clips.
- High-End Interior Protection: The soft-touch materials, premium leather seating, and intricate switchgear are highly susceptible to scratches from shattered tempered glass and rogue tools.
- OEM-Grade Specifications: The curvature and tint of the replacement vent glass must perfectly match the original factory specifications to maintain the sleek exterior lines of the X250 chassis.
Premium Mobile Auto Glass Service Across the Greater Toronto Area
Dealing with a shattered vent glass is a stressful experience, which is why AlexWindshield brings the repair shop directly to your driveway, office, or underground parking garage. As the leading auto glass experts in the Greater Toronto Area (GTA), we understand that your time is valuable. Driving with a broken window is not only uncomfortable but incredibly unsafe.
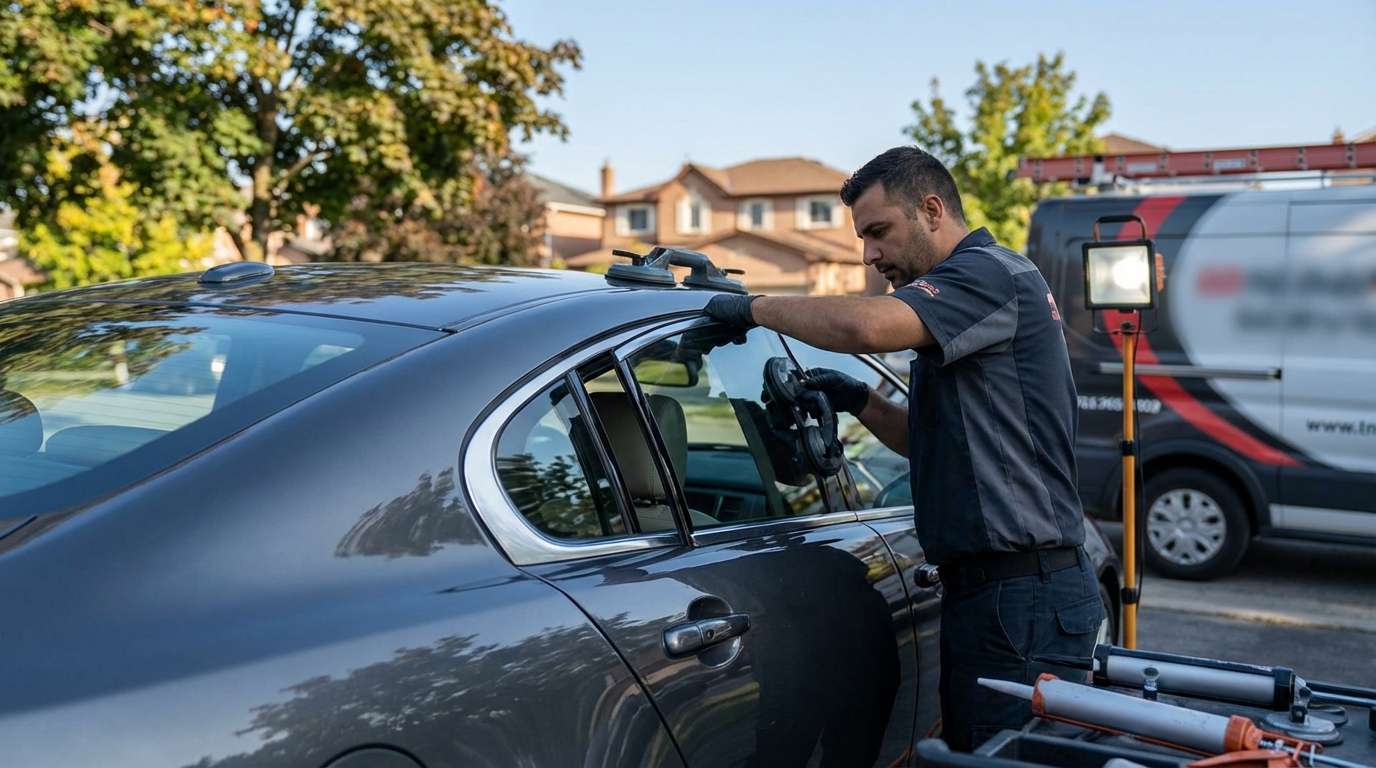
Our fully equipped mobile service fleet operates comprehensively across the GTA, with dedicated rapid-response routing through key municipalities. Whether you are parked near the bustling corporate centers of Markham, residing in the upscale neighborhoods of Richmond Hill, or shopping in the expansive retail districts of Vaughan, our Master Technicians will arrive promptly. We bring all the specialized tools, OEM-equivalent glass, and heavy-duty vacuums required to perform a flawless repair on-site, restoring the security of your Jaguar XF without disrupting your busy schedule.
The A to Z Vent Glass Replacement Process: A Master Technician's Approach
At AlexWindshield, we do not cut corners. Replacing the vent glass on a 2009-2015 Jaguar XF is a meticulous process that requires patience, precision, and absolute attention to detail. Below is our comprehensive, step-by-step master technician protocol for replacing your vehicle's vent glass.
Step 1: Meticulous Vehicle Preparation and Interior Protection
Before any tools are utilized, we prioritize the protection of your luxury vehicle. The impact that shattered the vent glass likely sent thousands of tiny, razor-sharp tempered glass cubes flying throughout the cabin. We begin by laying down heavy-duty protective drop cloths over your Jaguar's premium leather seats, center console, and floor mats. We apply specialized automotive tape around the exterior window frame and painted C-pillar surfaces to ensure that no tools or chemical solvents accidentally scratch or mar the XF's pristine clear coat during the extraction process.
Step 2: Extensive Glass Clean-Up and Door Panel Removal
Because the vent glass is tempered, it shatters into granular chunks that fall deep inside the door cavity. Leaving this glass inside will cause a permanent, irritating rattle every time you drive or close the door. We begin by carefully removing the Jaguar's interior door panel. This involves extracting hidden Torx screws behind the door handle and armrest, safely detaching the intricate wiring harnesses for the window switches and ambient lighting, and gently popping the panel off its retaining clips using specialized non-marring nylon pry tools.
Once the door interior is exposed, we peel back the vapor barrier and use industrial-grade vacuums with micro-crevice attachments to meticulously suction every single shard of broken glass from the bottom of the door shell, the window regulator tracks, and the interior carpeting. Vacuuming all broken glass shards is a mandatory, non-negotiable step in our premium service.
Step 3: Extracting the Old Glass Frame and Urethane Residue
With the area clean, we focus on removing the remnants of the broken vent glass. Depending on the exact door position, this requires loosening the window run channel and the dividing bar that separates the main roll-up window from the vent glass. Once the hardware is loosened, we carefully extract the old vent glass frame. If the vent glass is encapsulated or bonded directly to the pinch weld, our technicians utilize professional cold knife tools and specialized wire-cutting systems to slice through the factory polyurethane adhesive. We carefully trim down the old urethane bead to a flat base of about 1-2 millimeters, creating the perfect foundation for the new adhesive to bond to, ensuring we never scratch down to the bare metal of the pinch weld.
Step 4: Surface Preparation and Primer Application
A flawless seal is entirely dependent on meticulous surface preparation. We clean the mounting area and the edges of the new replacement vent glass using an alcohol-based, lint-free cleaning solution to remove any dust, fingerprints, or manufacturing residues. Next, we apply a high-quality automotive glass primer to both the trimmed urethane track on the vehicle body and the bonding edge of the new vent glass. This highly specialized black primer serves a dual purpose: it acts as a powerful chemical bonding agent for the adhesive, and it provides vital UV protection to prevent the sun from breaking down the urethane over time. We allow the primer to flash and cure for the exact time specified by the chemical manufacturer.
Step 5: Precision Installation with High-Quality Adhesive
Once the primer is fully cured, we load our electric caulking gun with premium, fast-curing high-quality adhesive (automotive grade polyurethane). Our Master Technicians expertly apply a precise "V-bead" of urethane along the bonding surface. The V-shape is crucial, as it ensures the adhesive collapses perfectly flat when the glass is pressed in, preventing any gaps or air bubbles that could cause water leaks or wind noise. We then carefully guide the new Jaguar XF vent glass into its exact position, applying even pressure to seat it deeply into the urethane. The glass is temporarily secured with specialized retention tape to prevent any shifting while the urethane begins its rapid chemical curing process.
Step 6: Reassembly and Final Quality Inspection
While the heavy-duty adhesive sets, we begin the meticulous reassembly of the Jaguar's door architecture. We bolt the dividing bar back into place, re-seat the rubber weather stripping, and ensure the main roll-up window glides smoothly within its tracks without any obstruction. The moisture barrier is meticulously resealed. We then reconnect all electrical harnesses and carefully snap the luxury interior door panel back into its exact factory position, securing all Torx screws and cosmetic covers.
Finally, we perform a rigorous quality assurance check. We clean all the surrounding glass with streak-free automotive glass cleaner, inspect the interior once more to ensure not a single glass speck remains, and check the alignment of the new vent glass. We then brief you on the safe drive-away time and post-installation care.
Why Choose AlexWindshield for Your Jaguar XF Auto Glass Needs?
When you drive a beautifully engineered vehicle like the 2009-2015 Jaguar XF, you cannot entrust its repair to just anyone. You need a dedicated specialist who combines technical mastery with unparalleled customer service. AlexWindshield stands out as the premier auto glass repair and replacement authority across the Greater Toronto Area.
- Master Technician Expertise: Our technicians undergo rigorous, ongoing training to handle the specific complexities of luxury European vehicles, ensuring your Jaguar is treated with the utmost respect and precision.
- High-Quality Materials: We use only OEM-equivalent glass, premium urethane adhesives, and advanced primers to ensure your new vent glass matches the original factory safety and acoustic standards.
- Convenient Mobile Service: Whether you need us in Markham, Vaughan, Richmond Hill, or anywhere else in the GTA, our fully equipped mobile vans bring the repair directly to your location.
- Comprehensive Clean-Up: We guarantee the thorough removal of all shattered glass from your vehicle's interior and door cavities, restoring your cabin to its pristine condition.
Book Your Mobile Vent Glass Replacement Today
Do not let a shattered vent glass compromise the security, beauty, and comfort of your luxury sedan. Trust the certified Master Technicians at AlexWindshield to deliver a flawless, seamless repair experience right at your doorstep. We are proud to be the most trusted mobile auto glass experts in the GTA, backing every single replacement with an industry-leading Lifetime Warranty against leaks, whistling, and manufacturer defects. Contact AlexWindshield today to schedule your 2009-2015 Jaguar XF vent glass replacement and get back on the road with absolute confidence.




