Rear C-Pillar Glass Vulnerabilities on the Y50 Platform
Most forum discussions regarding the fixed rear side windows on the M35, M35x, M45, and M45x revolve around weather-worn trim and mystery water leaks pooling behind the rear bench. Because the quarter glass on this vehicle sits stationary directly against the steel C-pillar rather than inside the rear door frame, it lacks a drop mechanism, run channels, or a door division bar. However, long-term exposure to sun and road salt frequently attacks the integrated rubberized encapsulation that wraps around the factory glass, leaving the outer edge oxidized, brittle, or shrinking away from the quarter panel.
When dampness shows up near the rear parcel shelf, drivers often suspect the quarter glass seal has separated from the aperture. In nearly all of these cases, the urethane bond holding the window remains intact; the real culprit on this body is typically a blocked rear sunroof drain hose routed downward right beside the inner C-pillar cavity. If the glass itself is actually broken or the encapsulated rubber moulding has completely deteriorated, replacing the entire unit is the only correct remedy, as the surrounding outer border is cast directly onto the glass panel rather than sold as a separate, clip-on rubber seal.
Quarter Glass Identifiers and Panel Integration
Replacing the stationary quarter glass involves dealing with parts shared directly with the Japanese-market Nissan Fuga from the same era. Every sedan in this range—whether running the VQ35DE, the later VQ35HR, or the VK45DE V8—uses identical glass apertures on the rear pillars. The glass features an integrated black ceramic frit band that conceals the inner pinchweld and factory solar-absorbing green tint designed to match the rear passenger door glass.
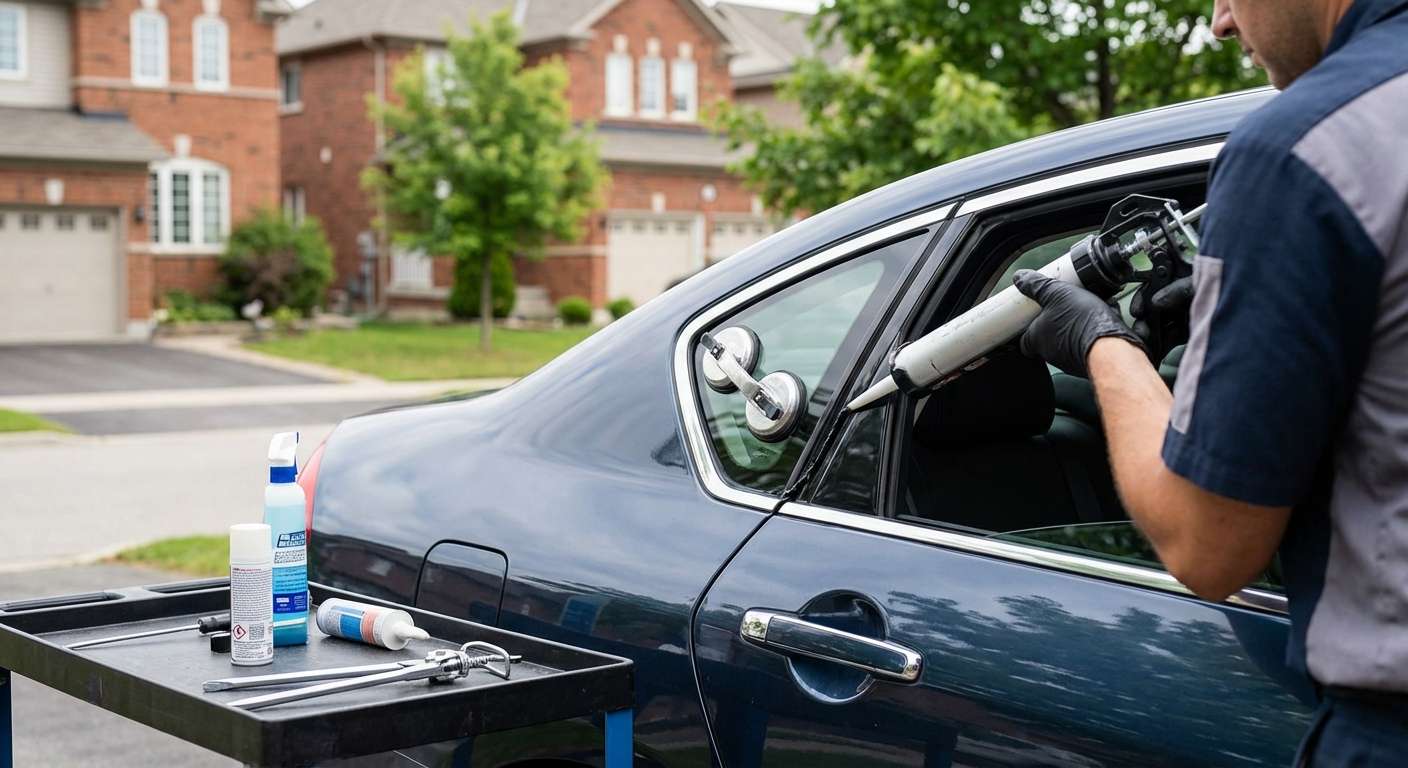
When you schedule a service, I typically reach your vehicle within about an hour of the call to get the exposed interior protected and fitted with replacement aftermarket glass. The replacement units follow industry standard NAGS catalog numbers rather than dealership codes, matching the original body locator pins and pre-attached perimeter mouldings exactly:
| Glass Position | OEM Reference | NAGS Reference | Key Characteristics |
|---|---|---|---|
| Driver Side (LH) | 76831-EG000 | FQ22673 / FQ22673GTY | Fixed, solar green tint, integrated perimeter moulding, alignment clips |
| Passenger Side (RH) | 76830-EG000 | FQ22672 / FQ22672GTY | Fixed, solar green tint, integrated perimeter moulding, alignment clips |
The bottom edge of this glass interfaces with the exterior bright chrome sash beltline moulding that sweeps upward from the rear door. Proper alignment of the glass locator pins is essential to ensure that this lower chrome strip sits flush against the edge of the glass without binding or creating wind noise at highway speeds.
Post-Installation Inspection Checklist
Once your replacement quarter glass is set, inspect the exterior C-pillar and interior cabin trims to confirm everything aligns with the factory body lines:
- Check the horizontal alignment between the bottom edge of the glass encapsulation and the rear door chrome beltline sash to confirm a continuous, even gap.
- Inspect the exterior perimeter rubber reveal to ensure it sits flat against the quarter panel sheet metal without puckering or lifting at the sharp upper corner.
- Verify that the interior C-pillar upholstery panel, coat hook assembly, and side edges of the rear parcel shelf sit firmly back in their retaining clips without gaps.
- Look through the panel in direct sunlight to verify that the factory-matched solar green tint shade blends evenly with the rear door window.
- Inspect the black ceramic frit border from outside the vehicle to verify complete visual coverage of the interior body pinchweld area.




