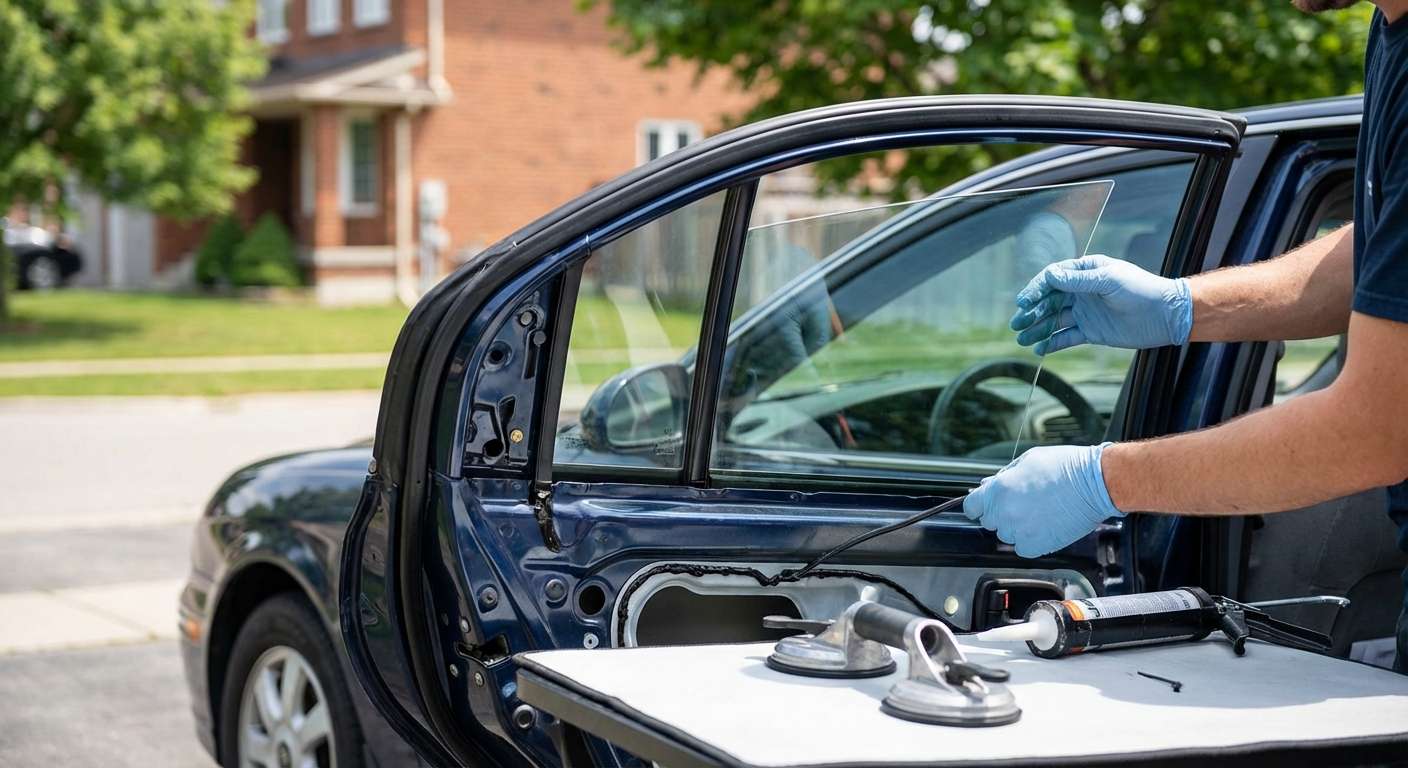
The 1999-2005 Hyundai Sonata: Restoring Cabin Security with Precision Vent Glass Replacement
The 1999-2005 Hyundai Sonata, famously known as the EF generation, marked a turning point in automotive history by offering drivers an unprecedented blend of mid-size comfort, robust engineering, and lasting durability. However, despite its solid build, the vehicle's unique rear door vent glass—that small, stationary triangular pane positioned just behind the main roll-down window—remains a highly vulnerable target. Whether due to unfortunate vandalism, a break-in attempt, or a stray piece of highway debris, a shattered vent glass instantly compromises your vehicle's security, climate control, and interior preservation. At AlexWindshield, we do not just replace auto glass; we restore your peace of mind using master-level techniques tailored specifically to the structural nuances of early 2000s Hyundai models.
Why Expert Intervention is Crucial for Your Sonata's Vent Glass
Many vehicle owners mistakenly assume that because the vent glass is small, its replacement is a simple, DIY-friendly task. On the 1999-2005 Hyundai Sonata, the vent glass is intricately integrated into the rear door frame, separated by a structural division bar, and often requires precise bonding to ensure a watertight and wind-proof seal. A compromised installation can lead to severe wind noise, water leaks that degrade your door's interior electronics, and internal rust. Our senior technicians at AlexWindshield bring decades of combined experience to ensure that your replacement is executed flawlessly, meeting and exceeding original factory specifications.
Master Technician's Guide: Step-by-Step Vent Glass Replacement Process
As a Master Technician at AlexWindshield, transparency and precision are at the core of my methodology. Below is the comprehensive, A-to-Z process we follow when replacing the vent glass on your 1999-2005 Hyundai Sonata. Every step is designed to guarantee structural integrity, visual perfection, and complete passenger safety.
Step 1: Vehicle Preparation and Interior Protection
Before any tools are utilized, our primary objective is to protect your Sonata's interior. A shattered vent glass typically disperses hundreds of sharp, tempered glass fragments throughout the back seat and floorboards. We begin by laying down heavy-duty, scratch-resistant protective covers over your vehicle's upholstery, floor mats, and exterior door paint. We tape off the immediate work area around the window frame using automotive-grade masking tape to prevent any accidental scratches to your clear coat during the extraction and installation phases.
Step 2: Door Panel Removal and Deep Interior Vacuuming
Because the vent glass is an integral component of the door structure, shattered glass inevitably falls deep down into the internal door cavity. Leaving these shards inside will cause infuriating rattling noises and can permanently damage the window regulator mechanisms.
- Panel Extraction: We carefully unclip the interior door panel, removing the armrest screws, door handle bezels, and the primary retaining bolts specific to the 1999-2005 Sonata design.
- Vapor Barrier Peeling: We gently peel back the moisture-blocking vapor barrier, ensuring the factory butyl tape remains intact for reassembly.
- Comprehensive Vacuuming: Using a high-powered industrial shop vacuum with specialized micro-crevice attachments, we meticulously extract every single shard of broken glass from the bottom of the door cavity, window tracks, seat seams, and the vehicle's interior floorboards. Complete glass removal is a non-negotiable standard at AlexWindshield.
Step 3: Removing the Old Glass Frame and Division Bar
To access the vent glass mounting point, we must manipulate the rear door's division bar—the vertical metal track that separates the main window from the vent glass.
- We roll down the main door window completely to relieve track tension.
- We locate and remove the upper and lower mounting bolts that secure the division bar to the door chassis.
- Carefully tilting the division bar outward, we create the necessary clearance to extract the damaged vent glass encapsulation and any remaining shards still glued or wedged into the rubber molding.
Step 4: Precision Surface Cleaning and Preparation
A flawless seal is impossible without an immaculate bonding surface. We inspect the metal pinchweld and the surrounding mounting frame where the new vent glass will sit. Using specialized auto glass scrapers, we remove any old, degraded adhesive, dirt, and rubber residue. We then treat the area with an alcohol-based, industry-grade cleaner. This step removes microscopic grease, road grime, and oils that could otherwise compromise the chemical bonding process of the new seal.
Step 5: Primer Application for Maximum Bond and Rust Prevention
Applying the correct primer is a critical step that many budget glass shops skip, but at AlexWindshield, it is mandatory. After cleaning, we apply a specialized urethane primer to any exposed bare metal on the pinchweld and to the bonding edge of the new vent glass frame.
- Chemical Adhesion: The primer acts as a chemical bridge, ensuring the urethane adhesive cross-links perfectly with both the vehicle's metal frame and the glass encapsulation.
- Rust Inhibition: The primer permanently seals any microscopic scratches on the painted metal, guaranteeing that moisture cannot penetrate the frame and cause hidden rust years down the line.
- We allow the primer to flash (dry) for the exact duration specified by the chemical manufacturer, ensuring optimal readiness for the adhesive.
Step 6: Installation Using High-Quality Adhesive
With the frame primed and prepped, we move to the critical installation phase. We utilize a premium, fast-curing high-quality adhesive specifically engineered for modern auto glass bonding.
- We apply a consistent, uniform bead of urethane adhesive around the perimeter of the vent glass mounting frame.
- The new, OEM-equivalent vent glass pane is meticulously aligned and firmly pressed into the adhesive bed.
- We reinstall the division bar, tightening the factory bolts to the exact torque specifications required for the 1999-2005 Hyundai Sonata, ensuring the glass is locked firmly into position while the adhesive begins its chemical curing process.
Step 7: Reassembly, Curing Time, and Final Quality Check
Once the glass is bonded, we re-secure the vapor barrier and carefully snap the interior door panel back into place, reattaching all switches, handles, and trim pieces. We conduct a final roll-down test of the main window to ensure the division bar alignment is perfect and causes no friction. Finally, we clean the new vent glass with a streak-free, foaming glass cleaner. Our technician will then brief you on the safe drive-away time, ensuring the high-quality adhesive has sufficiently cured to meet federal safety standards.
Local, Mobile Auto Glass Excellence Across the GTA
At AlexWindshield, we understand that driving with a shattered vent glass is not just a nuisance; it is a serious security risk that leaves your vehicle exposed to theft and the unpredictable Ontario weather. That is why we proudly offer fully equipped mobile auto glass services across the Greater Toronto Area (GTA). You do not need to risk driving a compromised vehicle to a repair shop. Our master technicians will bring our state-of-the-art tools and premium replacement glass directly to your location.
Whether you are parked in a residential driveway in Vaughan, at your corporate office in Markham, or running errands in Richmond Hill, our mobile fleet is ready to deploy. We bring the exact same level of dealership-quality precision to your doorstep as we would in our own controlled shop environment, ensuring your 1999-2005 Hyundai Sonata is restored swiftly and correctly, no matter where you are in the GTA.
Book Your Hyundai Sonata Vent Glass Replacement with AlexWindshield
Do not let a broken vent glass compromise your safety, comfort, or the classic appeal of your 1999-2005 Hyundai Sonata. Trust the senior SEO-optimized auto glass experts who prioritize technical precision, thorough interior cleanup, and premium material usage. AlexWindshield is recognized as the trusted expert for mobile auto glass services throughout the GTA.
Every replacement we perform is backed by our comprehensive Lifetime Warranty against leaks, wind noise, and workmanship defects. We stand behind our high-quality adhesive applications and our rigorous safety protocols. Contact AlexWindshield today to schedule your mobile vent glass replacement in Vaughan, Richmond Hill, Markham, or the wider GTA, and experience the unparalleled service of true auto glass master technicians.




