Restoring the Aerodynamic HD Silhouette: 2007-2010 Hyundai Elantra Back Glass Replacement
The fourth-generation Hyundai Elantra, manufactured between 2007 and 2010 (internally known as the HD series), is celebrated for its distinctive "coke-bottle" styling, sweeping aerodynamic roofline, and highly efficient cabin design. However, this unique geometric slope means that when the rear window is compromised, your vehicle loses more than just a piece of glass—it loses critical structural integrity, cabin insulation, and its integrated rear defroster capabilities. Unlike front windshields which are laminated to stay intact upon impact, the rear window of the 2007-2010 Hyundai Elantra is constructed from tempered glass. When struck by debris, involved in a collision, or targeted by vandalism, tempered glass is designed to shatter into thousands of granular pieces to prevent dangerous, jagged shards from injuring passengers.
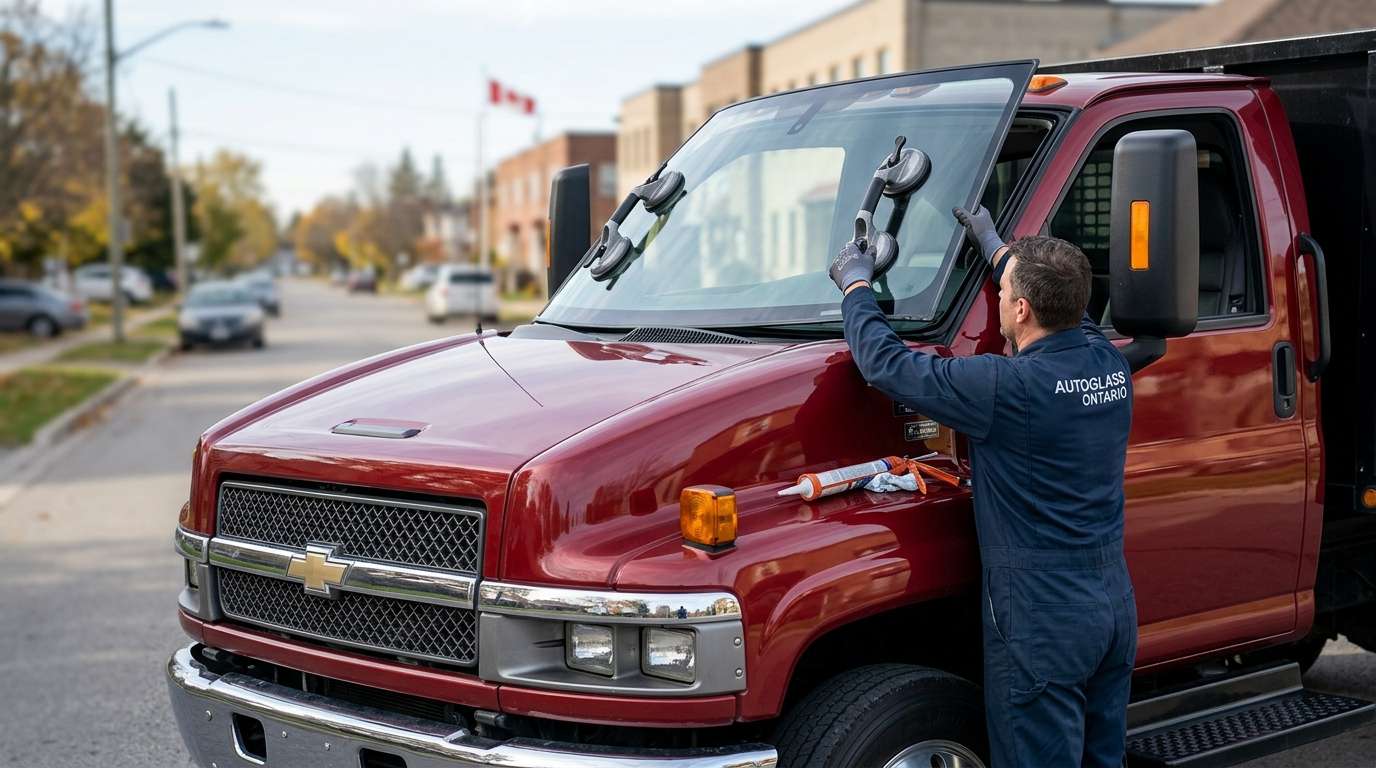
As a Master Technician at AlexWindshield, I have spent years mastering the intricate curves and technical requirements of the Hyundai Elantra. A Hyundai Elantra back glass replacement is not a simple "plug-and-play" procedure. It requires an exact OEM-equivalent curvature match, precise handling of the heating grid electronics, and a meticulous, step-by-step restoration process. Trusting a specialized expert ensures that your vehicle is returned to its factory-safe condition, protecting you and your passengers from the harsh Canadian elements.
The Critical Importance of Immediate Rear Window Replacement
Driving a 2007-2010 Hyundai Elantra with a shattered back glass is an immediate safety hazard. Beyond the obvious exposure to wind, rain, and snow, the absence of a sealed rear window drastically reduces the structural rigidity of your vehicle's cabin in the event of a rollover collision. Furthermore, a blown-out rear window leaves your vehicle completely vulnerable to theft and interior water damage, which can destroy your Elantra's upholstery and electrical components. At AlexWindshield, we prioritize immediate, high-quality interventions to secure your vehicle and restore its factory safety standards.
Our Master Technician's Step-by-Step Back Glass Replacement Process
Auto glass replacement is a precise science. To guarantee a perfect installation that will withstand the fluctuating temperatures of the Greater Toronto Area (GTA), we adhere strictly to a rigorous, industry-leading protocol. Here is the A-to-Z process we perform on every 2007-2010 Hyundai Elantra:
Step 1: Vehicle Assessment and Complete Interior Protection
Before any tools are utilized, we conduct a thorough assessment of the damage. The first physical step is protecting your Elantra’s interior. We apply heavy-duty protective drop cloths over the rear passenger seats, the rear parcel shelf, and the trunk area. We also apply automotive-grade protective tape to the exterior paint surrounding the C-pillars and trunk lid to ensure our tools do not scratch your vehicle's clear coat during the extraction process.
Step 2: Removal of Panels and Complete Broken Glass Extraction
Because the 2007-2010 Hyundai Elantra utilizes tempered rear glass, a blowout results in thousands of tiny, sharp glass granules scattering throughout the cabin. We meticulously execute the removal of rear interior panels, the rear deck cover, and even surrounding door panels if shards have forcefully settled into the side crevices. Once the panels are removed, we use high-powered industrial shop vacuums for vacuuming all broken glass shards from the vehicle's interior. We vacuum inside the trunk, under the rear seat cushions, inside the child seat anchor points, and deep within the interior framework. Leaving even a single shard behind can cause future rattles or pose a severe safety risk to passengers.
Step 3: Disconnection of Defroster Wiring and Hardware Removal
The 2007-2010 Elantra features an integrated rear defroster grid essential for winter driving visibility. We carefully locate and disconnect the electrical harness leads attached to the broken glass. We also remove the exterior weather stripping, trim moldings, and the third brake light housing if necessary, ensuring that all delicate plastic clips—which can become brittle on a vehicle of this generation—are handled with the utmost care.
Step 4: Precision Cutting and Removal of the Old Urethane
With the perimeter cleared, we use specialized cold knives and advanced power wire-cutting systems to slice through the old, hardened urethane adhesive that held the original glass in place. We carefully cut the bead down to a thickness of about 1-2 millimeters. This remaining base layer of factory urethane provides an excellent bonding surface for the new adhesive, provided it is structurally sound and uncontaminated.
Step 5: Pinch Weld Cleaning and Advanced Primer Application
The bare metal frame of the vehicle, known as the pinch weld, must be immaculately clean. We use specialized chemical solvents to remove dirt, grease, and any microscopic glass dust from the bonding area. If our cutting tools exposed any bare metal during the old urethane removal, we immediately apply a high-quality, rust-inhibiting automotive glass primer. This primer is absolutely crucial; it prevents future oxidation and rust from forming beneath the glass, which could eventually lead to structural failure or dangerous water leaks.
Step 6: High-Quality Urethane Adhesive Extrusion
Once the primer has flashed and dried, we prepare the new OEM-quality tempered back glass. The glass is cleaned and prepped with a specialized glass activator on its ceramic frit band. Next, we use a power caulking gun to extrude a perfectly uniform, V-notched bead of high-quality urethane adhesive directly onto the vehicle's pinch weld. We strictly use premium, rapid-curing urethane designed to meet or exceed Hyundai's original factory safety specifications, ensuring a resilient bond that flexes appropriately with the vehicle's chassis.
Step 7: Precision Installation of the New Back Glass
Using industrial suction cups and a steady, experienced hand, the new back glass is carefully lowered into the exact center of the rear window opening. The 2007-2010 Elantra requires specific alignment to ensure the aerodynamic flow over the roofline remains uninterrupted. We apply gentle, even pressure to set the glass deeply into the fresh urethane bead. Once perfectly aligned, we secure the glass with specialized retention tape to prevent any shifting or sagging while the adhesive begins its curing process.
Step 8: Reconnection, Reassembly, and Final Inspection
With the glass firmly set, we reconnect the rear defroster electrical terminals and conduct a voltage test to ensure the heating grid is fully operational. We then reinstall all previously removed interior panels, rear deck covers, and exterior moldings. Finally, we perform a secondary vacuuming of the interior, wipe down the new glass with a streak-free automotive glass cleaner, and conduct a strict quality assurance check to guarantee a watertight, windproof seal.
Premium Mobile Auto Glass Service Across the Greater Toronto Area (GTA)
Dealing with a shattered rear window is stressful enough without having to figure out how to safely tow your exposed vehicle to a repair shop. That is why AlexWindshield brings the auto glass shop directly to your driveway, workplace, or parking garage. We are proud to offer comprehensive mobile back glass replacement services throughout the Greater Toronto Area (GTA).
- Vaughan: Whether you are near the busy corridors of Highway 400 or parked in a residential neighborhood in Woodbridge, our mobile technicians arrive fully equipped to handle your Elantra's glass replacement on the spot.
- Richmond Hill: We understand the fast-paced lifestyle of Richmond Hill residents. We offer flexible scheduling to replace your rear window seamlessly, ensuring your vehicle is secure from unpredictable weather.
- Markham: From the tech hubs to the quiet suburban streets of Markham, our mobile fleet is ready to deploy. We bring our high-powered vacuums, premium urethanes, and OEM-grade glass directly to you, minimizing your downtime.
Because the 2007-2010 Hyundai Elantra is a reliable daily driver for thousands of GTA residents, we stock the exact glass specifications required for this generation, ensuring rapid response times and same-day service availability whenever possible.
The AlexWindshield Advantage: Unmatched Quality and a Lifetime Warranty
Your vehicle's structural integrity and your family's safety should never be compromised by cut-rate materials or rushed labor. As a senior Master Technician, I personally guarantee that every standard operating procedure is strictly followed. We refuse to use inferior adhesives or mismatched aftermarket glass that could distort your rear view or fail during a harsh Canadian winter.
When you choose AlexWindshield for your 2007-2010 Hyundai Elantra back glass replacement, you are choosing unparalleled expertise, exceptional customer care, and profound peace of mind. We stand confidently behind our craftsmanship, which is why every back glass installation we perform comes backed by our comprehensive Lifetime Warranty. This warranty protects you against any wind noises, water leaks, or manufacturer defects in the glass for as long as you own the vehicle.
Do not let a broken rear window keep you off the road or put your vehicle at risk of interior damage. Experience the ultimate in convenience, safety, and technical precision. Contact AlexWindshield today—the GTA’s most trusted mobile auto glass experts—and let us restore your Hyundai Elantra to its perfect factory condition safely, swiftly, and securely.