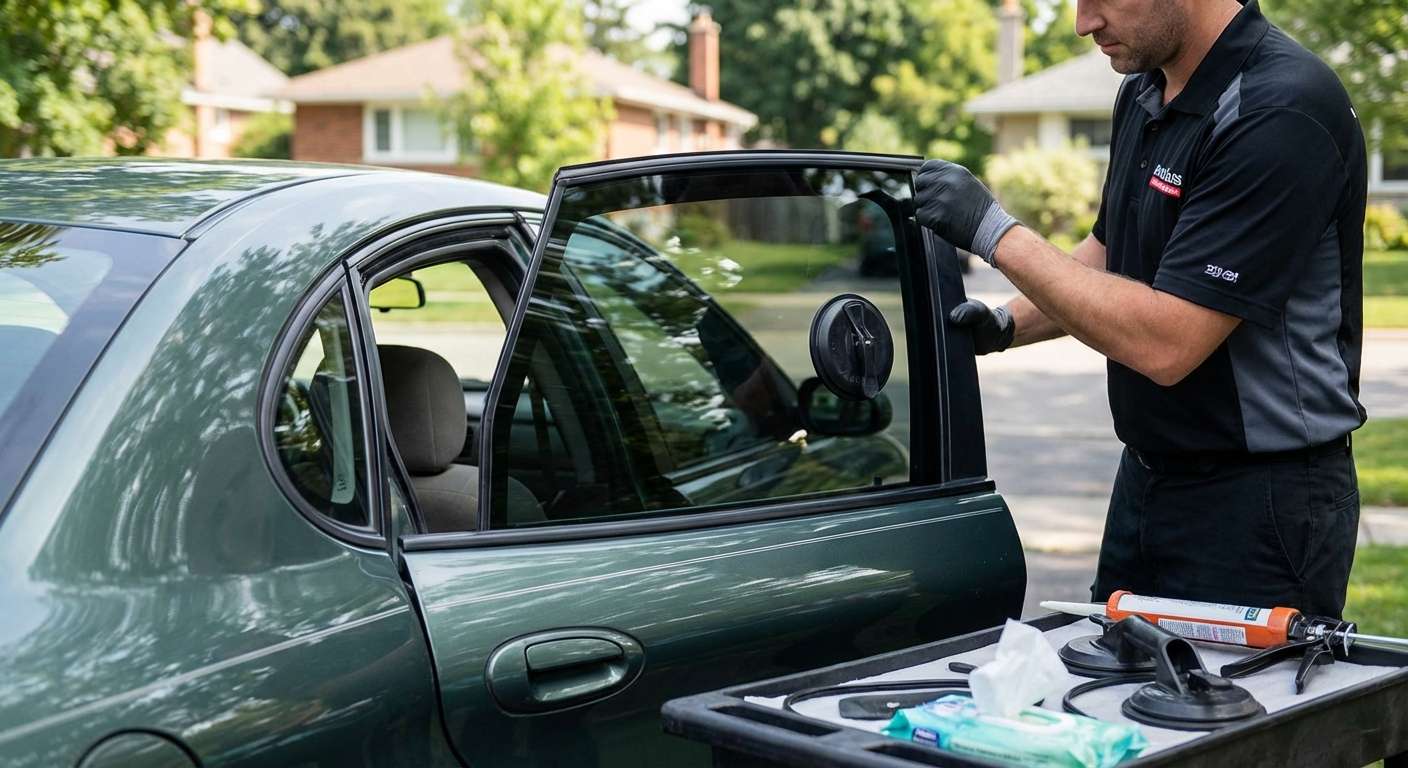
Breathing New Life into a Classic: 2000-2007 Ford Taurus Vent Glass Replacement
The 2000-2007 Ford Taurus stands as a defining chapter in the history of North American automotive design. Representing the fourth generation of this iconic lineage, this specific era of the Taurus refined the radical oval design of its predecessor into a sleeker, more sophisticated silhouette. Whether you drive the dependable sedan or the spacious station wagon, the Taurus was built for longevity, comfort, and safety. However, due to its enduring presence on the road, it remains a frequent target for break-ins, or simply a victim of errant road debris. When thieves attempt to bypass your vehicle's security, the rear door vent glass is almost always the primary casualty. As a Master Technician at AlexWindshield, I have witnessed firsthand the frustration a shattered vent window causes. We are here to provide an elite, structurally sound, and meticulously detailed Ford Taurus vent glass replacement service tailored specifically to the 2000-2007 models.
A shattered vent glass compromises your vehicle's security, exposes your interior to harsh weather, and creates an unbearable level of wind noise. Because this piece of auto glass is an integral component of the door's structural weather-sealing system, replacing it requires much more than just sticking a new piece of glass into a hole. It demands precision, chemical bonding expertise, and an exhaustive cleanup process. At AlexWindshield, we don't just replace the glass; we restore your Ford Taurus to its original factory specifications.
Mobile Auto Glass Replacement Across the Greater Toronto Area (GTA)
Driving with a broken vent window through the bustling corridors of Southern Ontario is not an option. Not only does it leave your Ford Taurus vulnerable to the elements, but it also creates a safety hazard for you and your passengers. Understanding the busy schedules of our clients, AlexWindshield offers premier mobile auto glass repair and replacement services directly to your driveway, workplace, or parking garage. We proudly serve the entire Greater Toronto Area (GTA), bringing our state-of-the-art mobile workshops to your specific location.
- Vaughan: Whether you are parked near Vaughan Mills or working in the industrial sectors of Concord, our mobile technicians arrive fully equipped to secure your vehicle.
- Richmond Hill: Navigating the residential neighborhoods and commercial hubs of Richmond Hill, we provide rapid-response vent glass replacements to ensure your Taurus is safe from unpredictable weather.
- Markham: From Unionville to the high-tech business parks, our Markham mobile auto glass service guarantees that you do not have to lose a day of work to get your vehicle repaired.
By choosing our mobile service, you are opting for unparalleled convenience without sacrificing a single degree of professional quality. Our technicians carry all the specialized tools, OEM-quality glass, and premium adhesives required to execute a flawless installation on site.
The Technical Blueprint: Step-by-Step Ford Taurus Vent Glass Replacement
The vent glass on the 2000-2007 Ford Taurus is constructed from tempered safety glass. Unlike your front windshield, which is laminated and holds its shape when cracked, tempered glass is designed to shatter into thousands of small, granular shards upon severe impact. This design prevents large, lethal shards from injuring passengers, but it presents a massive cleanup and preparation challenge for the technician. Below is the exact, comprehensive, step-by-step technical process we follow at AlexWindshield to ensure a safe and permanent replacement.
Step 1: Vehicle Assessment and Interior Protection
Before any tools are lifted, a thorough assessment of the damage is conducted. The technician inspects the surrounding door frame, the primary roll-up window, and the exterior paint for any collateral damage caused by the break-in or impact. Once assessed, the preparation phase begins. We meticulously protect your Ford Taurus's interior. Heavy-duty drop cloths are draped over the seats, center console, and floor mats. We also apply low-tack automotive protective tape to the exterior painted surfaces surrounding the door frame to prevent any accidental scratching during the glass removal process.
Step 2: Door Panel and Interior Trim Removal
Because the vent glass is typically mounted within the rear door frame or adjacent quarter panel, accessing its lower mounting points and removing hidden glass shards requires the complete disassembly of the interior door panel. Using specialized, non-marring nylon pry tools, we carefully remove the interior door handle trim, switch panels, and securing bolts. The main interior door card is then gently unclipped and lifted away. We also peel back the factory vapor barrier with extreme care, exposing the inner cavity of the door shell.
Step 3: Comprehensive Glass Shard Vacuuming
This is arguably one of the most critical steps in replacing tempered door or vent glass. When the vent glass shatters, hundreds of shards fall directly down the window channel and into the bottom of the door cavity. If left unattended, these shards will cause a maddening rattling sound every time you close the door or drive over a bump, and they can even jam the primary window regulator mechanism. At AlexWindshield, we utilize high-powered, industrial shop vacuums with specialized narrow nozzle attachments to extract every single piece of broken glass. We vacuum the door cavity, the window run channels, the vehicle's carpets, the seat crevices, and even the weather stripping. Complete glass shard removal is a strict standard for our technicians.
Step 4: Removing the Old Glass Frame and Urethane
The 2000-2007 Ford Taurus vent glass is often encapsulated and bonded to the pinch weld of the door frame using robust polyurethane adhesive. To remove the remaining broken glass and the old encapsulation, we employ precision cut-out tools, such as cold knives or specialized auto glass wire cutting systems. We carefully slice through the old urethane bead around the perimeter of the vent glass opening, ensuring we do not damage the underlying pinch weld or the rubber weather stripping of the adjacent roll-up window.
Step 5: Surface Cleaning and Pinch Weld Preparation
A new piece of glass is only as secure as the surface it is bonded to. Once the old frame is removed, we meticulously trim the existing urethane down to a thin, even layer of about 1-2 millimeters. This serves as an excellent base for the new adhesive to grip. The entire pinch weld area is then cleaned using an alcohol-based, lint-free preparation wipe to remove any dirt, grease, or microscopic glass dust. If any bare metal is exposed during the cut-out process, it is strictly addressed to prevent future oxidation.
Step 6: High-Performance Primer Application
To ensure absolute chemical bonding and prevent rust, we apply an automotive-grade black glass and pinch weld primer. This primer is applied to any scratches on the metal frame to prevent galvanic corrosion inside your door. Furthermore, the frit band (the black painted edge) of the new OEM-quality vent glass is also cleaned and primed. This primer acts as a chemical bridge, ensuring the urethane adhesive adheres permanently to both the vehicle's body and the new glass.
Step 7: Applying High-Quality Urethane Adhesive
With the surfaces prepped and primed, we apply a continuous, precisely measured triangular bead of premium, high-modulus, fast-curing urethane adhesive around the perimeter of the vent glass opening. At AlexWindshield, we only use industry-leading adhesives that meet or exceed Federal Motor Vehicle Safety Standards (FMVSS). This ensures that the new vent glass will maintain the structural integrity of the cabin, prevent water leaks, and eliminate wind noise during your highway commutes.
Step 8: Precision Installation of the New Vent Glass
Timing is critical once the urethane is applied. The technician carefully aligns the new Ford Taurus vent glass, taking into account the curvature of the 2000-2007 body lines and the precise alignment required to meet the adjacent weather stripping. The glass is gently pressed into the urethane bead, ensuring a perfectly even spread and a watertight seal. We then use specialized retention tape to hold the glass firmly in its exact position while the adhesive begins its initial curing phase.
Step 9: Reassembly of Door Panels and Weather Seals
While the urethane is flashing off, the technician begins the reassembly process. The factory vapor barrier is meticulously resealed to prevent any moisture from entering the cabin. The inner door card is clipped back into place, and all bolts, switch panels, and interior trim pieces are reinstalled. We double-check the functionality of the primary roll-up window to ensure it moves smoothly through the adjacent run channel without any obstruction or binding.
Step 10: Final Inspection, Cleaning, and Cure Time
The final step involves an exhaustive quality control check. The new vent glass is cleaned with professional-grade foaming glass cleaner to ensure absolute clarity. We wipe down the interior door panels to remove any fingerprints and perform one last visual sweep of the interior to guarantee no stray glass shards remain. The technician will then inform you of the Safe Drive-Away Time (SDAT), which is the mandatory curing period required for the urethane to harden sufficiently, ensuring your absolute safety before the vehicle is driven.
Trust the Master Technicians at AlexWindshield
Replacing the vent glass on a classic vehicle like the 2000-2007 Ford Taurus requires a deep understanding of older automotive architectures, a steady hand, and a commitment to uncompromising safety standards. At AlexWindshield, we pride ourselves on delivering a service that goes far beyond a simple repair. We deliver peace of mind.
- Unmatched Expertise: Our Master Technicians undergo continuous training to handle everything from modern luxury vehicles to reliable classics like your 4th generation Taurus.
- Premium Materials: We strictly source OEM-equivalent glass, ensuring perfect curvature, correct tint matching, and flawless fitment.
- Impeccable Cleanup: We understand the nightmare of shattered tempered glass. Our rigorous interior detailing ensures your cabin is safe for your family and pets.
- Unbeatable Mobile Convenience: We bring our world-class service directly to you, servicing the entire GTA including Vaughan, Richmond Hill, and Markham.
Do not let a broken vent window compromise the security, comfort, and quietness of your ride. When the unexpected happens, rely on the professionals who treat your vehicle with the respect it deserves. For expert mobile auto glass repair and a flawless Ford Taurus vent glass replacement backed by an industry-leading Lifetime Warranty against leaks and workmanship defects, contact AlexWindshield today. We are ready to restore your vehicle's integrity, get you safely back on the road, and show you why we are the GTA's most trusted name in auto glass.




