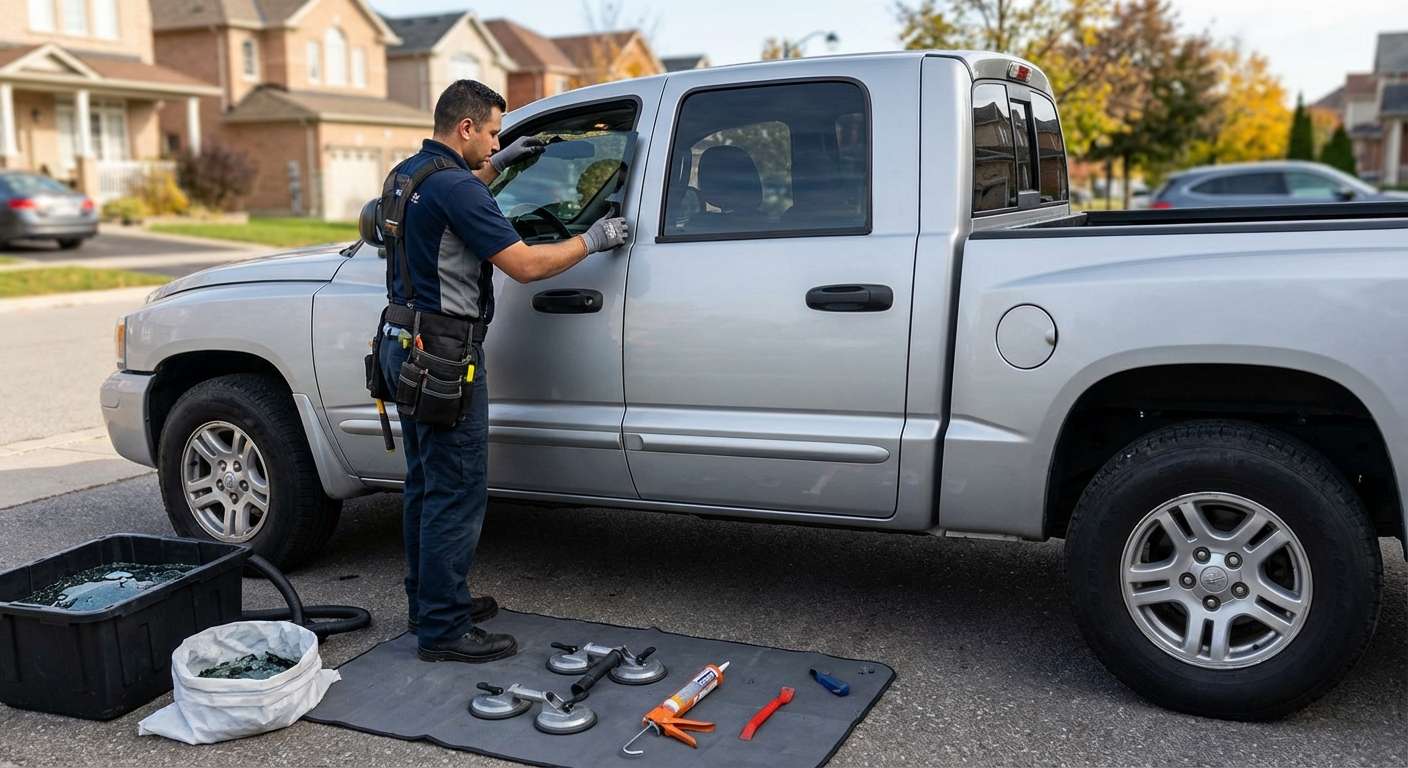
Reviving the Workhorse: Expert Vent Glass Replacement for the 2005-2011 Dodge Dakota
The 2005-2011 Dodge Dakota redefined the mid-size pickup truck segment with its aggressive, crosshair-grille styling, V8 power options, and best-in-class towing capabilities. Built for both the rugged off-road trails and heavy-duty job sites, the Dakota is a true workhorse. However, this rugged lifestyle often exposes the vehicle to extreme environments, rogue flying debris, and unfortunately, opportunistic break-ins that frequently target the vulnerable side vent glass. When the vent glass of your Dodge Dakota shatters, it compromises your cabin's security, climate control, and interior acoustics. You need a trusted, technical solution to restore your truck to its factory-grade condition.
As a Senior SEO Specialist and Master Technician at AlexWindshield, I have spent years perfecting the exact art and science of auto glass replacement. We understand that a shattered vent glass is a major inconvenience. That is why we bring our specialized, state-of-the-art mobile auto glass replacement services directly to you across the Greater Toronto Area (GTA). Whether you are parked at a job site in Vaughan, your driveway in Richmond Hill, or a commercial lot in Markham, our technicians arrive fully equipped to execute a flawless, factory-standard replacement.
Why the Dodge Dakota Vent Glass Requires Precision Engineering
Unlike a windshield that is constructed from laminated safety glass, the vent glass (often referred to as quarter glass) on a 2005-2011 Dodge Dakota is made of tempered glass. By design, when tempered glass sustains a critical impact, it shatters into thousands of tiny, pebble-like shards to prevent large, jagged pieces from injuring the occupants. While this is a brilliant safety feature, it creates a massive cleanup operation and a complex installation process.
Furthermore, the vent glass on the Dakota is intimately connected to the door's internal mechanisms. It sits adjacent to the main roll-up window, separated by a crucial structural component known as the division bar. Replacing this glass requires far more than simply gluing a new pane into place; it demands meticulous disassembly of the door architecture, precise environmental control, and a strict adherence to chemical bonding procedures. At AlexWindshield, we do not cut corners. We follow a rigorous, step-by-step master technician protocol to ensure your Dodge Dakota remains water-tight, wind-proof, and secure.
Comprehensive Step-by-Step Vent Glass Replacement Process
Step 1: Complete Damage Assessment and Interior Protection
Every premium service begins with protecting the customer's asset. Before any tools are utilized, our master technician performs a comprehensive structural assessment of the Dodge Dakota's door frame to ensure no secondary damage occurred during the impact. We then meticulously prepare the vehicle. Heavy-duty, scratch-resistant protective blankets are draped over the exterior door paint to prevent any accidental scuffs from belt buckles or tools. Inside the cabin, we cover the Dakota's seats, center console, and floor mats with industrial-grade protective drop cloths. Protecting your interior from urethane stains and sharp glass shards is our top priority.
Step 2: Thorough Glass Shard Vacuuming and Debris Removal
Because the Dakota's vent glass is tempered, thousands of glass fragments will have exploded into the cabin and fallen deep into the inner cavity of the door shell. Leaving these shards behind can cause future rattling, damage the window regulator mechanism, and pose a severe safety hazard to passengers. Using high-powered, industrial HEPA vacuums, we meticulously extract every visible shard from the seats, floorboards, and weatherstripping. Vacuuming all broken glass shards from the vehicle's interior is a non-negotiable step in our quality assurance process.
Step 3: Door Panel and Interior Trim Disassembly
To access the mounting points of the vent glass, the interior door panel must be carefully removed. The 2005-2011 Dodge Dakota features specific hidden Torx screws behind the interior door handle and armrest, along with highly tensioned plastic retaining clips along the perimeter. Using specialized non-marring nylon pry tools, we detach the door panel without scratching the plastic or tearing the vapor barrier. We carefully disconnect the power window switch wiring harness, the speaker connections, and the door latch cables. Once the door panel is safely stored away, we peel back the factory moisture shield to expose the inner workings of the door shell, allowing us to vacuum any remaining glass shards hidden at the bottom of the door cavity.
Step 4: Extraction of the Damaged Vent Glass Frame and Division Bar
The vent glass in the Dodge Dakota is separated from the primary door glass by a metal division bar (run channel). To remove the remnants of the broken vent glass, we must lower the main window glass and unbolt the division bar at its top and bottom mounting points. Once the division bar is loosened, we carefully extract the old vent glass frame or weatherstripping assembly. If the original glass was urethane-bonded (encapsulated), we utilize a precision cold knife or an advanced wire-cutting system to slice through the old polyurethane adhesive, ensuring the vehicle's painted pinch weld is completely protected from deep scratches that could later cause oxidation.
Step 5: Surface Preparation, Cleaning, and Primer Application
A flawless seal is entirely dependent on the chemical preparation of the bonding surface. Once the old frame is out, we trim the existing urethane bead down to a uniform 1-2 millimeters, creating an ideal base for the new adhesive to bond with. We then use an industrial, alcohol-based auto glass cleaner to strip away any dirt, grease, or residual moisture from the pinch weld and the new glass surface. Next comes a critical, master-level step: primer application. We apply a specialized, high-grade pinch weld primer to any microscopic scratches on the metal frame to prevent future rust corrosion. A glass-activation primer is then applied to the frit band (the black painted edge) of the new, OEM-quality vent glass. This primer acts as a chemical bridge, ensuring the polyurethane adhesive creates an unbreakable bond with the glass.
Step 6: Precision Installation with High-Quality Adhesive
With the surfaces chemically primed and flashed (dried), we load a cartridge of premium, fast-curing polyurethane adhesive into an electric caulking gun. As a master technician, applying the adhesive is an art form. We lay down a continuous, perfectly proportioned "V-bead" of high-quality adhesive along the perimeter of the frame or the glass itself, depending on the Dakota's specific trim package. The new vent glass is then carefully lifted, aligned with exact precision, and pressed firmly into the urethane bed. We ensure the glass sits flush with the exterior bodylines of the Dodge Dakota, guaranteeing optimal aerodynamics and completely eliminating the risk of highway wind noise or water leaks.
Step 7: Reassembly and Final Quality Inspection
Once the glass is set and the adhesive begins its rapid curing process, we begin reassembly. We reposition and tightly bolt down the division bar, ensuring the main roll-up window glides smoothly within its rubber run channel without binding. The factory moisture barrier is resealed perfectly to prevent interior dampness. We reconnect all electrical harnesses, verifying the power window and lock functions, before snapping the interior door panel back into place with precise pressure. Finally, we perform a secondary, intensive vacuuming sweep of the entire cabin and clean all exterior and interior glass surfaces with a streak-free, ammonia-free solution. The truck is visually inspected under specialized lighting to guarantee a showroom-quality finish.
Unmatched Auto Glass Expertise Across the GTA
Replacing a vent glass on a third-generation Dodge Dakota requires intimate knowledge of truck door architecture, specialized tools, and a commitment to uncompromising safety standards. Living and working in the Greater Toronto Area (GTA) means you need your vehicle back on the road quickly, securely, and permanently fixed. That is why drivers across the region trust AlexWindshield over the competition.
- Convenient Mobile Service: You don't need to drive your truck with a shattered, drafty window to a repair shop. Our fully equipped mobile response units come directly to your home, office, or job site in Vaughan, Richmond Hill, and Markham.
- OEM-Quality Materials: We use only premium glass that matches or exceeds the rigorous specifications set by Dodge, combined with the industry's strongest, fastest-curing urethane adhesives.
- Master Technician Execution: Every step, from panel removal to primer application, is executed by senior technicians who understand the specific structural nuances of the 2005-2011 Dodge Dakota.
- Impeccable Cleanup: We treat your vehicle as if it were our own, ensuring every microscopic shard of broken glass is removed from your cabin and door shell.
Choose AlexWindshield for Your Dodge Dakota Vent Glass Replacement
When the unexpected happens and your Dodge Dakota's side vent glass is shattered, do not settle for subpar repairs that lead to annoying wind whistles, water damage, or rusted door frames. Trust the verified professionals who combine advanced SEO transparency with elite, hands-on mechanical expertise. AlexWindshield is proud to be the premier provider of mobile auto glass solutions across the GTA.
We stand confidently behind our craftsmanship, which is why every single installation we perform is backed by our comprehensive Lifetime Warranty against leaks, manufacturer defects, and workmanship errors. If you are located in Vaughan, Richmond Hill, Markham, or anywhere within the Greater Toronto Area, contact AlexWindshield today. Let our master technicians restore the security, comfort, and rugged readiness of your 2005-2011 Dodge Dakota with unparalleled precision.




