Acoustic Laminated Front Glass vs. Tempered Rear Glass Differences
Replacing the side windows on this sedan requires paying close attention to the distinct glass compositions used between the front and rear doors. The front door glass—cataloged under NAGS part numbers DD11934 for the front right and DD11935 for the front left, matching dealer base references 68068668AA through AE and 68068669AA through AE—is constructed from dual-pane acoustic laminated glass. Unlike standard side glass, this acoustic laminate features a sound-damping interlayer engineered to keep highway wind and road roar out of the cabin across all trim levels, including the Touring, 300S, Limited, and 300C. When broken, this front glass holds together like a windshield rather than shattering into pebbles.
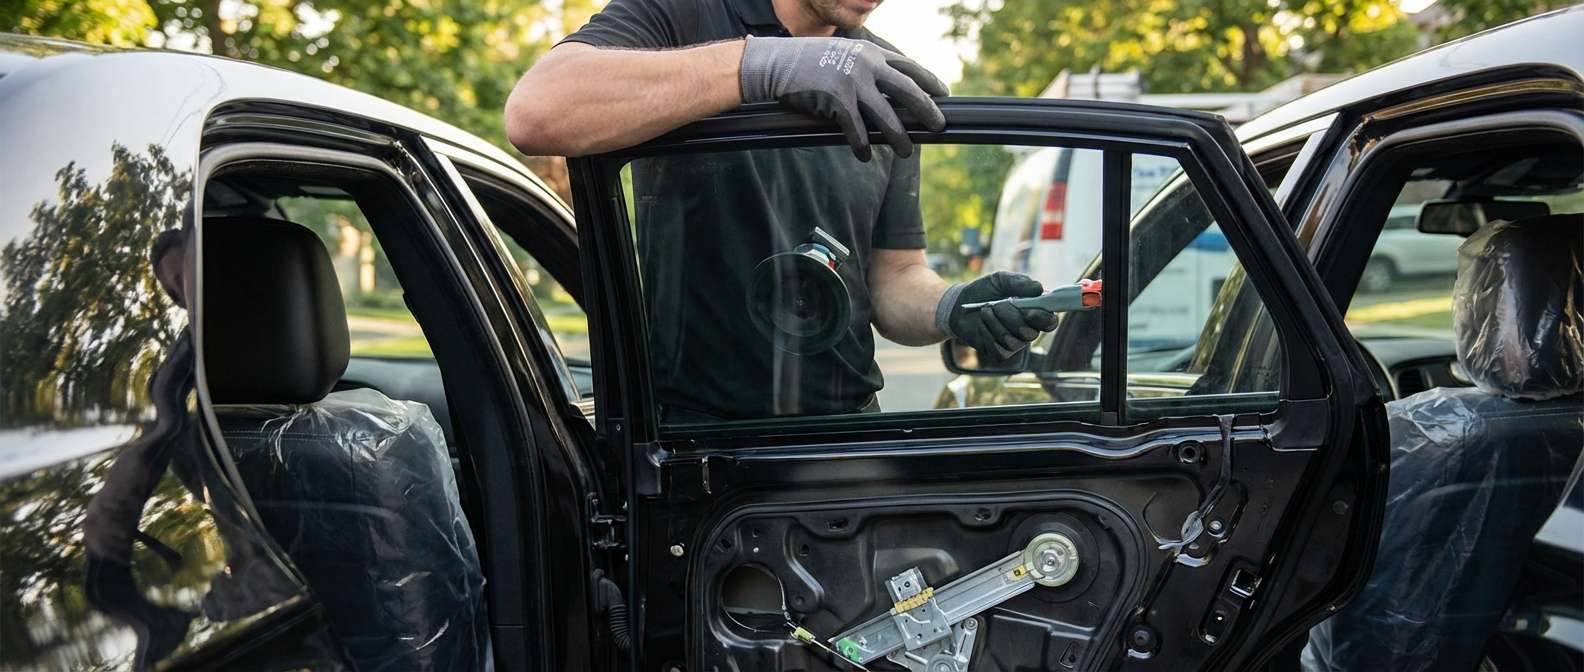
The rear passenger doors use a completely different setup. The roll-down glass pieces, designated as DD11936 (right rear) and DD11937 (left rear), are single-pane tempered safety glass with a standard green solar tint. When rear glass breaks, it bursts into thousands of blunt fragments that drop straight into the door shell. Furthermore, the rear door is a split layout: the roll-down drop glass sits directly adjacent to a fixed triangular quarter vent window held by an upright division bar assembly (dealer part 68039968AE on the passenger side and 68039969AE on the driver side). Matching the exact glass thickness and profile ensures smooth travel inside that vertical division bar channel without binding against the felt.
Full-Frame Door Mechanics and Regulator Retention
Unlike frameless muscle coupes, this platform utilizes a rigid, full-frame steel door structure with a deep rubber run channel seated along the top and sides. The drop glass does not bolt through drilled holes; instead, the bottom edge features pre-bonded composite retention clips that snap into the window regulator lift plates. Because these cars are prone to cable wear and plastic fatigue within the factory regulator, a window that drops into the door without warning has often either snapped a lift cable or sheared out of these mounting points.
I typically arrive at your location roughly an hour after your service booking, which is vital when a dropped front window leaves your cabin exposed to weather. When fitting the replacement drop pane, the glass must be manually guided into the front run channel and the rear division bar before seating the retention clips home into the regulator clamps through the inner door service ports. Forcing the clips off-angle can bend the regulator scissor tracks or pinch the internal weather splash shield.
Interior Door Card Clearances and Trim Warping
These vehicles are well known for heat-related door panel issues, particularly along the top ledge where the interior door card meets the inner glass sweep seal. Sun exposure frequently causes the vinyl upholstery to bubble and lift away from the panel substrate, creating friction against the glass surface. When new glass goes in, clearing this friction point is critical to prevent the regulator motor from bogging down during travel.
Once the glass is seated into the perimeter channels and snapped into the regulator, the express auto-up and auto-down pinch-protection system must be taught its travel limits. Because the front laminated glass is thicker and heavier than the rear tempered glass, the door module monitors electric motor resistance closely. If the anti-pinch sensor detects resistance from a bunched rubber run channel or a warped upper door card, it reverses window travel instantly.
Post-Replacement Inspection Checklist
- Inspect the bottom glass edge inside the door frame to verify the pre-bonded retention clips are fully engaged in the regulator brackets without play.
- Cycle the window fully up and down to confirm the glass edges stay square inside the outer perimeter belt moulding and the vertical division bar channel.
- Check that the interior door card top bolster does not rub, drag, or curl against the inner glass sweep seal during upward travel.
- Perform the one-touch express reset: hold the switch down until fully open, hold for two seconds, pull up until fully closed, and hold for two seconds to verify pinch protection does not false-reverse.
- Examine the outer weather run channel along the full door frame to ensure the rubber lip is seated flat without folds that cause wind whistling at highway speeds.




