Broken Door Glass and Slipped Windows on the Eighth-Gen Impala
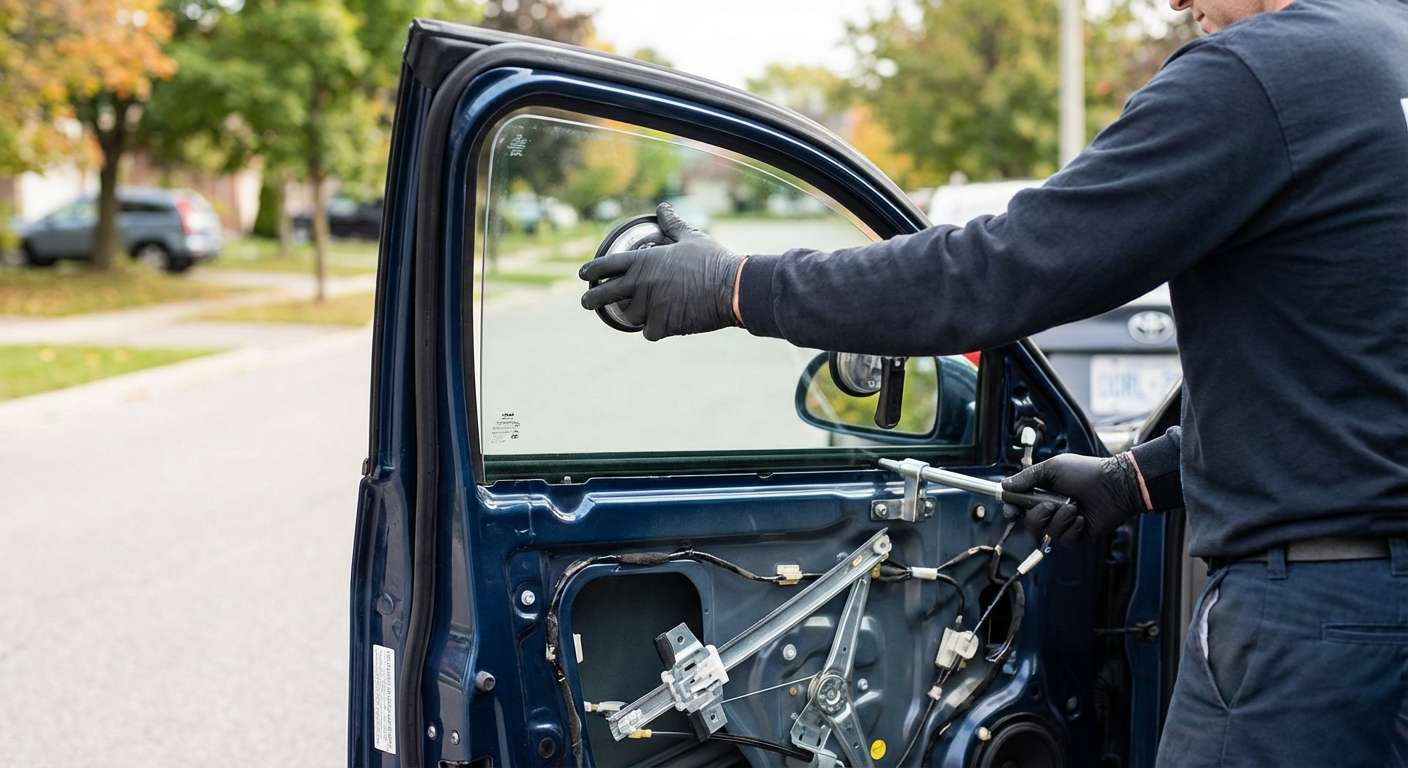
When the side window shatters or disappears into the door cavity of this car, the root cause is almost always either a break-in or a collapsed internal lift mechanism. Tempered glass gives way instantly into thousands of dull fragments, but just as frequently on this platform, the glass hasn't broken at all; the cable-operated regulator has failed. The eighth-generation Impala uses plastic carrier pulleys and braided steel cables to raise and lower the window. When those pulleys snap or the cable frays and binds, the entire pane can suddenly plunge straight down into the door shell. Drivers often report window motors that seize up or only respond after someone bangs on the interior door card, but once the regulator snaps, the glass must be disengaged and extracted regardless.
Whether you drive a Base model, an LS, a supercharged SS, or an ex-fleet 9C1 or 9C3 police package, the side glass dimensions and retention hardware remain identical across the entire 2000 through 2005 production cycle. The front doors use fully framed steel window surrounds rather than frameless coupe-style openings, sealing the glass against continuous rubber run channels and horizontal outer dew wipes. At the rear, the moving pane drops directly alongside an upright division bar guide channel that isolates it from the stationary rear quarter vent window.
Factory Glass Construction and Hardware Fitment
GM originally fitted these sedans with single-pane tempered safety glass tinted in a standard soft green solar shade, completely devoid of embedded electronics, defroster lines, or sensors. For a front driver replacement, the industry NAGS standard catalog number is DD09621 (or DD09621 GTYN for the tinted variation), while the matching passenger side corresponds to NAGS DD09620, replacing OEM part number 10346586. I rely strictly on dependable aftermarket glass manufacturers such as PGW, Pilkington, XYG, and FYG, which ship with the factory-matched green solar hue and exact edge curvature.
Crucially, replacement glass for this vehicle must include the bonded composite mounting brackets already cured to the lower edge. The glass does not clamp into friction jaws; instead, two 10mm bolts pass directly through these pre-bonded lower composite clips to anchor the glass firmly to the regulator lift carrier. When clearing out a smashed window, every loose pebble of tempered glass must be vacuumed out of the bottom of the steel door cavity through the service ports in the inner skin, or the debris will lodge under the bottom travel stops and jam the replacement pane.
Addressing Interior Panel Fasteners and Channel Binding
Accessing the regulator and mounting points requires stripping the inner door assembly down past the weather barrier. The interior plastic door card is secured by a combination of perimeter snap clips, a Phillips screw concealed behind the interior door handle bezel, and T30 Torx fasteners hidden deep inside the armrest grab pocket. Peeling back the plastic water deflector without tearing the perimeter butyl adhesive is essential to prevent rain from bypassing the inner steel skin and soaking the cabin floorboards.
Hardened, oxidized rubber run channels are another common headache on these aging doors. When the vertical rubber runs dry out or gather road grit, they introduce heavy friction against the glass edges. This drag forces the 12-volt regulator motor to overwork, causing the motor brushes to overheat and stall out mid-travel, which drivers often mistake for an electrical switch failure. Cleaning out the run channels and reseating the glass square within the tracks ensures the new glass glides freely without binding the lift cables.




