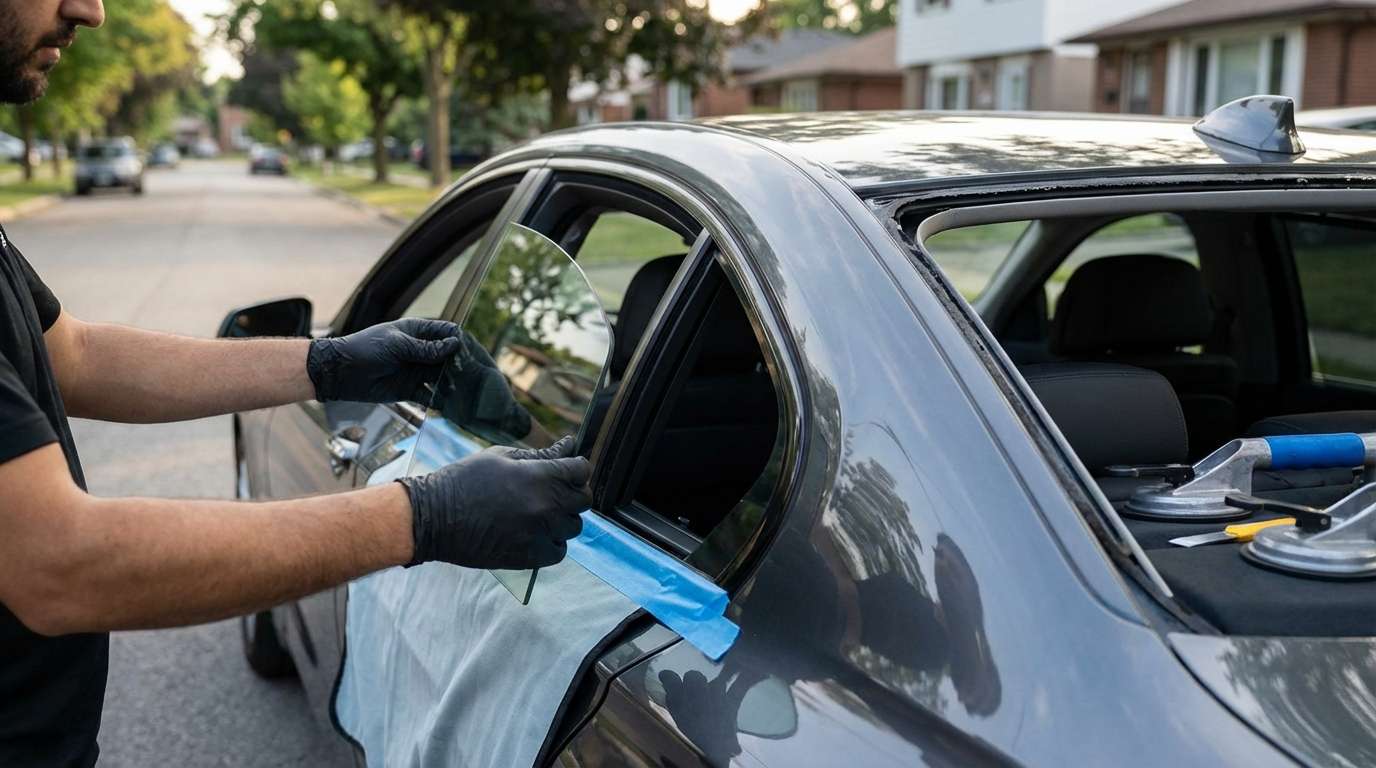
Restoring the Executive Standard: Vent Glass Replacement for BMW 7 Series (F01)
The BMW 7 Series (F01/F02), produced between 2009 and 2015, represents the pinnacle of German engineering and executive luxury. It is a vehicle designed to act as a sanctuary from the outside world, offering acoustic isolation and unparalleled comfort. When the rear vent glass—the small, often triangular window located on the rear door—is damaged or shattered, that sanctuary is breached. This is not merely a cosmetic issue; it compromises the security of the cabin, the thermal efficiency of the climate control, and the serene driving experience that defines the 7 Series.
At AlexWindshield, we understand that an F01 is not just a car; it is a complex assembly of high-end materials, sensitive electronics, and precise tolerances. Replacing a vent glass on this specific chassis requires the touch of a Master Technician. Unlike standard sedans, the 7 Series utilizes laminated layers, complex door seals, and integrated ambient lighting systems that must be handled with surgical care. Whether you are located in Vaughan, the busy streets of Richmond Hill, or the residential hubs of Markham, AlexWindshield brings factory-level precision directly to your driveway.
The Complexity of the F01 Vent Glass Assembly
The rear vent glass on the BMW 7 Series 2009-2015 serves a structural role in the rear door architecture. It acts as a guide for the main window glass and helps seal the rear passenger compartment against wind noise and moisture. When this glass breaks, it typically shatters into thousands of tiny cubes (tempered glass) or cracks into a spiderweb pattern (if laminated, which is common in the F01 High Security or Individual packages).
Replacing this part is significantly more involved than a standard windshield swap. It requires a deep dive into the internal mechanics of the rear door. The interaction between the main window regulator, the window guide run, and the vent glass requires a specific sequence of disassembly. A novice technician risks snapping the delicate wood trim clips, tearing the waterproof vapor barrier, or failing to vacuum glass shards from the door lock actuator, leading to mechanical failures weeks later.
Mobile Service Across the Greater Toronto Area (GTA)
We recognize that a broken window leaves your luxury vehicle vulnerable to theft and weather. That is why AlexWindshield prioritizes rapid response times for our clients across the Greater Toronto Area. We specialize in mobile service, meaning our fully equipped mobile workshops come to you.
- Vaughan: From Woodbridge to Kleinburg, our technicians are ready to perform on-site repairs at your home or office.
- Richmond Hill: We service the entire Yonge Street corridor and surrounding neighborhoods with same-day or next-day appointments.
- Markham: Whether you are in Unionville or near the 407, we ensure your BMW remains secure without you having to drive a compromised vehicle to a shop.
Step-by-Step Replacement Protocol: The Master Technician Approach
As a Master Technician at AlexWindshield, I follow a rigorous, manufacturer-compliant protocol for the BMW F01 vent glass replacement. Below is the detailed A-Z process we utilize to ensure your vehicle is returned to you in showroom condition.
Step 1: Site Preparation and Vehicle Protection
Before any tools touch the vehicle, we secure the work environment. Working on a luxury vehicle demands respect for the paint and interior materials.
- Exterior Protection: We apply low-tack protective tape to the exterior door frame and the "Hofmeister kink" area of the C-pillar to prevent accidental scratches from glass shards or tools.
- Interior Shielding: The F01 features high-grade leather (Dakota or Nappa) and fine wood trims. We place heavy-duty protective covers over the rear seats and floor mats.
- Safety Check: We ensure the vehicle is parked on level ground and the battery is stable, as we will be operating the window regulators during the process.
Step 2: Deconstruction of the Rear Door Panel
Accessing the vent glass mounting points requires the removal of the interior door card (trim panel). This is a delicate process on the 2009-2015 7 Series due to hidden fasteners and electronic connections.
- Trim Removal: Using non-marring nylon pry tools, we carefully detach the decorative wood or aluminum trim strip to reveal hidden Torx screws.
- Fastener Removal: We locate and remove all securing screws found behind the door handle release, the armrest, and the bottom edge of the panel.
- Panel Separation: The door card is held by high-strength plastic clips. We pop these clips systematically to avoid breakage.
- Cable Disconnection: We carefully disconnect the Bowden cable (for the door handle), the ambient lighting connectors, the speaker wiring (Logic7 or Bang & Olufsen systems), and the window switch harness. The panel is then stored safely outside the work zone.
Step 3: Vapor Barrier and Regulator Access
Behind the door panel lies the vapor barrier—a foam or butyl-sealed sheet that keeps water out of the cabin. This must be handled with extreme care.
- Vapor Barrier Removal: We use a heat gun to soften the butyl adhesive, allowing us to peel back the vapor barrier without tearing it. If this barrier is damaged, water will leak onto your rear floor mats during rainstorms.
- Window Positioning: We lower the main door glass to a specific service position to access the bolts securing the division bar (the pillar separating the main glass from the vent glass).
Step 4: Debris Management and Vacuuming
If the vent glass was shattered, the door cavity is now full of broken glass. This is the most critical step for long-term satisfaction.
- Cavity Vacuuming: We use a high-powered industrial vacuum with a flexible crevice tool to reach deep into the bottom of the door shell.
- Speaker Cleaning: Glass shards often lodge themselves in the rear speaker cones, causing buzzing sounds. We inspect and clean the speaker magnets.
- Drain Hole Clearance: We ensure the water drain holes at the bottom of the door are free of glass. If blocked, water will accumulate inside the door, rusting the bottom seam and damaging the window motor.
Step 5: Removing the Vent Glass Assembly
Now we proceed to the extraction of the damaged unit.
- Division Bar Manipulation: The vertical bar separating the moving glass from the stationary vent glass is unbolted at the top and bottom. We slide this bar forward or remove it entirely to create clearance.
- Seal Removal: We carefully extract the rubber weatherstripping surrounding the vent glass area.
- Old Adhesive Removal: If the vent glass was bonded (encapsulated), we use a specialized cold knife to cut the remaining urethane bead close to the pinch weld, ensuring we do not damage the vehicle's paint.
Step 6: Surface Preparation and Priming
A leak-free installation depends on chemical preparation.
- Cleaning: The metal pinch weld is cleaned with a contaminant-free solvent to remove dirt, grease, and old adhesive residue.
- Priming: Any scratches on the metal pinch weld caused by the shattering glass are treated with a rust-inhibiting primer. This prevents corrosion from forming under the new glass years down the road.
- Activator Application: We apply a glass activator to the new vent glass ceramic band to ensure the adhesive bonds molecularly.
Step 7: Installation of the New Vent Glass
We use only OEM-quality glass (such as Pilkington, Saint-Gobain, or PGW) that matches the tint and thickness of the original BMW glass.
- Urethane Application: We apply a high-viscosity, high-modulus polyurethane adhesive. This adhesive is specifically chosen for its rapid cure time and structural rigidity, matching BMW factory standards.
- Setting the Glass: The new vent glass is carefully maneuvered into the frame. Precision is key here; the spacing must be equidistant from all edges to ensure the chrome exterior trim aligns perfectly.
- Reinstalling the Division Bar: Once the glass is seated, the division bar is slid back into position and torqued to spec. This locks the vent glass in place.
Step 8: Reassembly and Testing
The job is not done until the vehicle is fully reassembled and tested.
- Vapor Barrier Resealing: We heat the butyl adhesive again and press the vapor barrier back into place, ensuring a watertight seal.
- Panel Installation: The door panel is reconnected. We verify that the door handle, speakers, and ambient lighting are functioning correctly before snapping the panel clips back in.
- Glass Operation Check: We cycle the main window up and down to ensure it travels smoothly in the tracks and does not bind against the newly installed division bar.
- Clean Up: A final vacuum of the carpets and seats ensures no stray glass remains.
Why Choose AlexWindshield?
When you own a vehicle like the BMW 7 Series, you cannot afford to cut corners. A poor installation can lead to wind noise (whistling at highway speeds), water leaks that damage expensive electronics modules located under the seats, or rust formation inside the door.
AlexWindshield stands apart in the GTA auto glass market because we combine technical mastery with customer-centric service. We do not treat your F01 like a generic commuter car; we treat it like the luxury asset it is.
- Lifetime Warranty: We back our workmanship with a comprehensive Lifetime Warranty. As long as you own your BMW, our installation is guaranteed against leakage and rattling.
- Expertise: Our technicians are trained specifically on European luxury vehicles. We know the difference between a simple clip and a one-time-use fastener.
- Convenience: Serving Vaughan, Richmond Hill, and Markham, we bring the repair shop to you, saving you time and the hassle of towing.
If you require a Vent Glass Replacement for your BMW 7 Series (2009-2015), trust the experts who understand every inch of your vehicle. Contact AlexWindshield today for a quote and experience the highest standard of auto glass service in Toronto.




