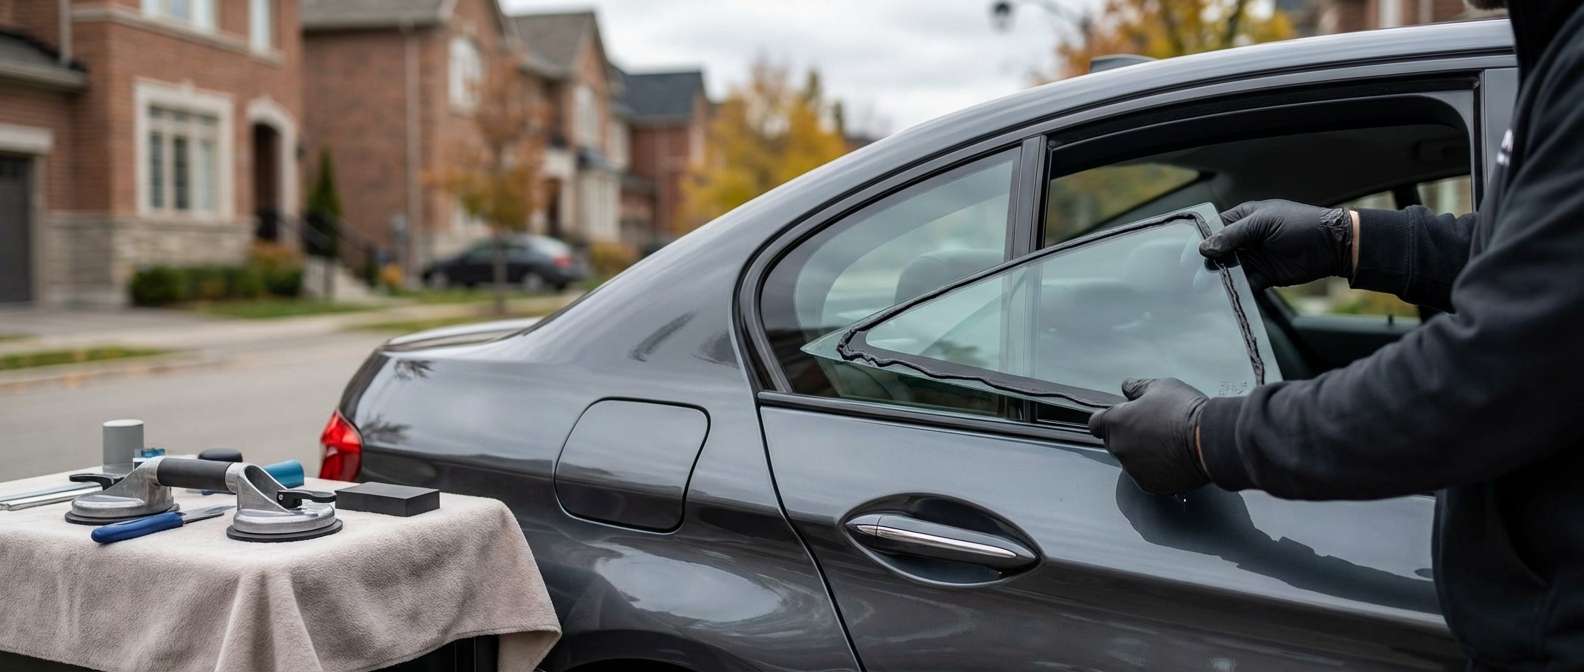
Premium Vent Glass Replacement for BMW 5 Series (F10) 2011-2016
The BMW 5 Series (F10 generation, 2011-2016) represents a pinnacle of executive sedan design, balancing aggressive sportiness with refined luxury. One of the subtle but critical design elements of this chassis is the rear door geometry, specifically the stationary triangular window known as the vent glass. Often a target for break-ins due to the mistaken belief that it is cheaper to replace than the main door glass, a shattered vent glass compromises the vehicle's security, weatherproofing, and acoustic serenity. At AlexWindshield, we treat your BMW F10 with the surgical precision it demands, ensuring that the legendary silence of your cabin is fully restored.
Why F10 Vent Glass Replacement Requires Expert Hands
Replacing the vent glass on a BMW 5 Series is not a simple "pop-in, pop-out" procedure. Unlike older domestic vehicles where the glass is merely held in by a rubber gasket, the F10 utilizes a complex assembly involving the window channel run, the division bar, and high-modulus urethane adhesive. Improper installation can lead to severe wind noise at highway speeds—a common complaint among F10 owners who choose budget repair shops—or water leaks that can damage the sensitive electronic modules located within the door cards.
As Master Technicians, we understand the intricacies of the F10 door architecture. Whether you drive a 528i, 535i, or the powerhouse M5, our process is tailored to preserve the integrity of your German engineering.
Detailed Step-by-Step Replacement Process
At AlexWindshield, transparency demonstrates our expertise. Below is the comprehensive, A-to-Z technical process we follow when replacing the vent glass on your 2011-2016 BMW 5 Series. This meticulous approach ensures factory-level results.
Phase 1: Vehicle Protection and Assessment
Before a single tool touches your vehicle, we prioritize protection. The interior of an F10, often equipped with Dakota or Nappa leather and high-gloss wood trim, requires extreme care.
- We apply protective tape to the exterior door frame to prevent scratches during glass removal.
- Interior covers are placed over the rear seats and the center console to shield them from glass dust and debris.
- We assess the window regulator function to ensure the main glass mechanism wasn't damaged during the breakage.
Phase 2: Door Panel Disassembly
To access the mounting points for the vent glass and to properly clean the debris, the interior door card must be removed. This is a delicate process on the F10 chassis.
- Trim Removal: Using non-marring plastic pry tools, we carefully remove the decorative trim strip (wood or aluminum) to reveal the hidden Torx screws.
- Hardware Removal: We unscrew the retaining bolts located behind the trim, inside the door handle cup, and at the bottom edge of the door panel.
- Panel Separation: The door card is held in place by BMW-specific tension clips. We gently pop these clips using a specialized fork tool to avoid breaking the plastic mounts.
- Disconnecting Electronics: We carefully unplug the wiring harnesses for the window switch, ambient lighting, speakers (especially if equipped with the Harman Kardon or Bang & Olufsen systems), and the door latch cable.
Phase 3: Critical Debris Removal and Vacuuming
When tempered vent glass breaks, it shatters into thousands of cubes. These shards fall deep into the door cavity, potentially jamming the window regulator or rattling incessantly while you drive.
- We peel back the vapor barrier (foam sound insulation) carefully. Tearing this barrier is a common mistake that leads to water entering the cabin; we preserve it or repair it with butyl tape if necessary.
- Using a high-powered industrial vacuum with a flexible crevice tool, we extract every shard of glass from the bottom of the door shell.
- Drain Hole Check: We ensure the water drain holes at the bottom of the door are not clogged with glass fragments, preventing future rust issues.
Phase 4: Removal of the Main Glass Guide and Old Vent
The vent glass on the F10 is integrated tightly with the main window track (division bar). Removing the old broken frame requires mechanical disassembly.
- We lower the main window glass slightly to relieve tension.
- We loosen the bolts securing the division bar (the pillar separating the main glass from the vent glass).
- On the F10, the vent glass is often bonded to the frame or requires the division bar to be shifted to slide the new piece in. We carefully cut away any remaining urethane from the body pinch weld using a cold knife or oscillating tool, ensuring the metal paint is not scratched.
Phase 5: Surface Preparation and Primer Application
A leak-free seal depends entirely on chemical preparation. We do not skip this step.
- Cleaning: The bonding surface on the vehicle frame is cleaned with a specialized alcohol-based solvent to remove dirt, grease, and old adhesive residues.
- Priming the Pinch Weld: If any metal was exposed during the removal of the old adhesive, we apply a high-quality black primer to prevent rust and ensure the new adhesive bonds molecularly to the frame.
- Priming the Glass: The new vent glass ceramic band (the black edge) is cleaned and primed to accept the urethane adhesive.
Phase 6: Installation of the New Vent Glass
This is the moment of truth where precision alignment is key.
- We apply a uniform bead of high-viscosity, fast-curing automotive urethane to the glass or the vehicle frame (depending on the specific OEM instruction for the F10 model year).
- The new vent glass is slid into position. We simultaneously manipulate the division bar to ensure the vent glass seats perfectly into the rubber weatherstripping.
- Torque Specs: Once aligned, we re-tighten the division bar bolts and the vent glass mounting screws to BMW factory torque specifications. This ensures the main window still slides up and down smoothly without friction.
Phase 7: Reassembly and Final Quality Control
With the glass physically installed, we reverse the disassembly process.
- We reseal the vapor barrier with fresh butyl rope if the original seal was compromised. This is vital for sound deadening.
- The door panel is re-hung, ensuring all clips snap firmly into place and the top weatherstrip sits flush against the window.
- All electronic connections (speakers, locks, lights) are tested for full functionality.
- The Glass Clean: We perform a final cleaning of the new glass and the interior panel, leaving no fingerprints or smudges behind.
Serving the Greater Toronto Area: Local Experts You Can Trust
We understand that a broken window on your luxury vehicle is a stressful emergency. That is why AlexWindshield brings the repair shop to your driveway or workplace. Our mobile service units are fully equipped workshops on wheels, capable of performing this complex repair across the Greater Toronto Area (GTA).
Mobile Service in Vaughan
Whether you are located near Vaughan Mills or the residential estates of Kleinburg, our technicians can reach you quickly. We understand the high standards of Vaughan vehicle owners and guarantee a repair that maintains the resale value of your BMW.
Richmond Hill Auto Glass Repair
From Oak Ridges to Highway 7, we service the entire Richmond Hill area. Our mobile units carry the specific tools required for European imports, ensuring that your F10 5 Series is treated with the correct technical protocols, right in your driveway.
Markham Glass Replacement Services
We frequently service clients in Unionville and Markham's business districts. We know that time is money; our mobile service saves you the hassle of dropping your car off at a shop for the entire day. We come to you, complete the repair in 60-90 minutes, and get you back on the road.
The Importance of Glass Quality: OEM vs. OEE
For a vehicle as sophisticated as the BMW 5 Series, the quality of the glass is paramount. At AlexWindshield, we offer both OEM (Original Equipment Manufacturer) and high-quality OEE (Original Equipment Equivalent) glass options.
For the F10, the vent glass often contains UV-coating or specific tint levels to match the rest of the vehicle. Cheap aftermarket glass often has a distorted view or a slightly different hue (green vs. grey) that clashes with your factory windows. We ensure that the replacement glass we install matches your vehicle's existing specifications perfectly, maintaining the seamless look of your 5 Series.
Why AlexWindshield is the Authority on BMW Glass
Choosing a technician for your BMW isn't just about price; it's about preserving the driving experience. A poorly installed vent glass can result in an annoying high-pitched whistle at highway speeds—a disaster for a car designed for the Autobahn.
Here is why BMW owners in the GTA choose AlexWindshield:
- Master Technicians: Our team is trained specifically on European chassis disassembly. We know where the hidden screws are and how to remove door clips without breaking them.
- Lifetime Warranty: We stand behind our workmanship. Our installations come with a lifetime warranty against wind noise, water leaks, and molding defects for as long as you own the vehicle.
- Vacuum Guarantee: We don't just fix the window; we clean the mess. We guarantee that we will remove the broken glass shards from inside your door panel to prevent rattles.
- High-Modulus Adhesives: We use only Sika or DOW automotive urethanes that meet or exceed BMW's structural rigidity requirements, ensuring your car remains safe in the event of a collision.
Don't let a broken vent glass compromise the luxury and security of your BMW 5 Series. Trust the experts who understand the engineering behind the badge.
Contact AlexWindshield today to schedule your mobile vent glass replacement in Vaughan, Richmond Hill, Markham, or anywhere in the GTA. Drive with confidence knowing your vehicle is in the hands of the masters.




