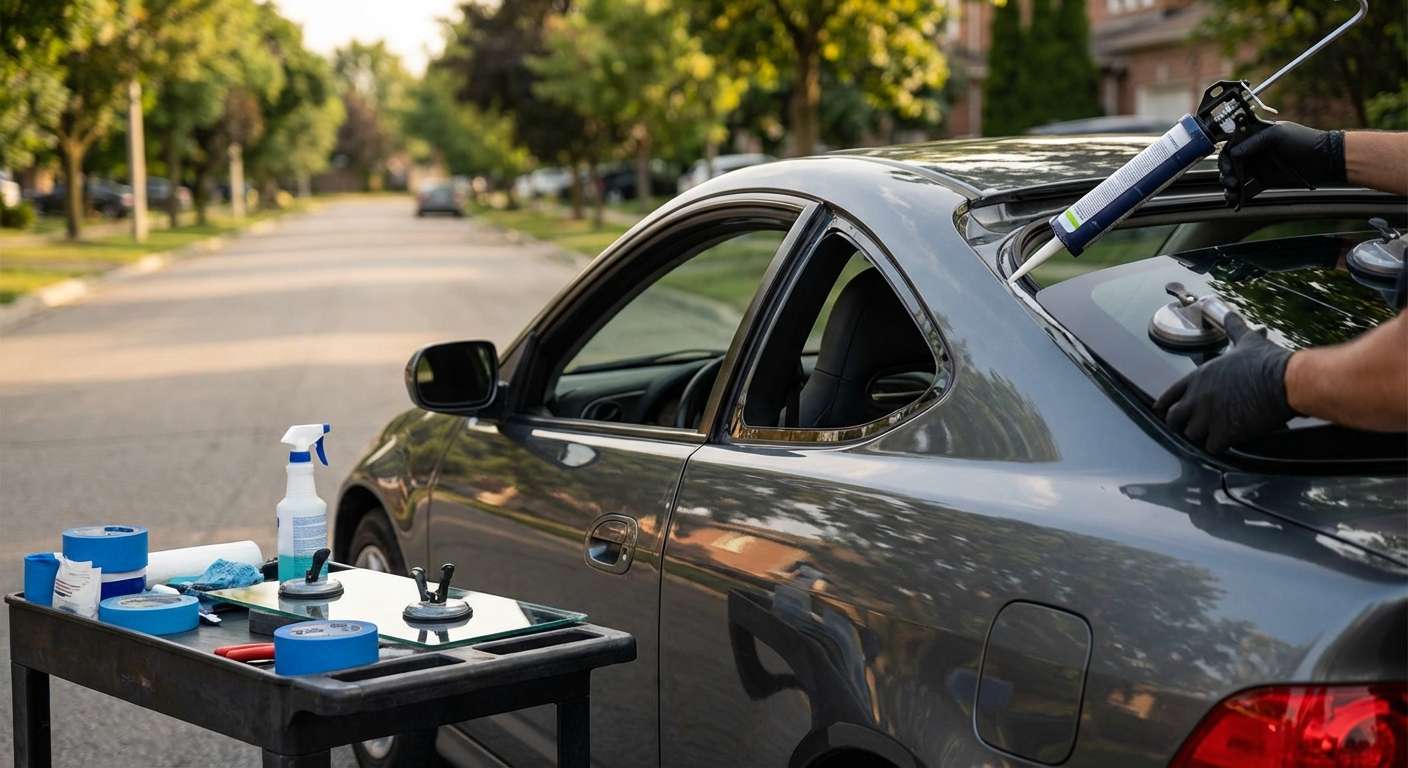
Restoring the Profile of a Legend: Quarter Glass Replacement for Acura RSX (2002-2006)
The 2002-2006 Acura RSX (chassis code DC5) is more than just a daily commuter; it is a celebrated icon of the sport compact era, the spiritual successor to the Integra, and a vehicle that demands respect for its sharp handling and aggressive coupe lines. One of the most defining visual features of this platform is its sleek, tapering roofline, accented perfectly by the triangular rear quarter glass. When this glass is shattered due to a break-in, vandalism, or road debris, it does more than just expose your cabin to the elements—it disrupts the structural integrity and the aesthetic flow of a modern classic.
At AlexWindshield, we understand that replacing the glass on a vehicle like the Acura RSX requires more than a generic "remove and replace" mentality. It requires a technician who appreciates the specific body curvature of the DC5 platform and understands the intricate interior trim assembly unique to two-door coupes. This guide details our specialized approach to Acura RSX quarter glass replacement, ensuring your vehicle is restored to factory specifications.
Why Quarter Glass Replacement is specialized Work
Unlike a door window, which rolls up and down, or a windshield, which is laminated safety glass, the quarter glass on your Acura RSX is a piece of stationary, tempered glass. In the 2002-2006 models, this glass is encapsulated and bonded directly to the vehicle's unibody frame using high-strength automotive urethane. It is not held in by a rubber gasket alone, nor is it bolted in.
This structural bonding means that replacement is a surgical process. The old adhesive must be shaved down precisely without damaging the paint on the pinch weld, which could lead to rust bubbles forming under the glass months later. Furthermore, because the RSX is a compact coupe, accessing the mounting points often requires extensive interior disassembly. At AlexWindshield, our Master Technicians handle this delicate process with the precision your car deserves.
Service Availability: Serving Vaughan, Richmond Hill, and Markham
We know that dealing with broken auto glass is stressful, especially when you are worried about the security of your vehicle. That is why AlexWindshield brings the shop to you. We provide comprehensive mobile auto glass replacement services across the entire Greater Toronto Area (GTA).
Whether your RSX is parked in a driveway in Richmond Hill, at your workplace in Vaughan near the mills, or outside a residence in historic Markham, our mobile units are fully equipped to perform a factory-quality installation on-site. We understand the local climate and conditions, ensuring that the adhesive we use is rated for the specific temperature and humidity levels of Southern Ontario at the time of installation.
The AlexWindshield Protocol: Step-by-Step Quarter Glass Replacement
To demonstrate our commitment to quality, we are transparent about our technical process. Below is the detailed, step-by-step workflow our technicians follow when replacing the passenger or driver side quarter glass on a 2002-2006 Acura RSX.
Phase 1: Damage Assessment and Site Preparation
Before a single tool touches your car, we perform a pre-inspection. We check the operation of the adjacent door window and the condition of the surrounding paint. If the glass was shattered, we assess the extent of the debris field.
- Exterior Protection: We apply protective tape and heavy-duty covers to the rear fender and the door edge of your RSX. This prevents accidental scratches from glass shards or tools during the removal process.
- Interior Shielding: We cover the rear seats (whether leather or cloth) and the front seats with protective sheets to catch falling glass and debris during the removal of the old seal.
Phase 2: Interior Trim Removal and Access
This is where experience with the Acura RSX is vital. To properly access the pinch weld where the glass is glued, we often need to loosen or remove interior panels. Failure to do this results in cut interior plastics or a poor seal.
- We carefully remove the C-pillar plastic trim and loosen the rear side paneling.
- On the RSX, the seatbelt anchor points often run near the quarter glass area. We inspect these mechanisms to ensure no glass shards have fallen into the retractor assembly.
- We utilize non-marring pry tools to pop retaining clips without breaking them, preserving the rattle-free nature of your cabin.
Phase 3: Debris Removal and Vacuuming
If your quarter glass is broken, millions of tiny cubes of tempered glass are likely scattered throughout the rear of the vehicle. Leaving this glass behind is not an option at AlexWindshield.
- Industrial Vacuuming: We use high-powered vacuums to extract glass from the rear seats, the floor mats, and the trunk area.
- Body Cavity Extraction: This is the most critical step. Glass often falls down inside the hollow space between the outer body panel and the inner metal frame. We use flexible vacuum attachments and compressed air to dislodge and remove these shards. If left inside, they will rattle every time you hit a bump or close the door.
Phase 4: Removing the Old Glass and Adhesive
With the area prepped and cleaned, we begin the removal of the old urethane bead.
- Using a specialized cold knife or an oscillating cutout tool, we slice through the existing adhesive that bonds the glass (or remaining shards) to the frame.
- We exercise extreme caution to keep the blade flat against the pinch weld to avoid slicing the paint or the interior headliner.
- Once the bulk of the old material is removed, we trim the existing urethane down to a thin, clean base layer. This "bed" of old urethane serves as the perfect bonding surface for the new adhesive.
Phase 5: Surface Preparation and Priming
A leak-free, safe installation depends entirely on chemical preparation. We do not skip this step.
- Contaminant Removal: We clean the pinch weld area with a specialized solvent to remove road grime, dirt, and silicone residues.
- Priming the Metal: If any bare metal was exposed during the removal process (even a scratch the size of a hair), we apply a high-grade anti-corrosion primer. This prevents rust from forming under the glass, which is a common killer of older vehicles like the RSX.
- Priming the Glass: We apply a glass activator and primer to the frit band (the black ceramic edge) of the new Acura RSX quarter glass. This ensures the urethane bonds molecularly to the glass surface.
Phase 6: Adhesive Application and Installation
We use only OEM-equivalent, high-modulus urethane adhesives (such as Sika or Dow) that meet Federal Motor Vehicle Safety Standards (FMVSS).
- A V-shaped bead of urethane is applied directly to the glass or the pinch weld, depending on the specific fitment requirement of the 2002-2006 RSX body style. The V-shape ensures that when the glass is pressed in, the glue spreads evenly without air pockets.
- Precision Setting: Using suction cups, the technician carefully aligns the new quarter glass with the body lines. The RSX has a distinct body line that runs from the door through the quarter panel; the glass must sit flush to maintain this visual flow.
- We verify that the gaps between the glass and the body are symmetrical and match the opposing side of the vehicle.
Phase 7: Reassembly and Final Clean
Once the glass is set, we reassemble the interior.
- The interior panels, C-pillar trim, and seatbelt anchors are reinstalled and torqued to spec.
- We perform a final white-glove cleaning of the new glass and the interior, ensuring no smudges or fingerprints remain.
- We conduct a final leak test (if applicable based on cure time) and visual inspection.
The Importance of High-Quality Glass for the Acura RSX
For a car like the RSX, the tint and curvature of the glass matter. Cheap aftermarket glass often has "waves" or distortions that ruin the view and the look of the car. At AlexWindshield, we source OEE (Original Equipment Equivalent) or OEM glass. This ensures that the tint color matches your door glass and rear hatch glass perfectly, and that the encapsulation molding fits tight against the bodywork to reduce wind noise at highway speeds.
Lifetime Warranty and Post-Care
Your satisfaction and safety are our priority. After the installation, we advise you on the Safe Drive Away Time (SDAT), which typically ranges from 30 to 60 minutes depending on the adhesive used. We also apply retention tape to hold the glass in position while the adhesive cures; this tape should remain on the vehicle for 24 hours.
We stand firmly behind our craftsmanship. AlexWindshield offers a Lifetime Warranty on our workmanship. This covers you against wind noise, water leaks, and loose moldings for as long as you own your Acura RSX. If there is ever an issue with the seal, we fix it—no questions asked.
Trust the Experts at AlexWindshield
The Acura RSX is a vehicle worth preserving. Don't trust its repair to a generalist who treats every car the same. Whether you have a base model or a Type-S, the Master Technicians at AlexWindshield have the specific knowledge required to handle the 2002-2006 DC5 platform.
If you are in Vaughan, Richmond Hill, Markham, or anywhere in the GTA, choose the team that combines technical precision with mobile convenience. Restore the look and security of your coupe today.
Contact AlexWindshield today to schedule your Acura RSX quarter glass replacement. Drive with confidence knowing your glass was installed by the best.




